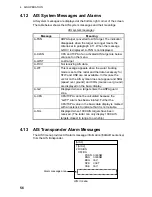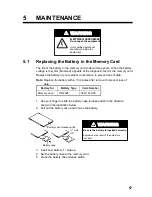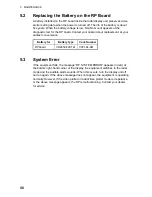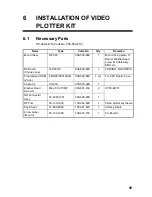
6 INSTALLATION OF VIDEO PLOTTER KIT
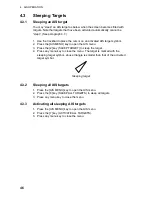
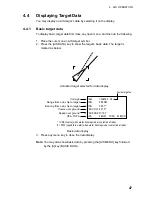
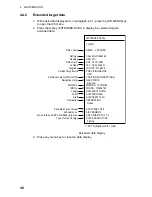
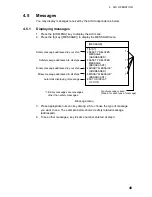
60
6.2 Installation
Procedure
1. Turn off the power.
2. Remove the top cover.
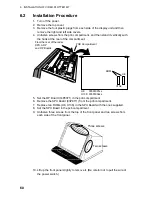
3. Remove the four plastic plugs from each side of the display unit and then
remove the right and left side covers.
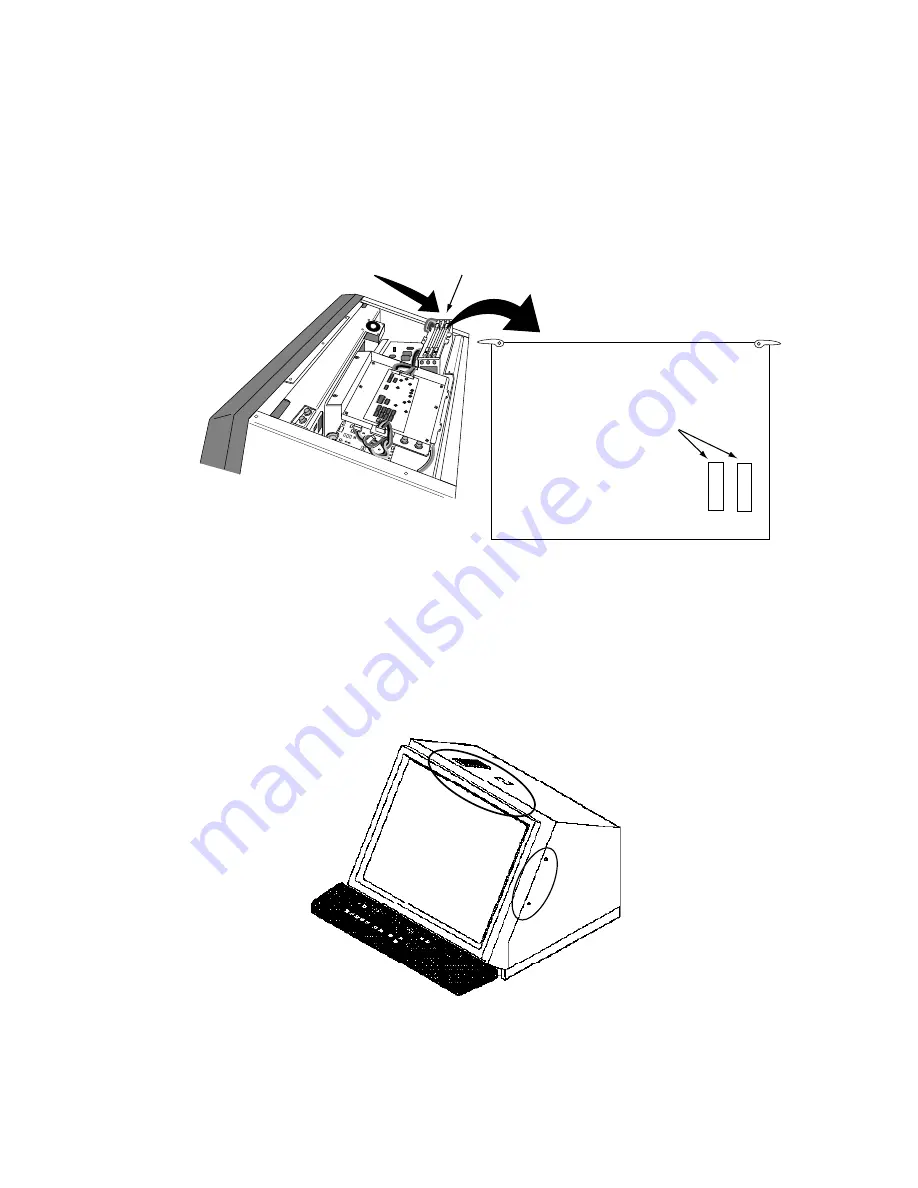
4. Unfasten screws from the pcb compartment, and then stand it vertically with
the hook at the rear of the compartment.
From the rear of the radar:
SPU, ARP
and RP Boards
U138
U8
ROM
PCB Compartment
U8:
03591901xx
U138: 03591902xx
5. Set the RP Board (14P0371) in the pcb compartment.
6. Remove the SPU Board (03P9111) from the pcb compartment.
7. Replace two ROMs (U8, U138) in the SPU Board with the ones supplied.
8. Set the SPU Board in the pcb compartment.
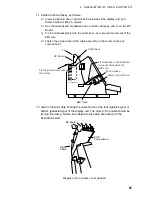
9. Unfasten three screws from the top of the front panel and two screws from
each side of the front panel.
Three screws
Two screws
10. Lift up the front panel slightly to remove it. (Be careful not to pull the wire of
the power switch.)
Summary of Contents for RP-340
Page 1: ...VIDEO PLOTTER RP 340...

