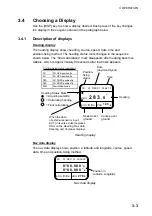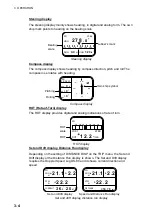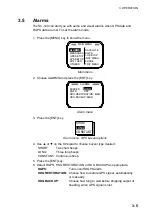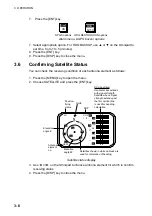
2. INSTALLATION
2-15
2.4.2 Flush
mounting
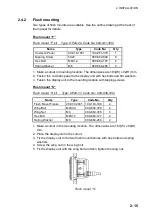
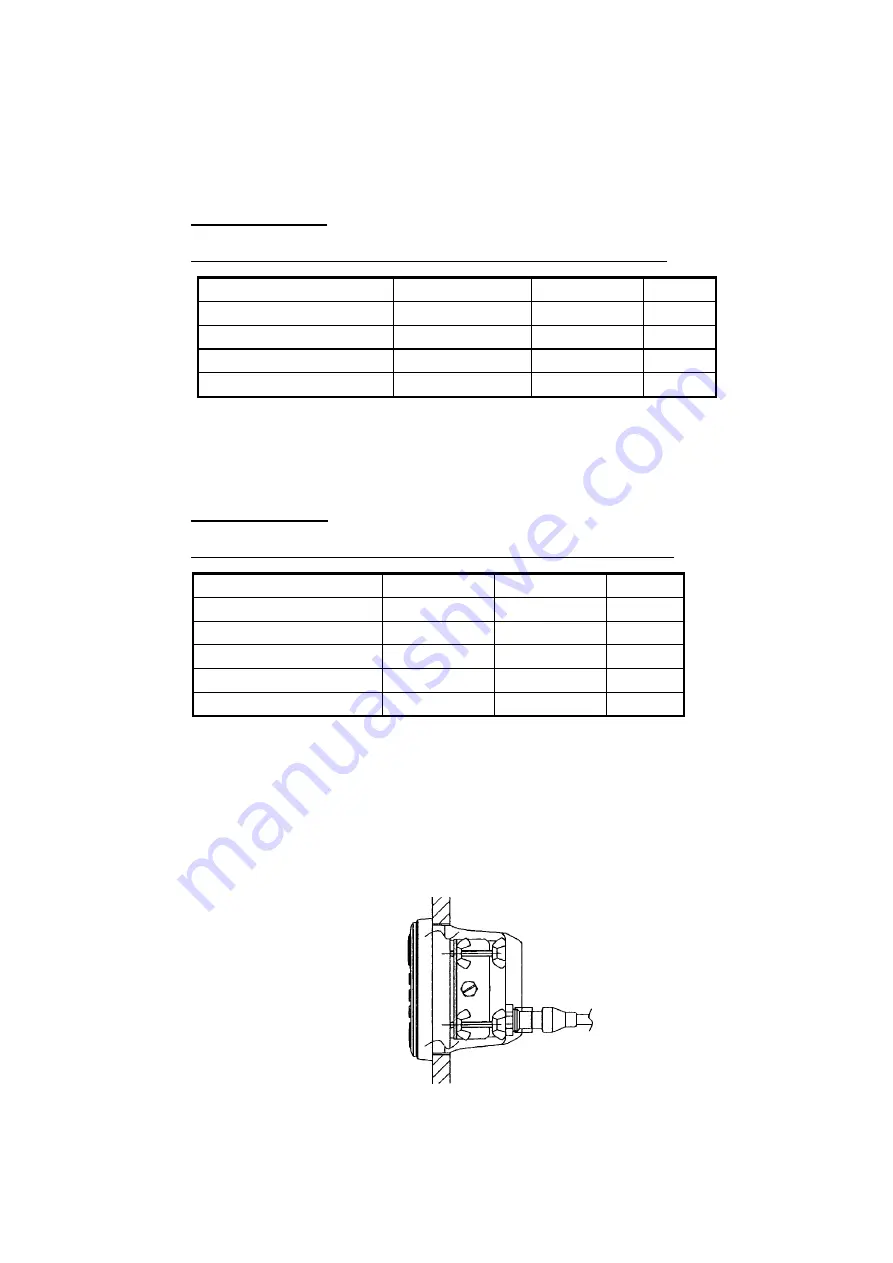
Two types of flush mounts are available. See the outline drawing at the back of
the manual for details.
Flush mount “F”
Flush mount “F” kit Type: OP20-29, Code No: 000-041-405)
Name Type
Code
No.
Qty
Cosmetic Panel
20-016-1051
100-251-370
1
Tapping Screw
5X20
000-802-840
4
Hex Bolt
M6X12
000-862-127
2
Spring Washer
M6
000-864-260
2
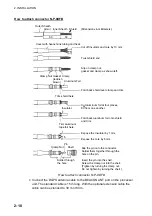
1. Make a cutout in mounting location. The dimensions are 183(W) x 92(H) mm.
2. Fasten the cosmetic panel to the display unit with hex bolts and flat washers.
3. Fasten the display unit to the mounting location with tapping screws.
Flush mount “S”
Flush mount “S” kit Type: OP20-17, Code No.: 000-040-720)
Name Type
Code
No.
Qty
Flush Mount Fixture
20-007-2401 100-183-190
2
Wing Bolt
M4X30
000-804-799
4
Wing Nut
M4
000-863-306
4
Hex Bolt
M6X12
000-862-127
2
Spring Washer
M6
000-864-260
2
1. Make a cutout in the mounting location. The dimensions are 167(W) x 92(H)
mm.
2. Place the display unit in the cutout.
3. Fix the display unit to the two flush mount fixtures with hex bolts and spring
washers.
4. Screw the wing nut on the wing bolt.
5. Fix the display unit with the wing bolt and then tighten the wing nut.
Flush mount “S”
Summary of Contents for SC-120
Page 1: ...SATELLITE COMPASS SC 120...
Page 10: ...This page is intentionally left blank...
Page 14: ...This page is intentionally left blank...
Page 58: ...This page is intentionally left blank...
Page 71: ...APPENDIX A 5 NAV OUT1 Port Output drive capability Max 10 mA HDG4 NAV2 port RS 232C level...
Page 82: ......
Page 83: ......
Page 84: ......
Page 87: ...Takahashi T Takahashi T D 1...
Page 88: ...Takahashi T Y Hatai D 2...
Page 89: ...Takahashi T Y Hatai D 3...
Page 90: ...Takahashi T Y Hatai D 4...
Page 91: ...Takahashi T Y Hatai D 5...
Page 92: ...D 6...
Page 93: ......
Page 94: ......
Page 96: ......

