Recording with the Drive Recorder
39
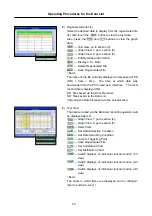
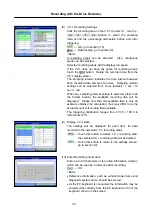
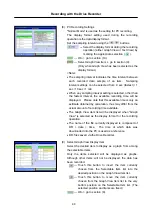
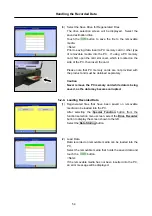
(8) V.C.I. Recording Settings
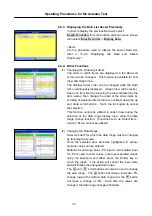
Click the recording area on the V.C.I. to select it. Use the
buttons to select the sampling
interval and the percentage distribution before and after
triggering.
--- OK: go to section (10).
--- Data display: go to section (9).
<Note>
8 recording areas can be selected. Also, contiguous
areas can be selected.
Selected recording areas will be displayed in green.
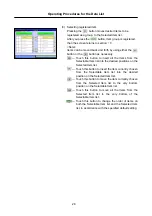
If the V.C.I. does not have any space for recording areas,
touch the button. Delete the recorded data from the
V.C.I. display screen.
The sampling interval indicates the time interval between
each recorded data sample of an item. Sampling interval
settings can be selected from: 0 sec (fastest) / 1 sec / 10
sec / 1 min.
When any sampling interval setting is selected, other than
the fastest interval, the available recording time will be
displayed. Please note that this available time is only an
estimate obtained by calculation, thus may differ from the
actual amount of recording time available.
The triggering distribution ranges from 0:100 ~ 100:0 in
increments of 1%.
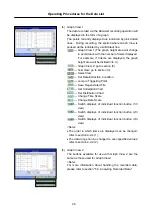
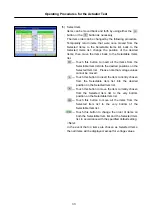
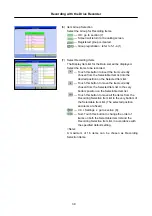
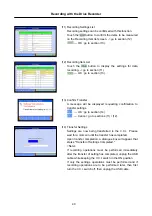
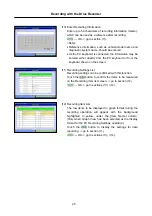
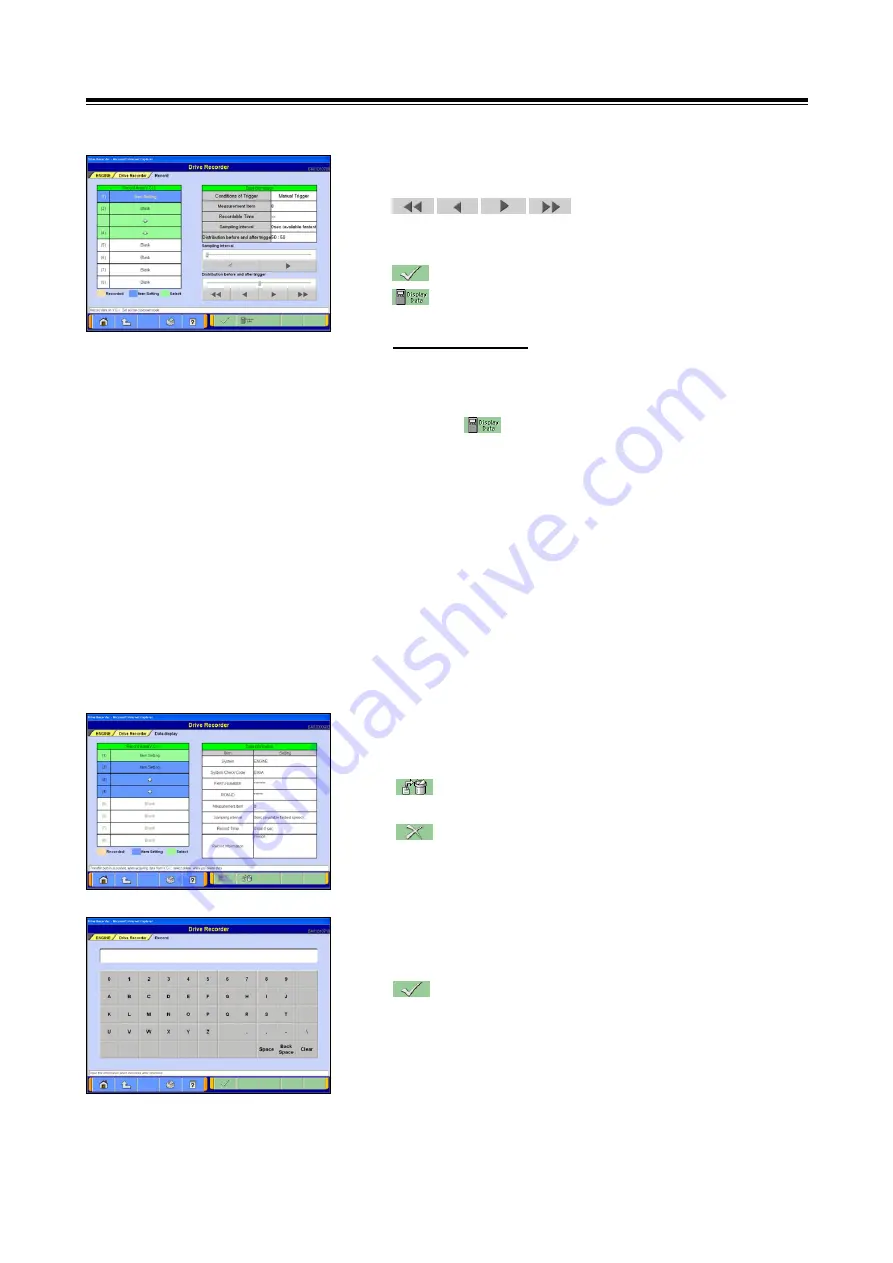
(9) Display V.C.I. Data
The settings will be displayed for each item, for data
recorded in the selected V.C.I. recording areas.
--- Touch this button to delete V.C.I. recording data:
the selected V.C.I. recording data will be deleted.
--- Touch this button to return to the settings screen:
go to section (8).
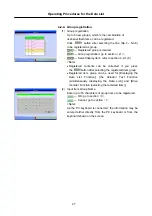
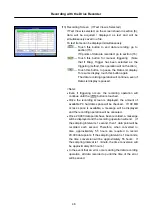
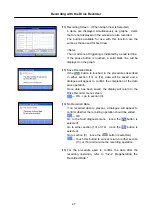
(10) Enter Recording Information
Enter up to 50 characters of recording information (memo),
which can be used as a reference after recording.
--- OK
<Note>
•
Reference information, such as vehicle model name and
diagnostic system name, should be entered.
•
As the PC keyboard is connected, the information may be
entered either directly from the PC keyboard or from the
keyboard shown on the screen.

