NM 2830 e - 32 -
AUTOMATIC BUTTONHOLES
(CONTINUED)
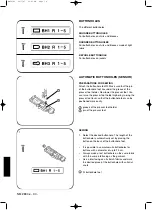
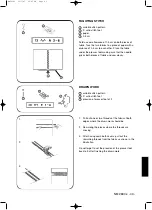
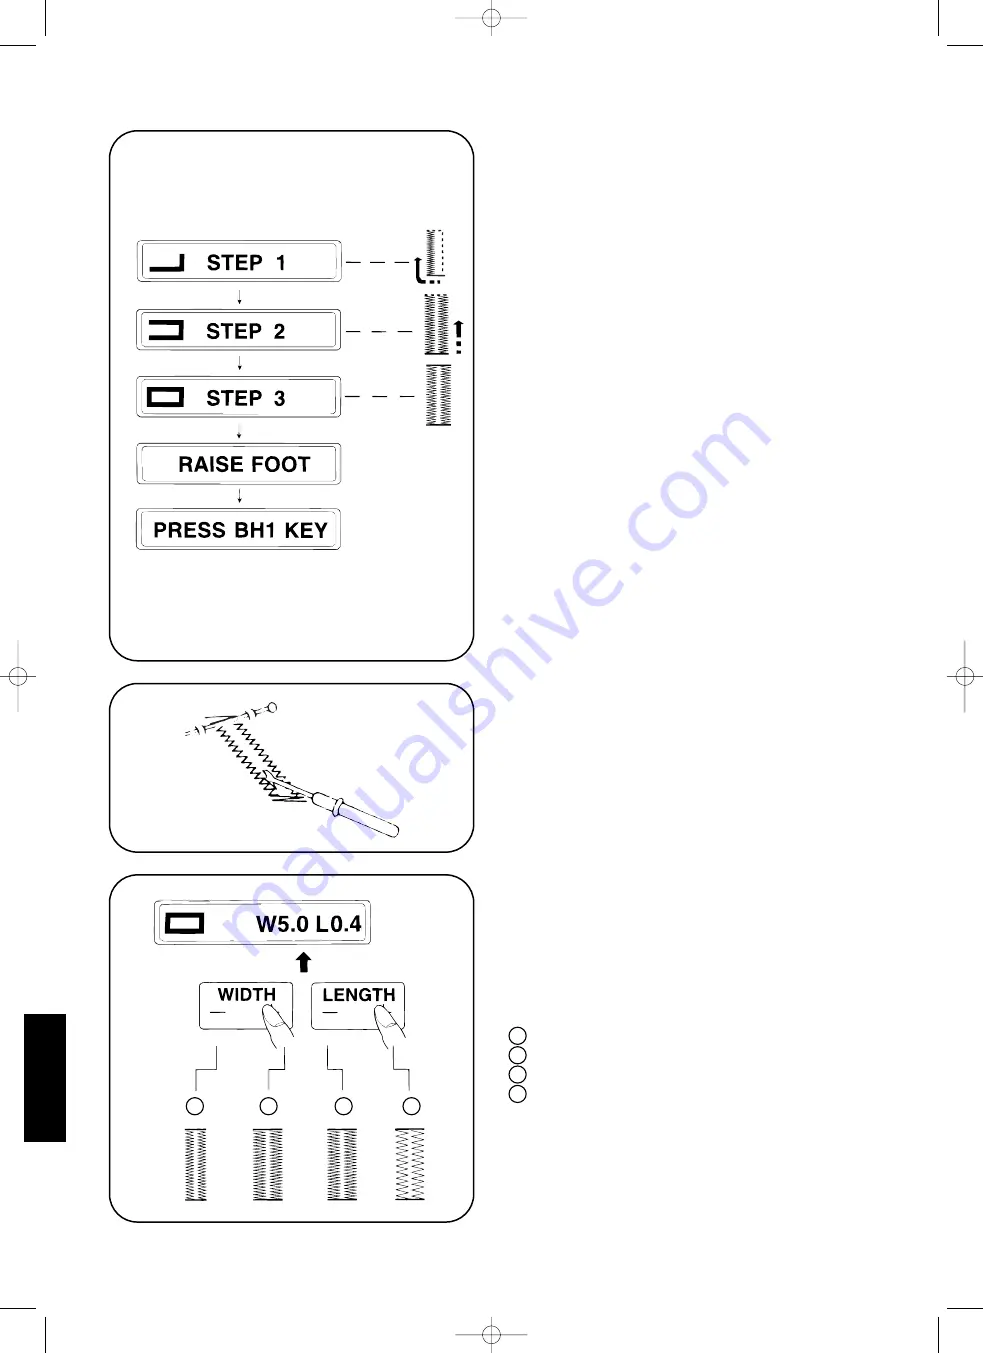
5. Depress the foot controller and sew until the
machine stops automatically. The buttonhole is
sewn automatically in the following order:
STEP 1: the front bartack and the left row
STEP 2: the right row
STEP 3: the back bartack
RAISE FOOT: the buttonhole is finished and you
can raise your foot from the foot controller.
PRESS BH1 KEY: to sew another buttonhole
press the key BH1 one more time.
6. Raise the presser foot and take the fabric out from
under the machine. Cut the threads and pull the
top thread to the left side of the fabric and secure
the threads.
7. Place a pin in the bartack and open the opening
of the buttonhole carefully with the seam ripper
without damaging the stitches.
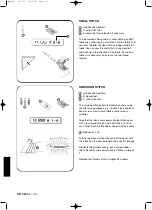
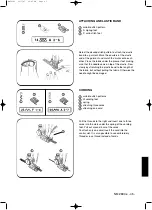
ADJUSTING THE DENSITY OF THE ROWS OF
THE BUTTONHOLE
The pre-programmed settings are displayed on the
LCD screen. Adjust the pre-programmed settings by
pressing the "+"- and "-" parts of the keys of the stitch
width and the stitch length.
1
narrow rows (small stitch width)
2
wide rows (large stitch width)
3
dense rows (small stitch length)
4
less dense rows (large stitch length)
5.
7.
1
2
3
4
NM2830e 29/3/07 12:05 PM Page 32


