V
FUTABA 9Z
THE UNOFFICIAL WORKSHOP MANUAL
WARNING:
THE INFORMATION IN THIS MANUAL IS FOR INFORMATION PURPOSES ONLY AND MAY BE INCORRECT, CAUSE DAMAGE
TO YOUR RADIO OR INJURY TO YOURSELF AND OTHERS. IF YOU USE THIS MANUAL YOU DO SO SOLEY AT YOUR OWN RISK.
www.jamesandtracy.co.uk
Copyright 2012 jamesandtracy.co.uk
Page 31 of 84
Note: This procedure requires the partial removal of one of the LCD’s PCBs. Make sure
you are earthed and protect your tools so you don’t damage ribbon cables etc., again
see Section 2.3.
1.
Obtain a replacement lithium battery from Digikey, Farnell or RS Components. The
replacement is a BR2032/HEN (£1.47p). Do not be tempted to use a cheaper
CR2032!
2.
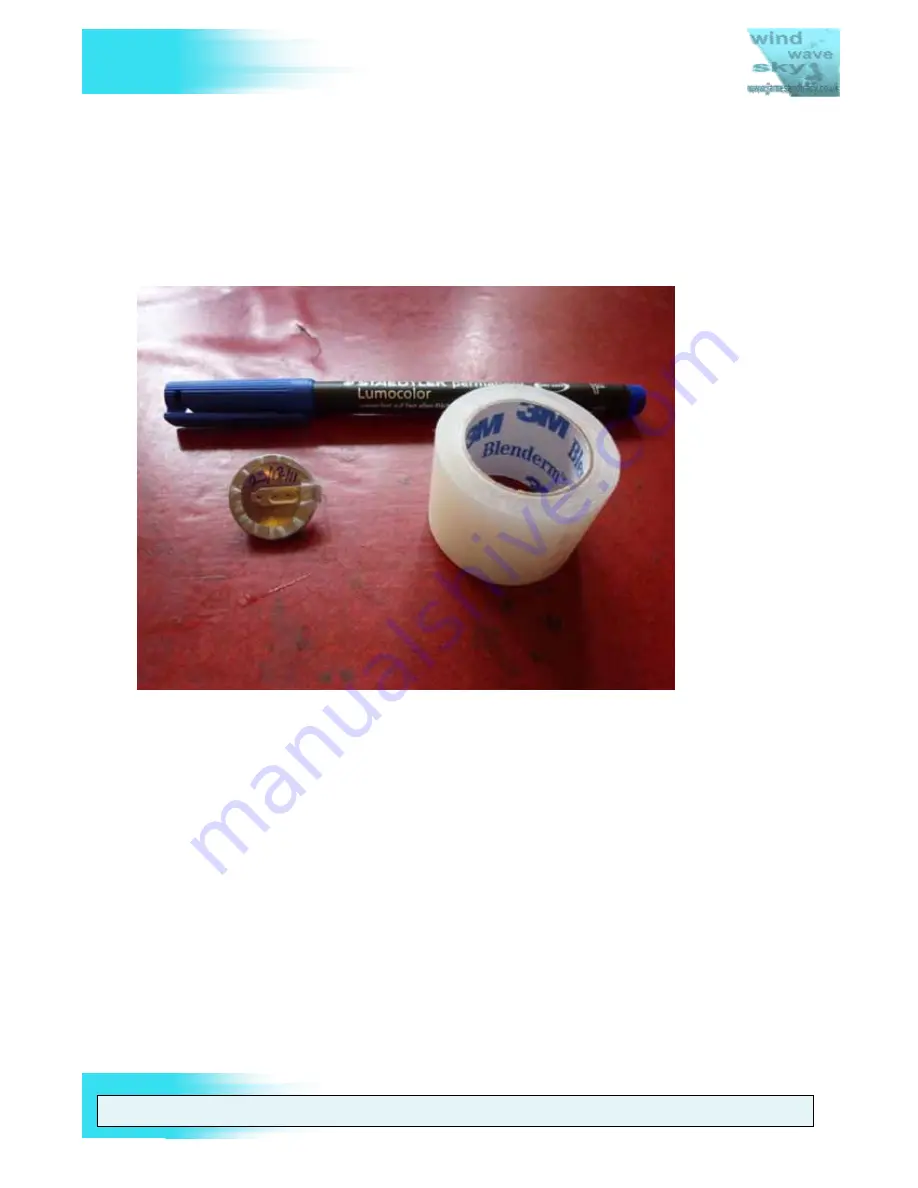
Label the new battery with the date of replacement and protect with tape if required
(see Figure 24)
Figure 24 Label and protect the new battery
3.
Make sure you have the tools to access the Service and Test Menu ready (see
Section 6.2)
4.
Backup your settings for your 9Z onto a CAMPAC 64 or Ultrapac 64 as they will be
wiped by the battery replacement process.
5.
Disassemble the 9Z’s case to Stage 4 as described in Section 5 (Disassembling and
Reassembling the 9Z’s Case).
6.
Remove the 4 screws retaining the top PCB of the LCD assembly (see Figure 25).
7.
Flip the top PCB onto its back (see Figure 26).


