V
FUTABA 9Z
THE UNOFFICIAL WORKSHOP MANUAL
WARNING:
THE INFORMATION IN THIS MANUAL IS FOR INFORMATION PURPOSES ONLY AND MAY BE INCORRECT, CAUSE DAMAGE
TO YOUR RADIO OR INJURY TO YOURSELF AND OTHERS. IF YOU USE THIS MANUAL YOU DO SO SOLEY AT YOUR OWN RISK.
www.jamesandtracy.co.uk
Copyright 2012 jamesandtracy.co.uk
Page 48 of 84
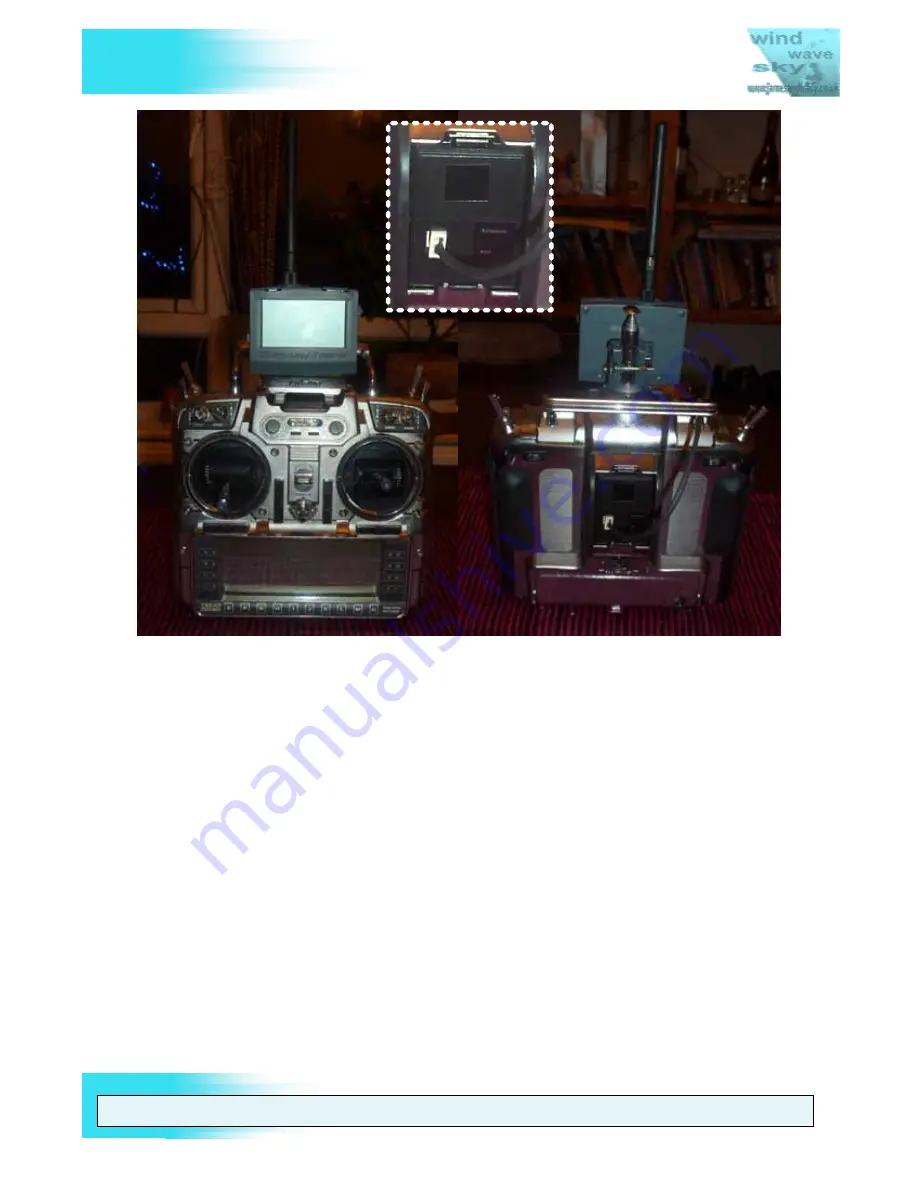
Figure 43 The DHT-U upgrade with connections through DIY RF Module
Although you can hack the connectors of the DHT-U and connect to the DSC port, for
reasons of robustness I prefer using the RF module port (as that is what it was designed
to do!). This also gives you the benefit of your transmitter still displaying the “On Air”
message and warning light. So if you want to retro fit an RF module case and have a tidy
and professional looking solution then try the approach below and refer to Figure 44 and
Figure 44:
1.
Purchase a FrSky Futaba compatible RF module case, they’re about £3.
2.
You can purchase special 0.1” extended PCB headers for the connectors, but these
are difficult to come by, so you can also use a standard 5 pin x 2 rows 0.1” IDC
Socket from a PC. These can be purchased just about anywhere and the double
row allows you to get better adhesion when you stick it to the module case.
3.
Purchase a 3 pin single row shielded 0.1” header and receptacle, or any other small
3 pin plug and socket.
4.
Purchase a small vector or PCB board.
5.
Glue the 5 pin IDC socket to the bottom of the RF module case, first aligning it so it
will accept the 5 RF module pins from the transmitter when it’s pushed into place.


