6
15
Installation - Slope Matching
The blade tilt indicator can be nulled or set to zero at a blade slope other than
level. This is used for matching an existing slope or setting the blade to a
predetermined slope.
The factory default setting of the blade tilt indicator is level. To set the blade
tilt indicator at a slope other than level, position the blade at the desired slope.
Ensure the receiver is aligned properly side to side and front to back with the
blade.
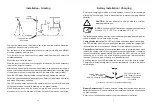
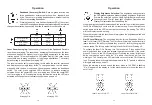
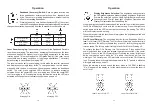
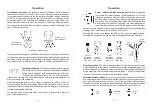
With the receiver on, press and hold the power switch and immediately press
and hold both the blade tilt switch and the display brightness switch. Continue
holding all three switches until a "0" symbol followed by a "Y" symbol is briefly
displayed. The blade slope is now nulled at the existing slope.
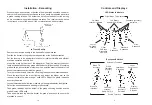
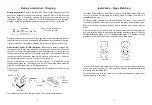
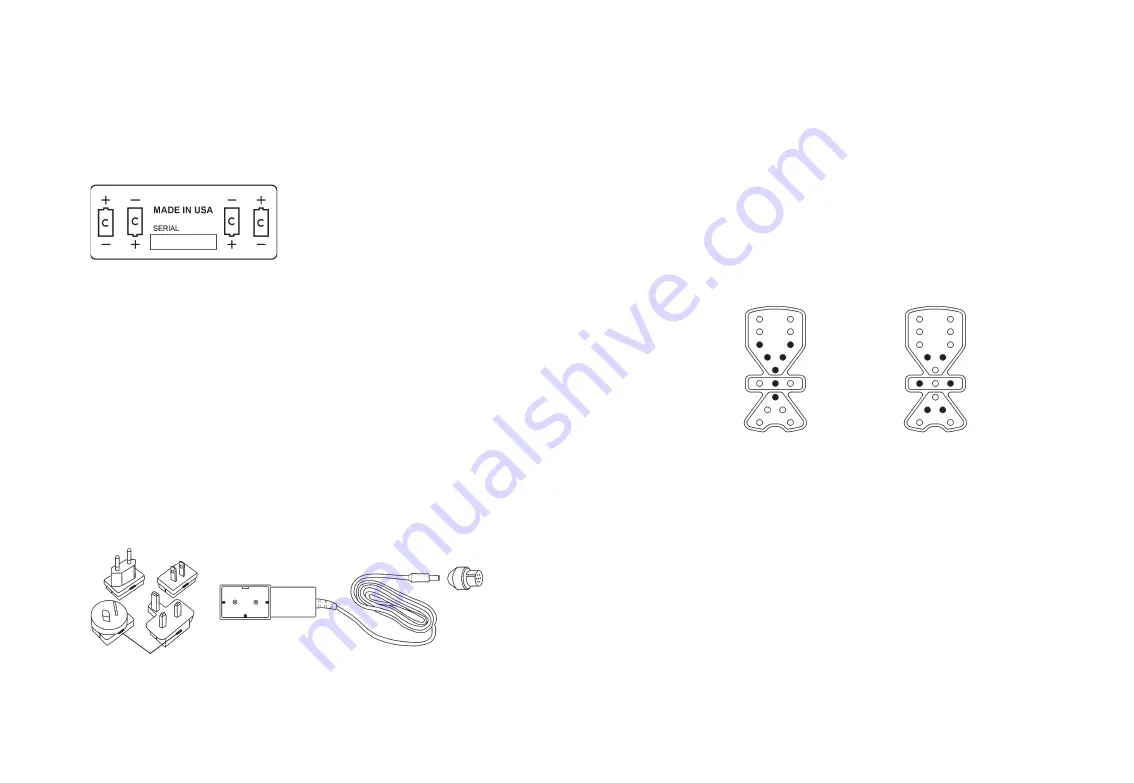
"Y" symbol
"O" symbol
To reset the blade tilt indication back to level, position the blade to level and
check with a four-foot level or other method. Repeat the above calibration
procedure with the blade level.
This procedure may also be used to correct the display when a mast is not
aligned properly to the blade.
Battery Installation / Charging
Battery Installation:
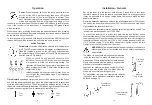
Remove the BULLSEYE from its carrying case. Hold the
unit so the accessory connector is pointing upwards. Remove the dust cap
from the accessory connector. Loosen the two thumb screws and remove
the battery access cover. Install four “C” cell batteries as shown on the label
diagram inside the battery compartment noting the (+) and (-) terminals.
Replace the battery access cover. Firmly tighten the two thumbscrews. Ensure
the battery access cover is aligned and fully engaged into the battery housing.
Use a screwdriver if necessary. Replace the accessory connector dust cap.
Nickel Metal Hydride (Ni-MH) Batteries:
Batteries are initially shipped fully
charged but the charge may decrease over time prior to first use. They may
require 2 or 3 charging cycles to obtain maximum battery life. To charge, remove
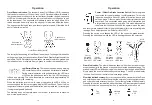
the dust cap from the accessory connector. Insert the cannon adapter into the
receiver accessory connector aligning the slot and connector key. Insert the
charger female barrel connector into the cannon adapter.
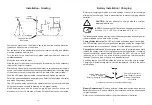
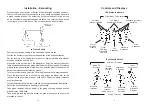
Assure the proper AC prongs are on the charger. To change the prong
configuration, press the tab release and remove the existing prong adapter.
Align the key slots and press in the proper adapter.
Plug the charger into an appropriate outlet. Do not operate the receiver when
it is charging.
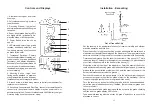
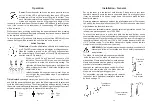
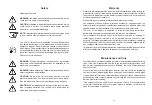
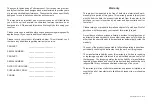
Battery installation diagram /
Serial number label
The batteries may also be charged with a 12-volt auto lighter adapter.
Cannon
Adapter
Charger
Prongs
Tab
Release


