background image

5

w w w. d a d o q u a r t z b at h w a re . co m

installation guide

built-in bathtub

Built-in Bathtub Installation

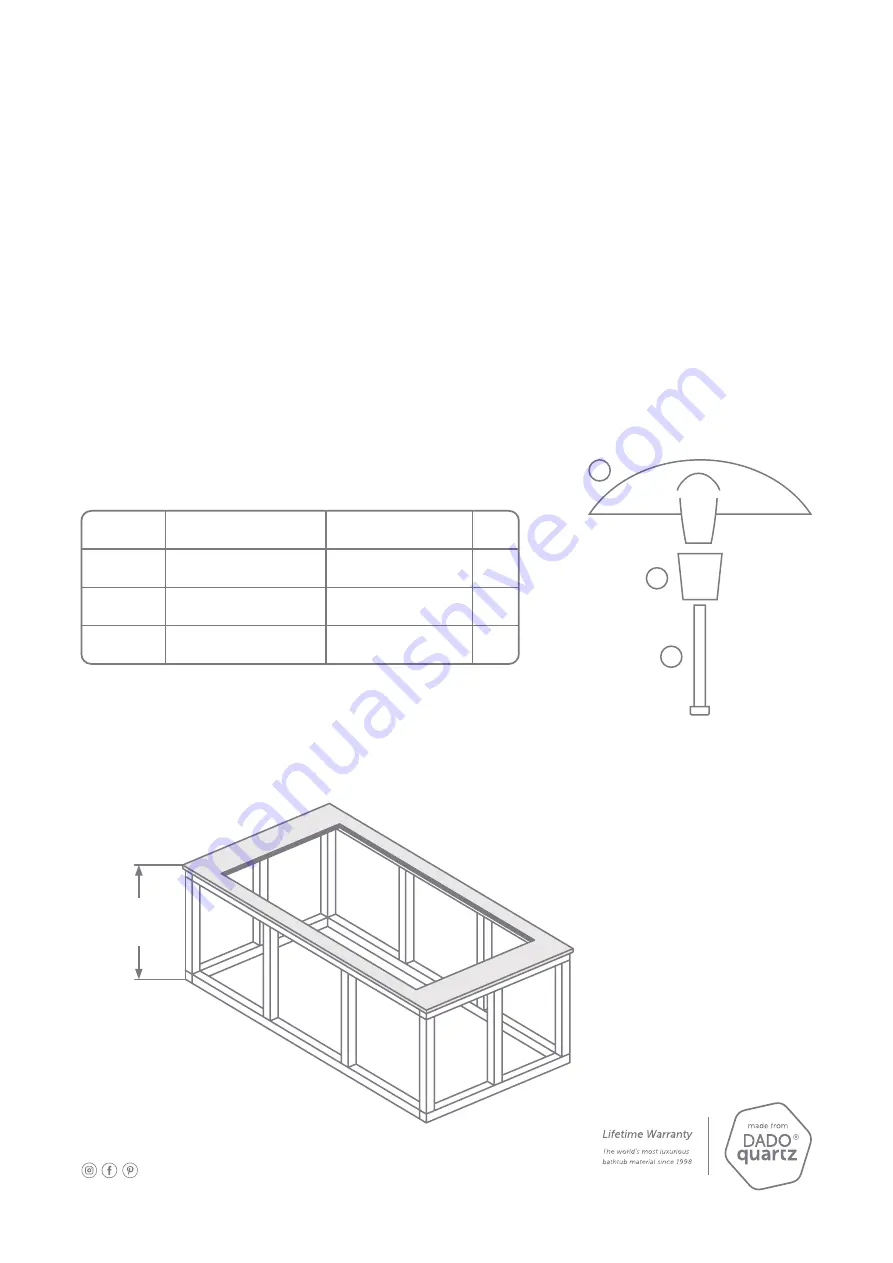
1.  Place your bath on a level surface, with the bath upside down, resting on a protective 

surface to avoid scratches, secure the hexagon socket cap screw and nylon foot insert 
into the corresponding bath legs.

Adjust the feet, the feet are adjustable for 10mm to get the bathtub horizontal and can be 
used either alone or with the sand. It should be noted that there must be at least 10mm 
of the pedestal in the plastic to ensure strength. Apply SANSTIK around the base of the 
bathtub to ensure that the bath does not shift.

2.  Build a support wall made from 

either brick or drywall according to 
the bathtub specifications.

1

2

3

ITEM NO.

PART NAME

DESCRIPTION

QTY

1

BATH

BATH

1

2

FOOT INSERT

NYLON

1

3

Hex Bolt M10 x 90

Hexagon Socket Cap 

Screw

1

See bath 

specification 

sheet

Summary of Contents for DADOquartz

Page 1: ...installation built in bathtub guide...

Page 2: ...ete the installation We recommend that you employ a suitably qualified professional to complete the installation of your new DADOquartz bath We cannot accept responsibility for poor or incorrect insta...

Page 3: ...terial Growth Resistant Easy to Clean What is DADOquartz Mined from the Southern African earth DADOquartz material is created by combining Quartz ore and other natural minerals Quartz is a noble varie...

Page 4: ...warranty does not cover damages or defects in the finish once it has been installed The Manufacturer s responsibility for shipping damages ceases upon delivery of the product in good order to the car...

Page 5: ...djustable for 10mm to get the bathtub horizontal and can be used either alone or with the sand It should be noted that there must be at least 10mm of the pedestal in the plastic to ensure strength App...

Page 6: ...be dropped into with river sand 3 Cut out decking top to fit on top of bath rim see bath specification for dimensions Waterproof decking Cut out see specifications 5 Install the bath waste and ensure...

Page 7: ...b 6 Drop the bathtub into the prepared hole filled with river sand and press down until the bathtub is embedded and secured within the sand 7 Seal off the external rim with silicone sealant or SANSTIK...

Page 8: ...sealant Go to www sanstik com for usage instructions 9 Place weights around the counter top and let sit for 24 hours to allow full cure 1 Clean both floor and product surface with a dry cloth 4 Place...

Page 9: ...ve product Highly abrasive products should be avoided such products contain ammoniac as an ingredient and trichlorethane or methylene chloride Use a mild detergent or the DADOquartz surface cleaner on...

Page 10: ...The complete version can be found on our website Herewith highlights Limited residential guarantee on bathtubs and basins made from DADOquartz Items not purchased directly from Future Classics or an...

Page 11: ...ot considered defects or flaws Variations in the surface do not compromise the structural integrity of the product Tolerance on dimensions 5 Exposure to strong chemicals may cause damage to the produc...

Page 12: ...t 860 838 4688 e info fcbathrooms com w www fcbathrooms com P O Box 1254 Washington CT 06793...

Reviews: