INSTALLATION:
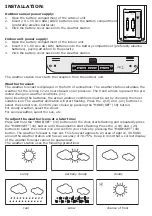
Outdoor sensor power supply:
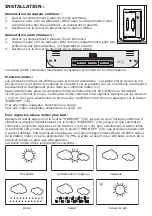
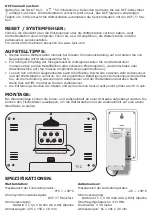
1. Open the battery compartment of the outdoor unit
2. Insert 2 X 1.5V size AAA (LR03) batteries into the battery compartment
(preferably alkaline batteries)
3. Click the battery cover back onto the weather station.
Indoor unit power supply:
1. Open the battery compartment of the indoor unit.
2. Insert 3 X 1.5V size AA (LR6) batteries into the battery compartment (preferably alkaline
batteries), paying attention to the polarity
3. Click the battery cover back onto the weather station.
The weather station now starts the reception from the outdoor unit.
Weather forecast:
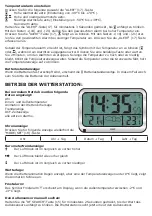
The weather forecast is displayed in the form of animations: The weather station calculates the
weather for the coming 12-24 hours based on air pressure. The trend arrows represent the pre-
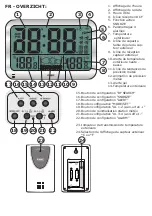
dicted change in weather conditions (11).
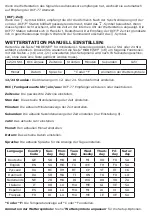
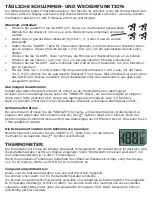
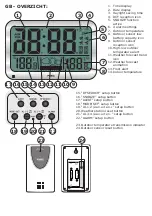
Upon inserting the batteries, the actual weather conditions must be set by choosing the most
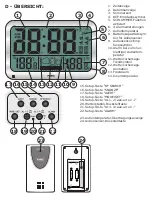
suitable icon. The weather animation will start flashing. Press the
+(19) and -(21) buttons to
select the correct icon. Confirm your choice by pressing the
“MODE/SET” (18) button.
For cloudy weather, select the cloud.
For sunny weather, select the sun, etc.
To adjust the weather icons at a later time:
Press and hold the “MODE/SET” (18)
button until the clock starts flashing and repeatedly press
the “MODE/SET” (18)
button until the animation starts flashing. Press the
+(19) and -(21)
buttons to select the correct icon and confirm your choice by pressing the
“MODE/SET” (18).
button. The weather forecast is now set. This forecast applies to an area of approx. 30-50km
around the weather station and has an accuracy of 70-75%. Keep in mind that a correct display
of the weather forecast cannot be guaranteed.
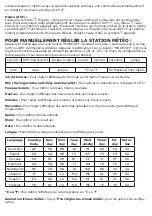
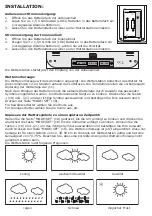
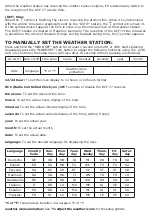
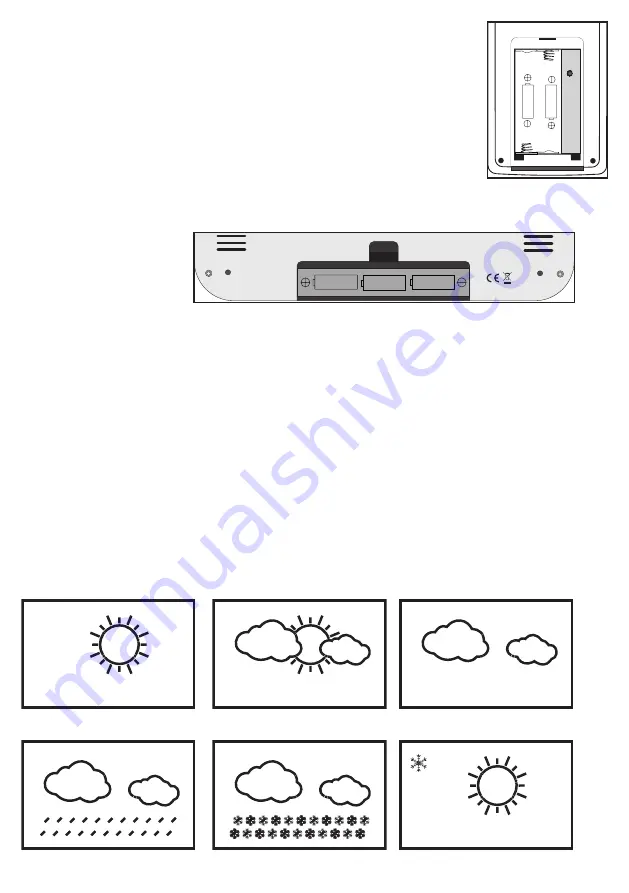
The weather station uses the following predictions:
sunny partially cloudy cloudy
rain snow chance of frost
AA 1,5V
AA 1,5V
AA 1,5V
AA
A
1,5V
AA
A
1,5V
RESET

