Page 6
At power up, if the train doesn’t run in the direction you usually run in, just swap the track output wires At power-
up, the train will be ready to run forward without having to change direction on the TX.
Transmitter / Receiver Setup
There are no channels or frequencies to worry about. The receiver “Learns” the transmitter and will respond to no
others.
Your receiver has already learned the transmitter it shipped with at the factory.
So no setup should
be required.
In the event you need to re-learn your TX, you will need to remove the cover on the
TrackSide base station
. To
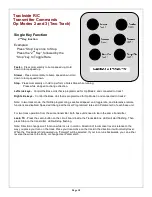
re-learn, press the
Learn
button on the
TrackSide R/C
board. The LED will start blinking. Press and hold the
Stop
key on the transmitter until the LED stops blinking. They are now linked
together.
The transmitter batteries are accessible by removing the 3 screws on the
back. Pressing any key on the transmitter should cause the
TrackSide base
station
LED to blink off. If it doesn’t, check the transmitter batteries.
Automated Station Stops
An automated station stop slows down the train, waits at the station for a pre-
determined time, then accelerates back to its original running speed. Station
stops add interest to your open house or public displays.
Automated operation is easily achieved with the TrackSide R/C. You just need
to add a track mounted reed switch to your track, and a magnet on the bottom
of your locomotive.
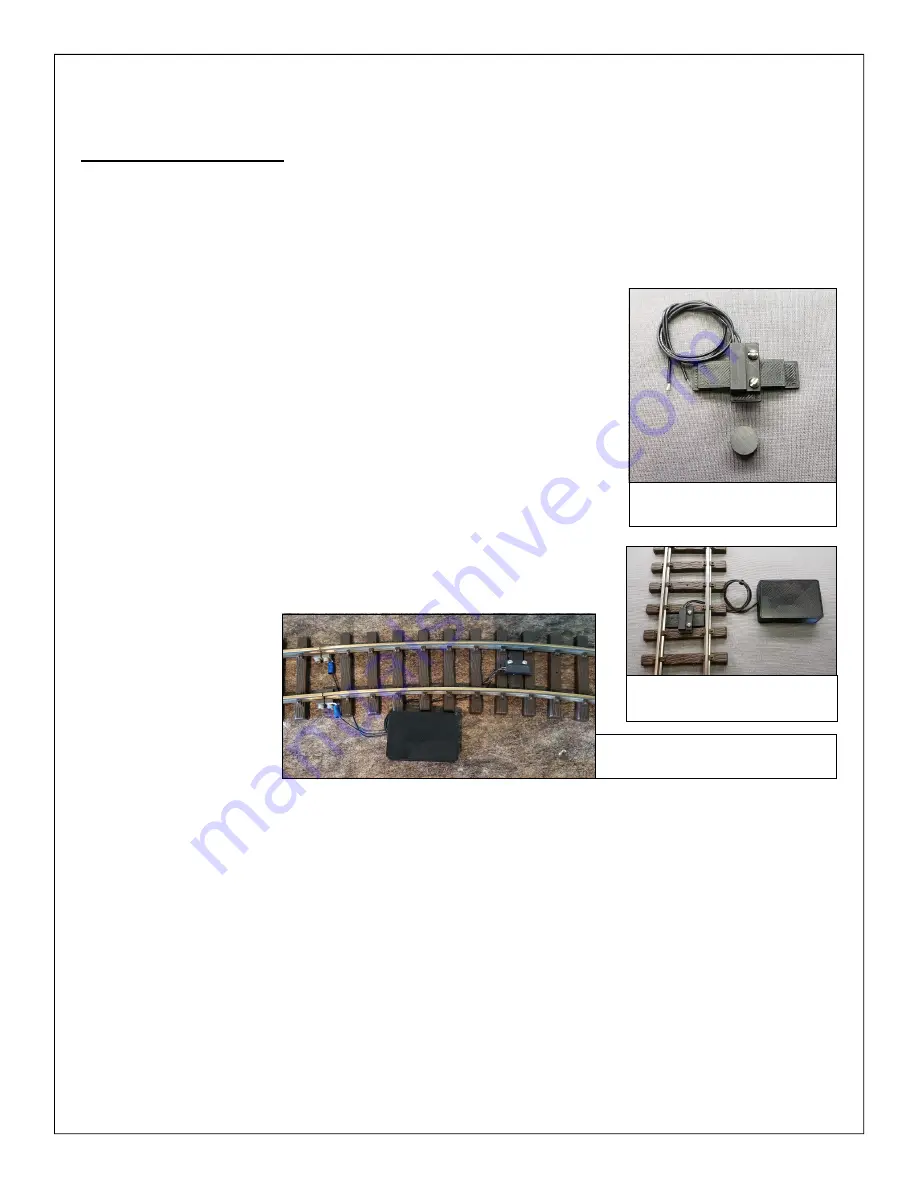
Automated station stops are initiated by a track mounted reed switch placed
ahead of the station. The
reed switch initiates de-
celeration to a stop. You
can make as many stops
as you like, one reed
switch per station. The
distance from the reed
switch to the stop de-
pends on the speed of the
loco, and the station stop
decel rate set in user pa-
rameter 1. Once you have
established the desired
setup, save the loco speed. Then recall the speed from the transmitter at the beginning of your operation session
to insure your loco stops at the proper location.
Any number of hardwired reed switches can be connected in parallel to terminals SS, COM on the trackside.
However, you may not want to run long lengths of wiring around your layout. Wireless Reed Switches eliminate
the long wire runs. They can be powered locally from the track or a 9V battery
When running in back ‘n forth trolley mode (Parameter 3—Option 1), with intermediate station stops, two reed
switches are used at each end of the track. Single reed switches are used for the intermediate stops.
Automated reversing is accomplished using a second reed switch placed about 6” after the decel magnet. This
second trigger will cause the loco to depart the station in the opposite direction. Magnet spacing requirements
vary with speed of the loco. 12” or greater is a good starting point. As long as the second magnet is crossed prior
to coming to a full stop, it should work.
Caution: Provide end of track bumpers or wheels chocks, just in case.
When running in back ‘n forth trolley mode and no intermediate station stops (Parameter 3—Option 6), only one
reed switch is required at each end of the track.
The distance the magnet is located from the station will depend on your running speed. Some trial and error will
be required to find the proper location and/or speed. You can then save this speed using 2nd key, and Slow key.
Wireless Reed Switch
talks to receiver in TrackSide
Hardwired Track Reed Switch
(to SS, COM) and Loco Magnet
Wireless Reed Switch
Connected to track power


