P a g e
|
25
Step 2: Prep the Roof
There are 9 substeps to be completed in sequence for prepping the roof to receive the solar array:
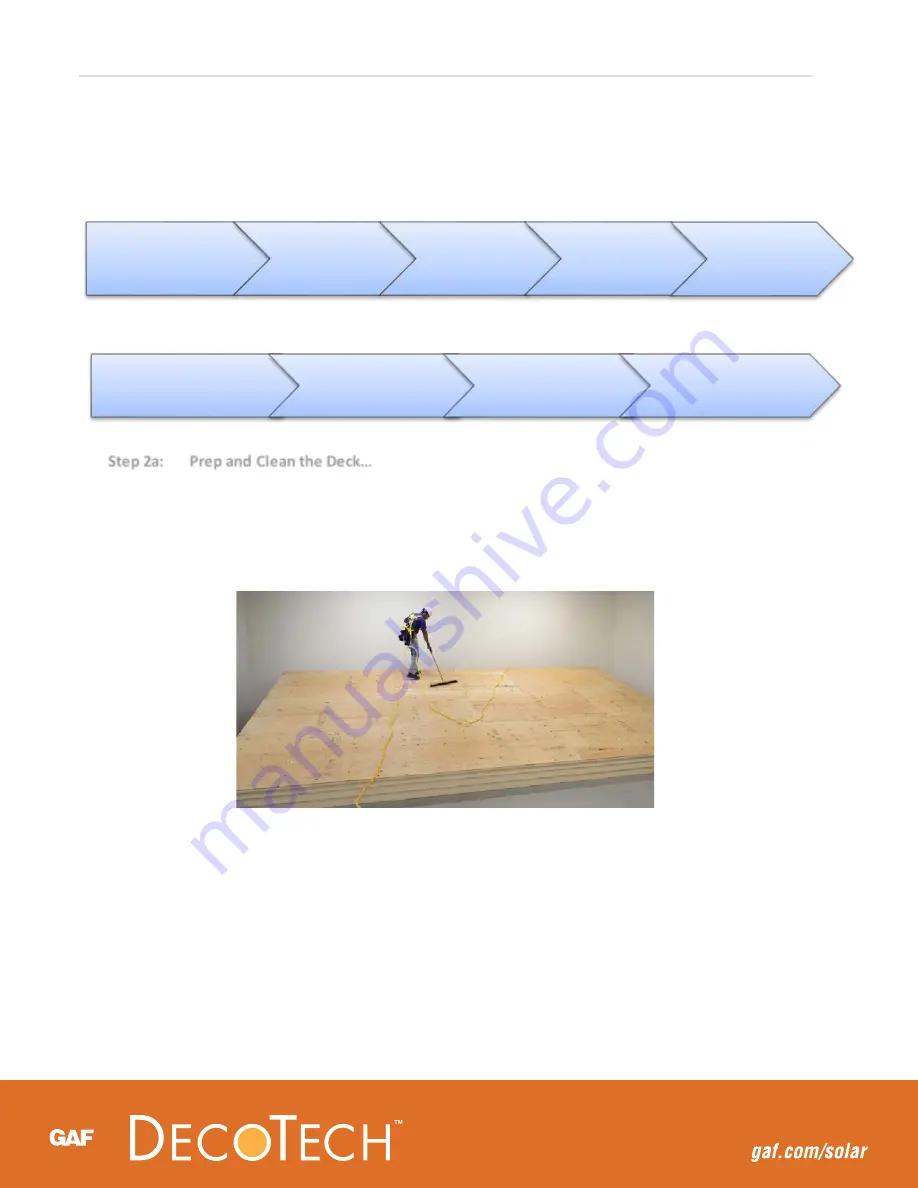
Step 2a: Prep and Clean the Deck…
Refer to the PV system design and identify the plane of the roof
that will receive the solar array. For new roofs, start with a clean plywood/OSB deck. For
existing roofs, proceed with a roof tear-off & clear the existing deck of all shingles and
underlayment in the plane of the proposed solar array. Remove or hammer-in all protruding
nails on the deck and prepare a
smooth and level deck surface
. Sweep away dirt and debris
from the roof deck (Figure 23).
Step 2b: Install the Drip Edge along the Eave…
Install the drip edge directly to the deck along the eave
as shown in Figure 24 (next page).
Step 2a: Prep and Clean the
Deck
Step 2b: Install the
Drip Edge along the
Eave
Step 2c: Install the
Leak Barrier along
the Eave and Rakes
Step 2d: Install the
Drip Edge along the
Rakes
Step 2e: Install
QuickStart® Peel &
Stick Starter Roll
along the Eave and
over the Rakes
Step 2f: Install Initial Rows of
Shingles up to the Proposed
Location of the Starter Bars
Step 2g: Install the Leak
Barrier in the Field of the
Proposed Solar Array
Step 2h: Install QuickStart®
Peel & Stick Starter Roll
over the Shingle Headlap
Step 2i: Install the
VersaShield® SOLO™ Fire-
Resistant Slip Sheet
Figure 23: Clean the Deck


