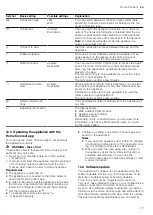
Childproof lock
en
15
10 Childproof lock
Activate the childproof lock so that children cannot ac-
cidentally switch the appliance on or change the set-
tings.
If the childproof lock is switched on and the power
fails, the childproof lock can be deactivated when the
power comes back on.
10.1 Activating the childproof lock
Requirements
¡
You can set the childproof lock to "available" in the
basic settings →
¡
The function selector is set to .
▶
Press and hold for approx. 6 seconds.
a
The display shows the standby screen and .
a
The childproof lock is activated.
10.2 Deactivating the childproof lock
Requirement:
The function selector is set to .
1.
Press and hold for approx. 6 seconds.
a
The childproof lock is deactivated.
2.
Set the appliance as normal.
11 Individual recipes
You have the option to save up to 50 individual recipes
with a name so that, if required, you can access the re-
cipe quickly and easily. You can record a recipe.
11.1 Recording a recipe
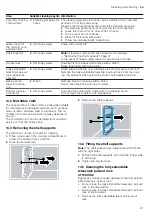
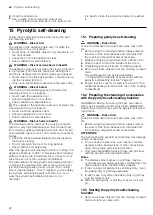
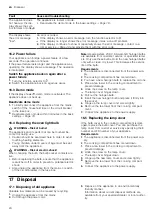
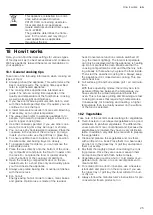
It is possible to set and record up to 5 phases consec-
utively.
1.
Turn the function selector to .
2.
Press .
3.
Use the rotary selector to select "Individual recipes".
4.
Press to confirm.
5.
Use the rotary selector to select a free memory loc-
ation.
6.
Press .
7.
Use the function selector to set the required type of
heating and the rotary selector to set the required
temperature.
a
The appliance records the cooking time.
8.
Insert the core temperature probe into the socket in
the cooking compartment and enter the core tem-
perature for a phase.
9.
To record another phase, set the function selector
to the required type of heating and use the rotary
selector to set the required temperature.
a
A new phase starts.
10.
When the dish has reached the required cooking
result, press .
11.
Enter the name under "ABC".
→
The appliance only starts recording a phase once it
has reached the set temperature.
Each phase must last at least one minute.
During the first minute of a phase, you can change
the type of heating or the temperature.
11.2 Programming a recipe
1.
Turn the function selector to .
2.
Press .
3.
Use the rotary selector to select "Individual recipes"
and press to confirm.
4.
Use the rotary selector to select a free memory loc-
ation.
5.
Press .
6.
Enter the name under "ABC".
→
7.
Use to select the first phase.
a
The display shows the type of heating and temperat-
ure that are selected at the start.
8.
If required, use the rotary selector to change the
type of heating and the temperature.
9.
Insert the core temperature probe into the socket in
the cooking compartment and enter the core tem-
perature for a phase or select the time setting using
.
You cannot enter the cooking time for phases with a
programmed core temperature.
10.
Use the rotary selector to set the required cooking
time.
11.
If the preparation is complete, use to finish mak-
ing entries or use to select the next phase.
12.
Use to save or to cancel, and exit the menu.
11.3 Entering a name
1.
Enter a name for the recipe under "ABC".
2.
Use the rotary selector to select the letters.
A new word always begins with a capital letter.
Latin characters, certain special characters and
numbers are available.
3.
Briefly press
to position the cursor to the right.
4.
Press and hold
to switch to umlauts and spe-
cial characters.
5.
Press
twice to insert a break.
6.
Briefly press
to position the cursor to the right.
7.
Press and hold
to switch to normal characters.
8.
Press
twice to insert a break.
9.
Press
to delete a letter.
10.
Use to save or to cancel, and exit the menu.
11.4 Starting a recipe
1.
Turn the function selector to .
2.
Press .
3.
Use the rotary selector to select "Individual recipes"
and press to confirm.
4.
Use the rotary selector to select the desired recipe.
5.
Press to start.
The cooking time does not start counting down until
the appliance has reached the set temperature.
Summary of Contents for BOP2201.2
Page 1: ...en User manual and installation instructions BOP2201 2 BOP2211 2 Oven Gaggenau...
Page 50: ......
Page 51: ......


