


en
Booster for pots
12
2.
Press .
a
The preset power levels light up on the cooking
zone displays.
3.
Set down a suitable item of cookware within
8 minutes. Once the cookware is detected, the cor-
responding cooking zone is selected. You can ad-
just the power level using the rotary knob.
a
The power level displays for the unoccupied cook-
ing zones start flashing if the adjustment time has
elapsed.
4.
Touch the symbol again within 90 seconds to ex-
tend the professional cooking function. If you do not
touch the symbol, the unused cooking zones are
switched off.
Notes
¡
You can also set the keep-warm function in profes-
sional cooking mode.
¡
If you set down unsuitable cookware, e.g. aluminium
cookware, the power level display flashes until you
remove the cookware. Check the section "Checking
the cookware" to see whether your cookware is suit-
able for induction cooking. →
11.2 Switching off the professional cooking
function
You can switch off the function in two ways:
Switching off immediately
▶
Press .
a
All cooking zones switch to the power .
a
The symbol lights up white.
Automatic switch-off
The function ends automatically: If, after 8 minutes, no
suitable cookware has been set down on one or more
cooking zones, and the corresponding cooking zone
displays start flashing for 90 seconds.
▶
To switch off the function, press twice.
If you do not touch , the professional cooking
function switches off automatically after 90 seconds.
a
lights up white and the cooking zones without
cookware switch to power level .
a
The cooking zones remain in operation at the set
power level.
11.3 Changing settings
▶
You can change the default settings in the "Basic
settings" menu →
.
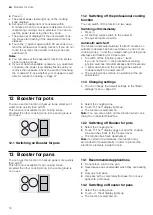
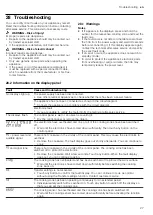
12 Booster for pots
You can use this function to heat up large volumes of
water more quickly than with .
This function is available for all cooking zones,
provided the other cooking zone in the same group is
not in use.
12.1 Switching on Booster for pots
1.
Select the cooking zone.
2.
Touch . The display lights up.
a
The function is switched on.
Note:
You can also switch on this function when cook-
ing with a connected FlexZone.
12.2 Switching off Booster for pots
1.
Select the cooking zone.
2.
Touch . The display goes out and the cooking
zone switches back to the power level.
a
The function has been deactivated.
Note:
In certain circumstances, this function may
switch itself off automatically in order to protect the
electronic elements inside the hob.
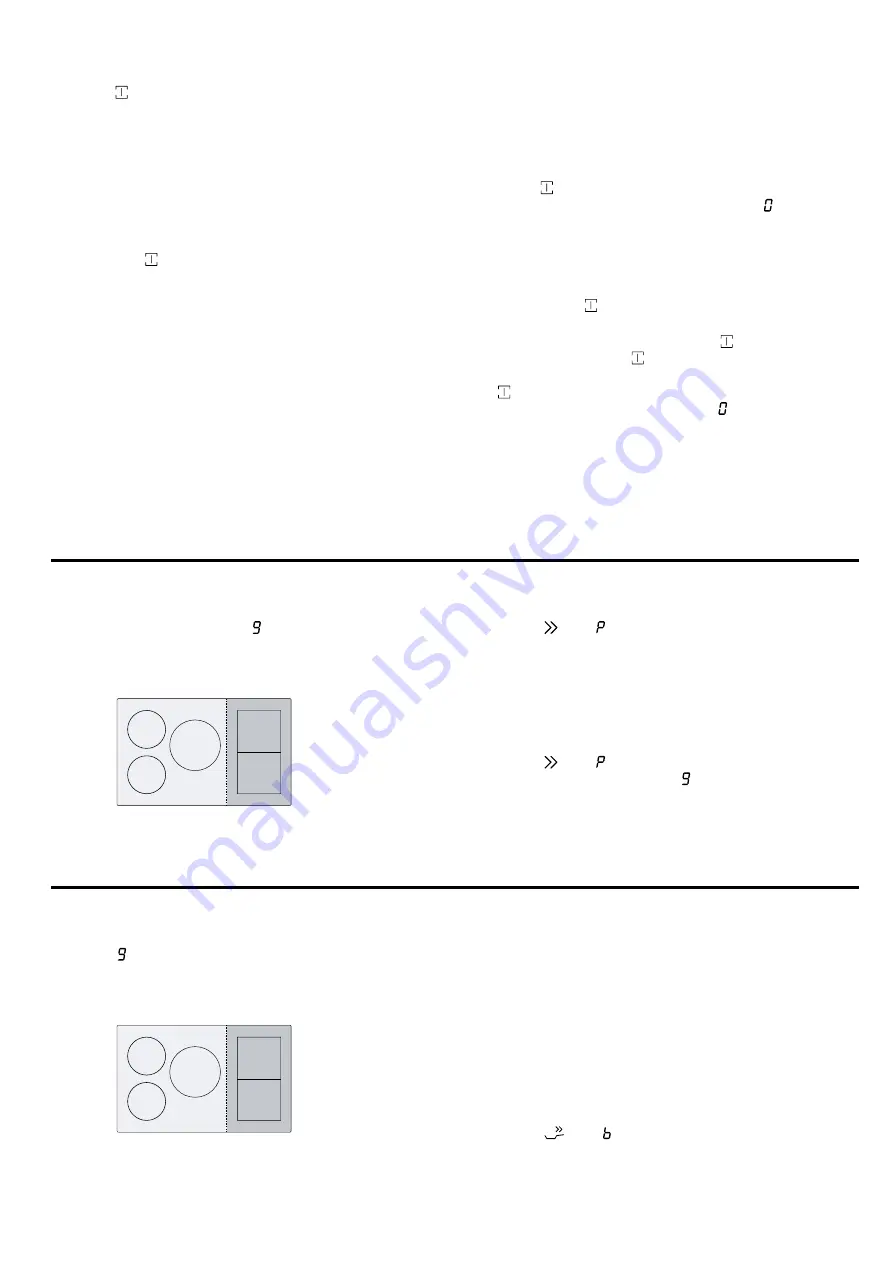
13 Booster for pans
You can use this function to heat up pans more quickly
than with .
This function is available for all cooking zones,
provided the other cooking zone in the same group is
not in use.
13.1 Recommended applications
¡
Do not place a lid on the pan.
¡
Never leave pans unattended when they are heating
up.
¡
Only use cold pans.
¡
Use pans with a completely flat base. Do not use
pans with a thin base.
13.2 Switching on Booster for pans
1.
Select the cooking zone.
2.
Touch
. The display lights up.
a
The function is switched on.


