


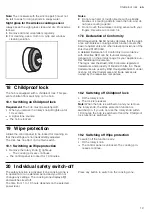


Wireless cooking sensor
en
17
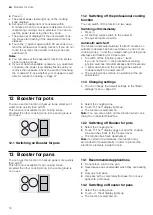
2.
Touching
a
An signal tone sounds and lights up orange. The
cooking zone indicators light up white and the cook-
ing sensor indicators on the cooking zones flash.
3.
Briefly press the centre of the wireless cooking
sensor within 30 seconds.
a
Registration successful: The wireless cooking
sensor is detected within a few seconds. Three
short signal tones sound the colour changes from
orange to white. The cooking sensor indicators on
the cooking zones go out.
a
Detection failed: Five beeps sound. immediately
changes the colour from orange to white. The cook-
ing sensor indicators on the cooking zones go out.
Notes
¡
If there is a fault with the wireless cooking sensor,
the connection may not be established correctly for
the following reasons:
–
Bluetooth communication error.
–
You have not pressed the centre of the wireless
cooking sensor within 30 seconds of selecting
the cooking zone.
–
The battery in the wireless cooking sensor is flat.
Reset the wireless cooking sensor and repeat the
connection procedure.
¡
Not connected correctly due to a transmission error.
Repeat the connection process. If you continue to
experience connection problems, contact customer
service.
Resetting the wireless cooking sensor
1.
Press the centre of the cooking sensor for approx. 8
- 10 seconds.
a
During this process, the LED display for the wireless
cooking sensor lights up three times.
a
When the LED lights up for the third time, it will start
to reset the temperature sensor.
2.
Now stop pressing the centre of the wireless cook-
ing sensor.
a
As soon as the LED goes out, this means that the
wireless cooking sensor has been reset.
3.
Repeat the connection process from point 2.
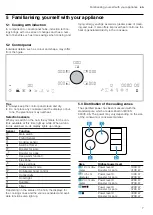
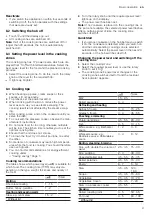
Setting the boiling point
The point at which water starts to boil depends on the
height of your home above sea level. If the water is
boiling too vigorously or not vigorously enough, you
can adjust the boiling point. Proceed as follows:
Select . Basic settings →
Height
Setting value
0 m
100 - 200 m
200 - 400 m
1
400 - 600 m
600 - 800 m
800 - 1000 m
1000 - 1200 m
1200 - 1400 m
Over 1400 m
1
Basic setting
Note:
The temperature of 3/100 ºC is sufficient to cook
efficiently but, to set more intensive cooking, a lower
level can be selected.
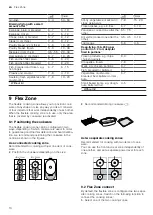
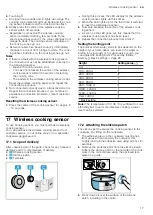
17 Wireless cooking sensor
To use Cooking sensor, you must purchase a wireless
cooking sensor.
You can purchase the wireless cooking sensor from
customer service, in our online shop or in a specialist
shop www.gaggenau.com.
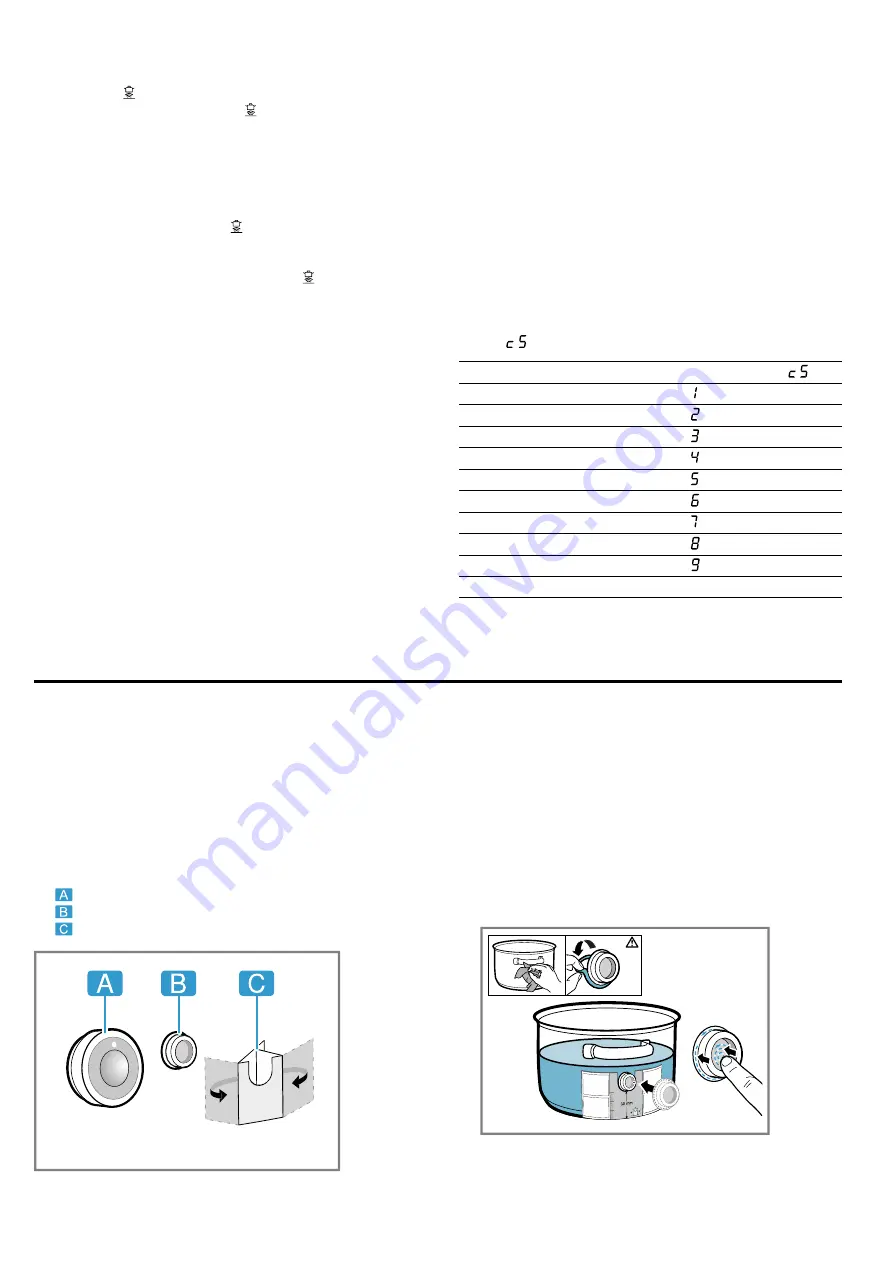
17.1 Scope of delivery
After unpacking all of the parts, check for any transport
damage and for completeness of delivery.
¡
Wireless cooking sensor
¡
Silicone patch
¡
Template
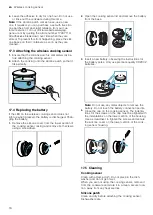
17.2 Attaching the silicone patch
The silicone patch secures the cooking sensor to the
cookware. For fitting on the cookware:
1.
The adhesive area on the cookware must be free
from grease. Clean and dry the container thor-
oughly, and rub the adhesive area using alcohol, for
example.
2.
Remove the protective film from the silicone patch.
Adhere the silicone patch to the outside of the cook-
ware in the correct place using the enclosed tem-
plate as a guide.
3.
Press down all over the surface of the silicone
patch, including in the centre.


