


en
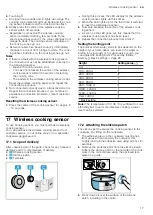
Wireless cooking sensor
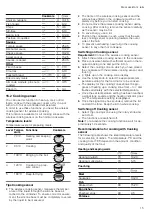
18
4.
Leave the adhesive to dry for one hour. Do not use
or rinse out the cookware during this time.
Note:
If the silicone patch comes loose, use a new
one. If required, you can purchase a set with five silic-
one patches from specialist retailers, from our cus-
tomer service or on our official website www.gag-
genau.com by quoting the article number 17007119.
All adhesives break down over time when they are
stored. To prevent this from happening, place the silic-
one bases on their containers as soon as they are
cleaned.
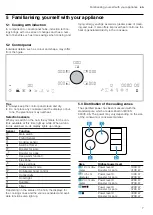
17.3 Attaching the wireless cooking sensor
1.
Ensure that the silicone patch is completely dry be-
fore attaching the cooking sensor.
2.
Attach the cooking onto the silicone patch so that it
fits perfectly.
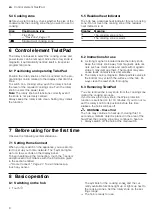
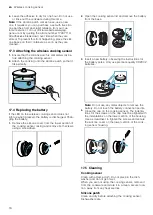
17.4 Replacing the battery
If the LED on the wireless cooking sensor does not
light up when pressed, the battery is discharged. Chan-
ging the battery:
1.
Remove the silicone cover from the lower section of
the cooking sensor casing and remove both screws
using a screwdriver.
2.
Open the cooking sensor lid and remove the battery
from the base.
!
3.
Insert a new battery, observing the instructions for
the battery poles. Only use premium-quality CR2032
batteries.
+
Note:
Do not use any metal objects to remove the
battery. Do not touch the battery connection points.
4.
Close the cap on the cooking sensor. The indenta-
tions for the screws on the cap must be aligned with
the indentations on the lower section of the housing.
Use a screwdriver to tighten the screws and secure
the silicone cover on the lower section of the cook-
ing sensor housing.
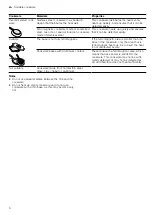
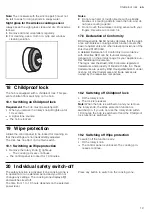
17.5 Cleaning
Cooking sensor
Clean with a damp cloth. Do not place in the dish-
washer and do not get it wet.
When you are not using the cooking sensor, remove it
from the cookware and store it in a clean, secure loca-
tion, away from any heat sources.
Silicone patch
Clean and dry before attaching the cooking sensor.
Dishwasher safe.


