


10
en-us
Installation Procedure
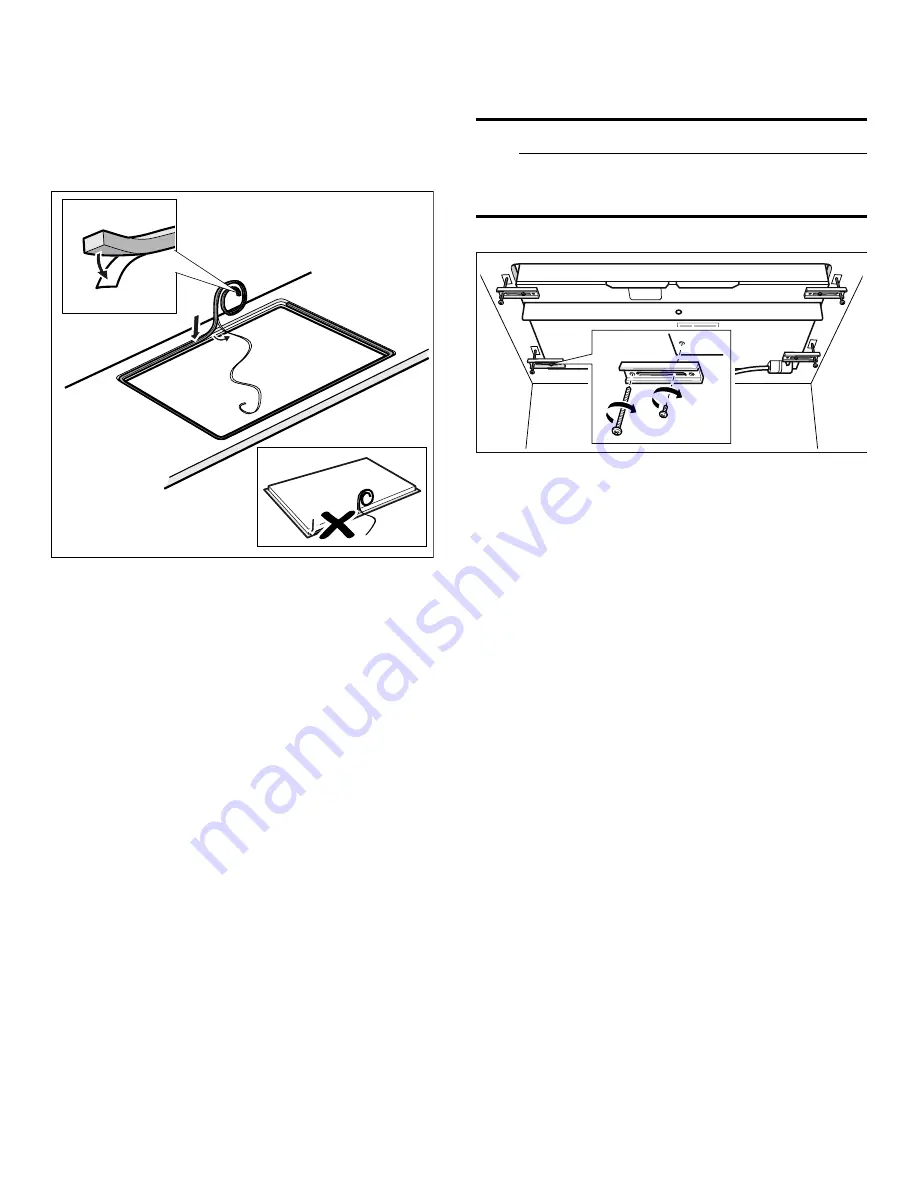
Sealing tape for flush installation
Attach the adhesive sealing tape around the edges of the
countertop.
Note:
Do not apply the sealing tape to the cooktop.
Secure the cooktop to countertop
9
CAUTION
Do not let the glass drop into place. Make sure that
it is supported along a broad area of the edges
when carefully placing the cooktop into the cutout.
The appliance must be secured from below using the
hold-down brackets provided, so it does not slip.
Note:
Protect delicate countertops by placing a wooden
disk underneath.
1.
Rotate the appliance and position it so that the screws
provided are seated loosely in the holes. Move the
hold-down brackets so that the appliance can be
placed in the cutout.
2.
Place the appliance carefully into the cutout.
3.
Insert the clamping screws into the hold-down
brackets and secure the appliance to the countertop.
Tighten screws.


