


43
Home Connect
en
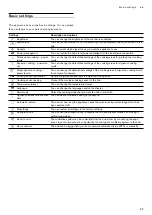
Settings via app
Using the Home Connect app, you can easily access the
basic settings for your hob and send settings for the
cooking positions to the hob.
Notes
–
If the appliance is being operated by means of the
controls on the appliance itself, this mode of
operation always has priority. When the controls on
the appliance itself are being used, you will not be
able to operate it via the Home Connect app.
–
The transfer settings option is activated by default.
–
If the settings transfer option has been deactivated,
only the hob's operating statuses will be displayed
in the Home Connect app.
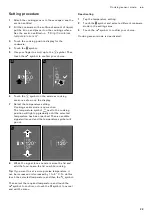
1
To open the basic settings, touch the
t
symbol on
the main screen.
2
Scroll left or right with your finger and select the
Home network
setting.
3
Touch
Settings via App
.
4
To activate the settings transfer option, touch
Yes
;
to deactivate the settings transfer option, touch
No
.
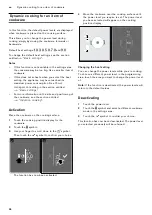
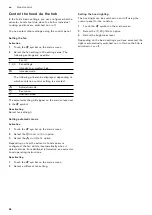
Confirming settings
Once the settings have been transferred to a cooking
position, a confirmation message will appear on the
hob's touchscreen display.
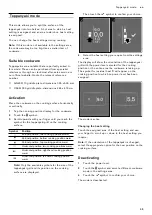
Software update
Using the software update function, the hob's software
can be updated (e.g. for the purpose of optimisation,
troubleshooting or security updates). To use the app,
you must first register as a Home Connect user, install
the app on your mobile device and connect to the Home
Connect server.
The Home Connect app will tell you when a software
update is available. You can start the software update
via the app or the hob. To do this, refer to the
instructions on the display.
Once the update has been successfully downloaded,
you can install it via the Home Connect app if you are
connected to your local area network.
The Home Connect app will notify you when the update
has been successfully installed.
Notes
–
You can continue to use the hob as normal while
updates are downloading.
–
Depending on your personal settings in the app,
software updates can also be set to download
automatically.
–
We recommend that you install security updates as
soon as possible.
Remote diagnostics
If a fault occurs, the after-sales service can use remote
diagnostics to access your appliance.
Contact the after-sales service, making sure that your
appliance is connected to the Home Connect server
and checking that the remote diagnostics service is
available in your country.
Note:
For more information and to check whether the
remote diagnostics service is available in your country,
please visit the Help & Support area of the Home
Connect website for your country: www.home-
connect.com
6HWWLQJVYLDDSS
'HDFWLYDWHG
Summary of Contents for CX 482
Page 1: ...Instruction manual CX 482 Full surface induction cooktop...
Page 55: ......


