

7
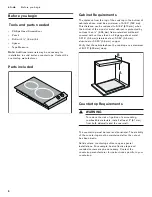
Prepare Installation Space
en-us
Prepare Installation Space
Prepare Installation Space
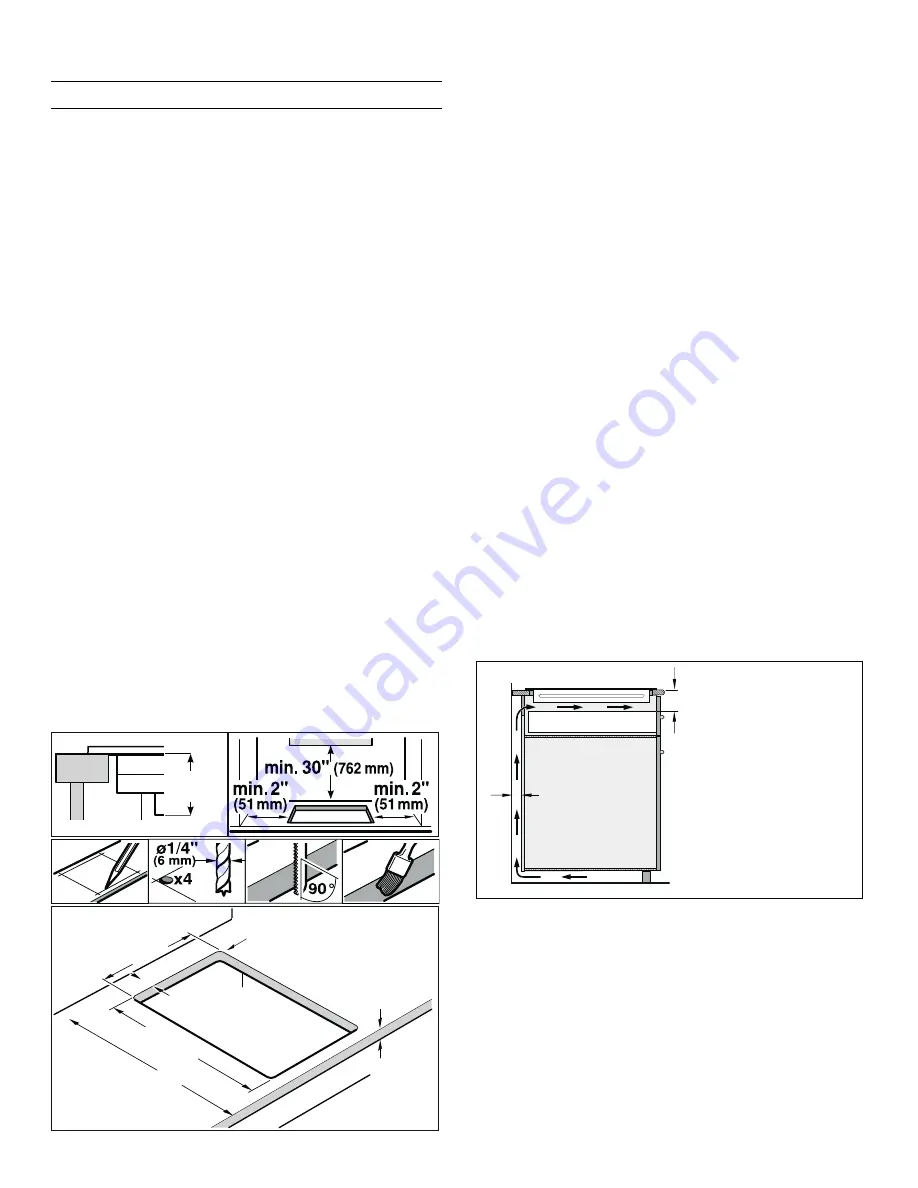
Create the cut-out in the countertop according to the
installation diagram. The angle of the cut surface to the
countertop must be 90°.
The lateral cut-out edges must be flat in order to ensure
that the retaining springs are positioned properly on the
appliance. With multi-layered countertops, secure strips
laterally in the cut-out if necessary.
After creating cut-out, remove shavings. Seal cut
surfaces in a heat- and water-resistant manner.
Observe minimum distance between device underside
and cabinet surfaces of
3
/
8
" (10 mm).
The worktop into which the cooktop is installed must be
heat-resistant up to 140° F (90 °C).
The worktop must be reinforced if it is less than
13
/
16
inch
(20 mm) thick.
If the thickness of the worktop into which the cooktop is
installed does not comply with the specifications,
reinforce the worktop using a fire- and water-resistant
material until it reaches the minimum thickness.
Otherwise, sufficient stability cannot be assured.
▯
The worktop into which the cooktop is installed should
withstand loads of approx. 133 lbs (60 kg).
▯
Confirm the cooktop is level only after it has been
installed.
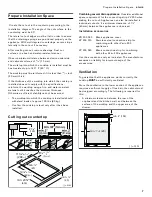
Cutting out countertop
Combining several Vario appliances:
Consider additional
space requirement for the connecting strip VV 200 when
making the cut-out. Appliances can also be installed in
individual cut-outs, if a minimum clearance of 1½"
(40 mm) between the appliances is observed.
Installation accessories
Use the accessories only as indicated. The manufacturer
assumes no liability for incorrect usage of the
accessories.
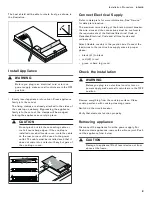
Ventilation
To guarantee that the appliance works correctly, the
cooktop
MUST
be sufficiently ventilated.
Since the ventilation in the lower section of the appliance
requires a sufficient supply of fresh air, the cabinet must
be designed accordingly. The following is required for
this:
▯
A minimum clearance between the rear of the
cupboard and the kitchen wall, and between the
surface of the worktop and the upper area of the
drawer.
PP
5
è¼ʚ
è¼ʓʘ
PLQë
PLQë
èʌ¼ʓʘ
PLQʌ¼ʚ
ç¼ʚ
è¼ʓʘ
ʌ¼ʓʘ
è¼ʓʘ
VD 200 020
Black appliance cover
VV 200 010
Stainless steel connection strip for
combining with other Vario 200
appliances
VV 200 020
Black connection strip for combining
with other Vario 200 appliances
PLQèç¼ʓʘ
PP
PLQ


