

9
Installation Procedure
en-us
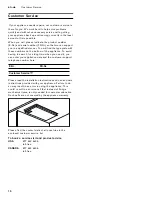
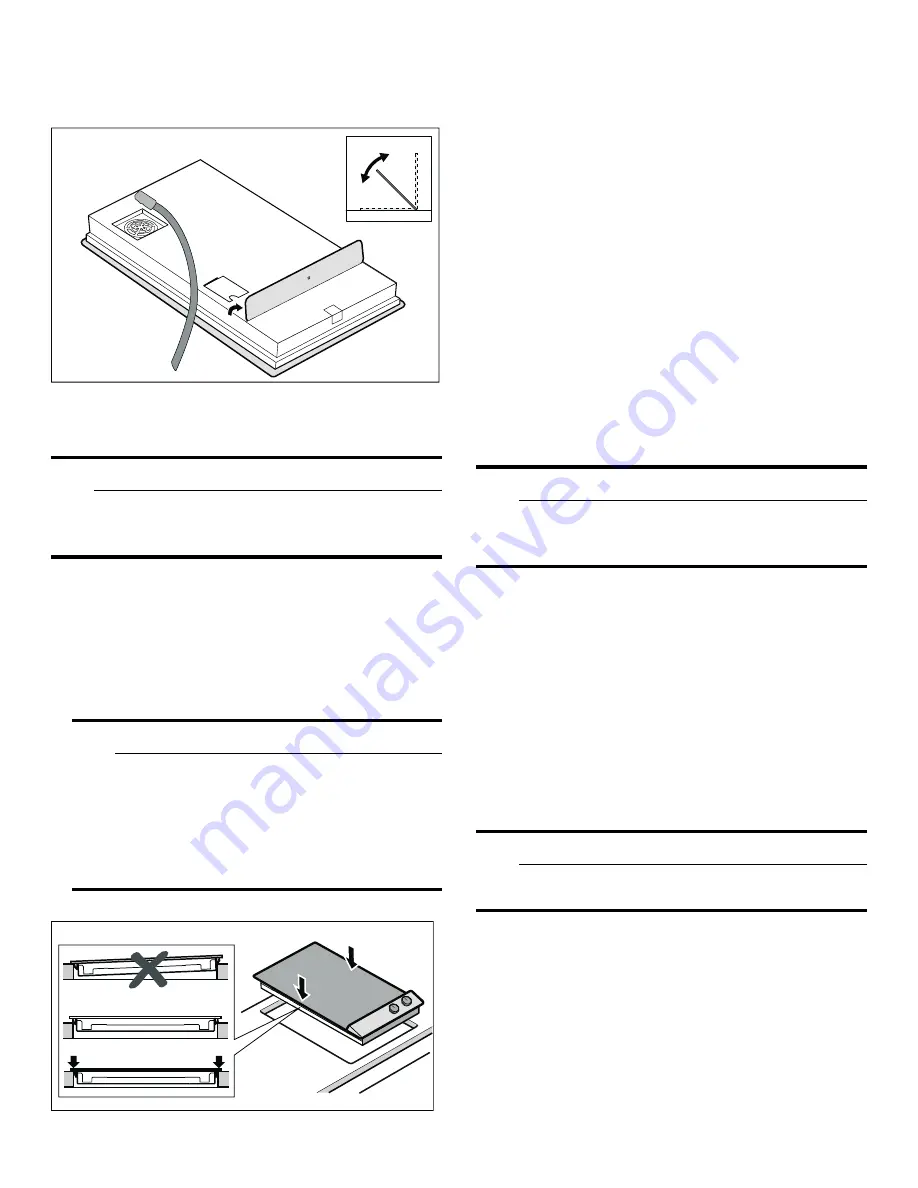
The heat shield will be able to rotate freely, as shown in
the illustration.
Install Appliance
9
WARNING
Before you plug in an electrical cord or turn on
power supply, make sure all controls are in the OFF
position.
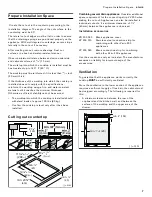
1.
Evenly insert appliance into cut-out. Press appliance
firmly into the cut-out.
The fixing clamps are already attached to the sides of
the cooktop on delivery. By pressing the appliance
firmly into the cut-out, the clamps will be wedged,
holding the appliance securely in place.
9
CAUTION
Do not pinch or kink the connecting cable or
route it over sharp edges. If the cooktop is
installed over a built-under oven, route the cable
on the rear corners of the oven to the power
outlet. The cable must be installed such that it
does not come into contact with any hot pars of
the cooktop or oven.
Connect Electrical Supply
Refer to data plate for more information. See "Service"
for data plate location.
The maximum current raing of the branch-circuit breaker,
the wire sizes and the connections must be conform to
the requirements of the National Electrical Code or
Canadian Electrical Code and all local codes and
ordinances.
Attach flexible conduit to the junction box. Connect the
lead wires to the junction box supply wires in proper
phase:
▯
black (L1) to black
▯
red (L2) to red
▯
green or bare to ground
Check the Installation
9
WARNING
Before you plug in an electrical cord or turn on
power supply, make sure all controls are in the OFF
position.
Remove everything from the cooktop surface. Clean
cooktop surface with cooktop cleaning creme.
Switch on the circuit breaker.
Verify that elements function properly.
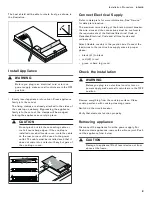
Removing appliance
Disconnect the appliance from the power supply. For
flush-mounted appliances, remove the silicone joint. Push
out the appliance from below.
9
CAUTION
Damage to appliance! Don't lever device out from
above at the frame.


