background image

en 

Frying sensor function

16

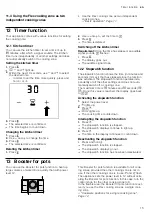
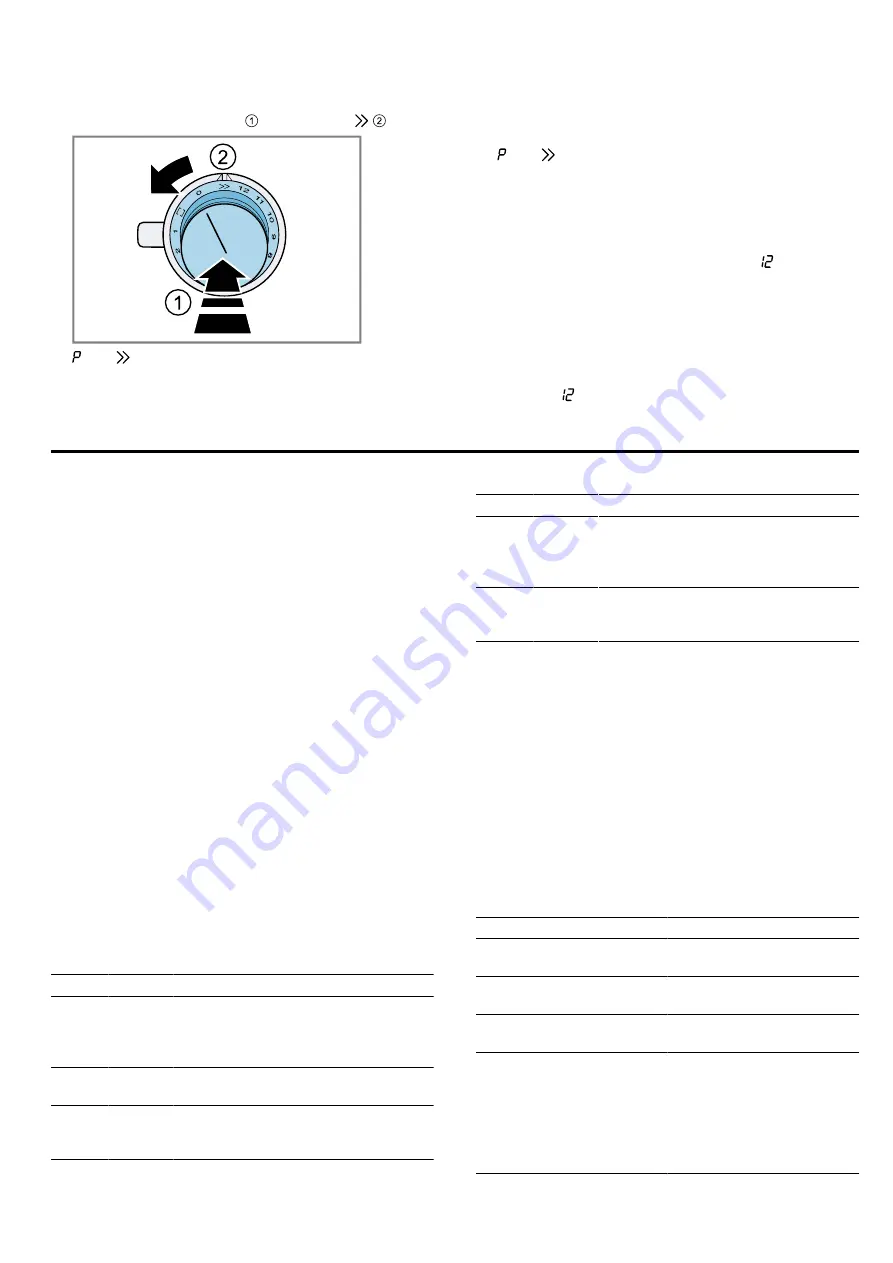
13.1 Switching on Booster for pots

Push in the control knob  ​⁠ and turn it to  ​⁠  ​⁠.

a

​⁠ and  ​⁠ light up.

a

The function is activated.

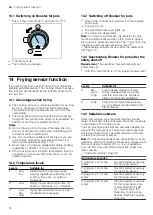
13.2 Switching off Booster for pots

Push in the control knob and turn it to the required
power level.

a

​⁠ and  ​⁠ go out.

a

The selected power level lights up.

a

The function is deactivated.

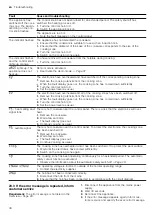
Note: 

In certain circumstances, the Booster for pots

function automatically switches off in order to protect
the electronic elements inside the hob. In this case, the
appliance automatically sets power level  ​⁠ ​⁠. 
→ 

"Deactivating Booster for pots after the safety shut-

off", Page 16

13.3 Deactivating Booster for pots after the
safety shut-off

Requirement:

 The appliance has automatically set

power level  ​⁠ ​⁠.

Turn the control knob to 0 or a required power level.

14  Frying sensor function

If you are frying food, use this function to maintain the
suitable pan temperature. The cooking zones that have
this function are identified by the roasting sensor func-
tion symbol.

14.1 Advantages when frying

¡

The cooking zone only continues heating for as long
as this is necessary to maintain the temperature.
This saves energy and prevents the oil or fat from
overheating.

¡

The frying sensor function reports when the empty
frying pan has reached the optimum temperature for
adding oil and then for adding the food.

Notes

¡

Do not place a lid on the pan. Otherwise, the func-
tion is not activated correctly. Use a splatter guard
to prevent fat from spitting out.

¡

Use oil or fat that is suitable for stir fries. If you are
using butter, margarine, cold-pressed olive oil or
lard, use temperature setting 1 or 2.

¡

Never leave a frying pan unattended during heating,
regardless of whether or not it contains food.

¡

If the cooking zone is a higher temperature than the
cookware or vice versa, the frying sensor is not ac-
tivated correctly.

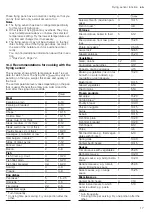
14.2 Temperature levels

Levels

Suitable for

1

Very
low

Preparing and reducing sauces,
stewing vegetables and frying food
in extra virgin olive oil, butter or
margarine.

2

Low

Frying food in extra virgin olive oil,
butter or margarine, e.g. omelettes.

3

Low -
Me-
dium

Frying fish and thick food such as
meatballs and sausages.

Levels

Suitable for

4

Me-
dium -
High

Frying steaks (medium or well
done), breaded frozen products,
and thin food such as schnitzel,
strips of meat and vegetables.

5

High

Frying food at high temperatures,
e.g. rare steaks, potato fritters and
fried potatoes.

14.3 Suitable cookware

Select the cooking zone that best matches the dia-
meter of the base of the cookware. Place the cookware
in the centre of the cooking zone.
You can purchase pans that are specially adapted for
use with the frying sensor. These special accessories
can be purchased from specialist retailers or through
our technical customer service.

Note: 

Not all special accessories are suitable for every

appliance. When purchasing accessories, always quote
the exact product number (E no.) of your appliance.
You can find more information about this under Cus-
tomer service. 
→ 

"Customer Service", Page 31

Optional accessories

Frying pan, 15 cm dia-
meter

Recommended accessory
for the frying sensor.

Frying pan, 19 cm dia-
meter

Recommended accessory
for the frying sensor.

Frying pan, 21 cm dia-
meter

Recommended accessory
for the frying sensor.

Frying pan, 28 cm dia-
meter

Recommended accessory
for the frying sensor. Re-
commended for the 28
cm cooking zone, the
three-ring cooking zone
and the FlexPlus cooking
zone only.

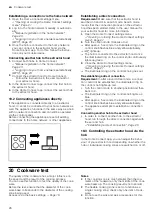
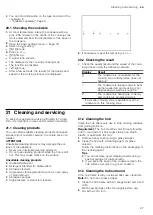
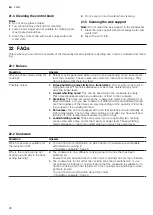
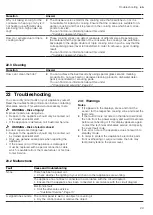
Summary of Contents for VI492115

Page 1: ...en User manual and installation instructions VI492115 Induction hob Gaggenau...

Page 2: ...2 A B C 1 1 2200 W 3700 W 3300 W 3700 W 21 2200 W 3700 W 26 2600 W 3700 W 32 3300 W 3700 W 1 IEC 60335 2 6...

Page 3: ...stalled according to the safety in structions The installer is responsible for en suring that the appliance works perfectly at its installation location Only use this appliance To prepare meals and dr...

Page 4: ...be kept away from the appliance Hob protective grilles may cause accidents Never use hob protective grilles The appliance becomes hot during operation Allow the appliance to cool down before cleaning...

Page 5: ...e that is in a good con dition Stains discolouration Unsuitable cleaning methods Only use cleaning agents that are suitable for glass ceramic and only clean the hob when it is cold Blisters or fractur...

Page 6: ...on the attached appliance pass and online on the product page for your appliance 4 Suitable cookware Cookware that is suitable for induction cooking must have a ferromagnetic base i e it must be attra...

Page 7: ...g Dispose of the appliance in an environmentally friendly manner Information about current disposal methods are available from your specialist dealer or local author ity This appliance is labelled in...

Page 8: ...on the display The displays show set values and functions Operating status Power levels Residual heat Short term timer Stopwatch function Front left cooking zone Rear left cooking zone Centre hotplate...

Page 9: ...ngs for the appliances so that all of the illuminated rings light up in the same shade Changing the colour of the illuminated ring Page 12 Indicator Name Off Appliance OFF Lights up Orange Appliance O...

Page 10: ...or will stay lit for as long as the cooking zone remains warm 7 Accessories You can buy accessories from the after sales service from specialist retailers or online Only use original ac cessories as t...

Page 11: ...n the marked hotplates 2 Push in the control knob and turn it to the re quired power level 1 2 a The selected power level lights up on the display a The illuminated ring on the control knob lights up...

Page 12: ...ring Note The illuminated ring on the control knob lights up orange during operation You can choose between a lighter and a darker orange 1 Carry out the following operating steps without inter ruptio...

Page 13: ...the ingredients is also important Add ingredients with a longer cooking time first e g vegetables rich in fibre such as carrots Only add ingredients with a shorter cooking time at the end e g mushroom...

Page 14: ...other Set the re quired power level for each individual cooking zone Use just one item of cook ware on each cooking zone 11 3 Using the Flex cooking zone as a single cooking zone Requirement The cooki...

Page 15: ...s that has elapsed since the function was activated The stopwatch function operates inde pendently of all the other settings and does not auto matically switch off a cooking zone The maximum time is m...

Page 16: ...r 2 Never leave a frying pan unattended during heating regardless of whether or not it contains food If the cooking zone is a higher temperature than the cookware or vice versa the frying sensor is no...

Page 17: ...s 4 7 12 Minced meat 4 6 10 Bacon 2 5 8 Fish Fish fried e g trout 3 10 20 Fish fillet plain 3 4 10 20 Fish fillet breaded 3 4 10 20 Scampi 4 4 8 Prawns 4 4 8 Egg dishes Pancakes 2 5 1 5 2 5 Omelette 2...

Page 18: ...s been reached add the oil and then the food to the pan 5 Turn the food so that it does not burn 14 6 Switching off Frying Sensor Turn the control knob that you used to select the temperature to 0 a T...

Page 19: ...hting Indicator Selection Signal tones All signal tones are switched on 1 Only the fault signal is switched on Power management function Limit the total power of the hob The available set tings depend...

Page 20: ...our ap pliance to a mobile device lets you control its functions via the Home Connect app adjust its basic settings and monitor its current operating status It is not pos sible to perform a remote sta...

Page 21: ...tructions in the Home Connect app 18 3 Opening or closing the Home Connect settings menu In the Home Connect settings menu you can connect your appliance to Home Connect and implement the settings for...

Page 22: ...k Login to the Wi Fi home network with a WPS enabled router Direct connection to an extractor hood You can connect the hob directly to a compatible extractor hood Switching the Wi Fi on or off You can...

Page 23: ...Check that the password has been entered cor rectly Connection to the mobile device unsuccessful 1 If a connection could not be established turn the control knob to another position and then back to o...

Page 24: ...rk login a Once the illuminated ring around the control knob lights up green the appliance is available in the app on the mobile device 18 8 Exiting the Home Connect settings menu 1 Carry out the foll...

Page 25: ...ion Please see the information on data protection The first time your appliance is registered on a home network connected to the Internet your appliance will transmit the following types of data to th...

Page 26: ...ckwise to 2 a After approx 5 seconds the illuminated ring on the control knob flashes blue and yellow alternately a lights up a The hob is connected to the extractor hood once the illuminated ring on...

Page 27: ...to clean and maintain it carefully 21 1 Cleaning products You can obtain suitable cleaning products and glass scrapers from customer service the online shop or a retailer ATTENTION Unsuitable cleaning...

Page 28: ...kware is made from different mul tilayer materials or if you use cookware of different sizes and different materi als The loudness of the noise can vary depending on the quantity of food be ing cooked...

Page 29: ...RNING Risk of injury Improper repairs are dangerous Repairs to the appliance should only be carried out by trained specialist staff If the appliance is defective call Customer Service WARNING Risk of...

Page 30: ...e a When the fault display goes out the cooking zone has cooled down sufficiently 2 Turn the control knob to 0 3 Set the power level as usual heat setting and signal tone There is hot cookware near th...

Page 31: ...and terms of warranty in your country is available from our after sales service your retailer or on our website If you contact Customer Service you will require the product number E Nr and the produc...

Page 32: ...ll find the dimensions of the appliance here 26 3 General information Read this instruction manual carefully Only a licensed expert may connect the ap pliance Switch off the power supply before carryi...

Page 33: ...nt material Only check that the hob is level once it has been in stalled 26 6 Instructions for the electrical connection In order to safely connect the appliance electrically ob serve this information...

Page 34: ...y Accessories Order number Connection strip for flush installation VA420004 Connection strip for sur face mounted installation VA420010 26 10 Preparing the unit ATTENTION A fan is located on the under...

Page 35: ...90 6 Remove dust and residues from the cut out work Seal the cut surfaces so that they are heat resistant and waterproof 7 Provide an intermediate floor between the appliance and the top drawer 8 Obse...

Page 36: ...knob 1 Create the holes for the control knob in accordance with the enclosed instructions 2 If the panel is more than 23 mm thick cut out the rear of the front panel for the retaining plate 3 Note the...

Page 37: ...with connection diagram 3 N use the supplied 5 wire cable If the connection is carried out in accordance with connection diagram 1 N use the supplied 3 wire cable Arrange the bridges in accordance wit...

Page 38: ...ting an individual control knob use 2 screws to hold the retaining plate in place and pre vent it from rotating In the case of stone worktops stick the retaining plate using heat resistant two compone...

Page 39: ...do not touch any hot parts of the hob or oven Install an intermediate floor so that the connection cables are no longer accessible after the hob has been installed 1 Connect the connection cable for a...

Page 40: ...plied and tighten them carefully Do not use an electric screwdriver 2 Align the hob with the working surface using the re taining clips 26 17 Establishing the power supply 1 Observe the connection dat...

Page 41: ...cone e g Novasil S70 or Ottoseal S70 Unsuitable silicone adhesive causes permanent dis coloration to natural stone worktops 2 Use the smoothing agent recommended by the manufacturer to smooth the join...

Page 42: ......

Page 43: ......
Page 44: ...4 81739 M nchen GERMANY www gaggenau com 9001798431 9001798431 en 021108 Valid within Great Britain Imported to Great Britain by BSH Home Appliances Ltd Grand Union House Old Wolverton Road Wolverton...

Reviews: