21
Installation Instructions
en-us
Leveling the dryer
Importance of leveling the dryer
It is important that your dryer is level and that all four
dryer feet press with equal pressure against the floor.
This will help assure the quietest, most vibration-free use
of your dryer.
To adjust the dryer feet:
1.
Install the dryer on a level and solid surface,
preferably in a corner of a room.
2.
If the floor is uneven (or not level) adjust the dryer feet
as required to level the dryer. Do not place anything
under the dryer feet to help level the dryer.
3.
Extend the dryer feet no more than is necessary. The
more the feet are extended, the more vibration the
dryer will experience. Start with the dryer feet turned
all the way in and adjust each foot as necessary.
4.
Use a bubble level to check the top of the dryer to
make sure it is level side to side and front to rear.
5.
Press down on each corner of the dryer top to make
sure the dryer does not “wobble“. There should be no
"give" or movement. All four dryer feet should press
equally against the floor. This is just as important as
the dryer being level to prevent vibration.
Check heating system
1.
Check that the drum is empty.
2.
Close the dryer door.
3.
Switch the dryer to the
Time Dry
program.
4.
Press the
A
(Start/Pause)
button.
5.
After 5-6 minutes press the
A
(Start/Pause)
button
and open the door.
–
If the interior of the dryer feels warm, the dryer
has been connected properly. Press the center of
the Program Selector to switch off the appliance.
–
If the dryer does not work, press the center of the
Program Selector to switch off the appliance.
Look in the Troubleshooting section of this user
manual for hints in solving the problem.
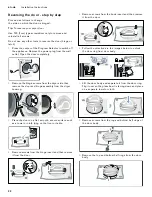
Preparing to transport the dryer - step
by step
1.
Press the center of the Program Selector to switch off
the appliance.
2.
Pull out power supply plug.
3.
Place any accessories in the drum.
4.
Close the door and secure with adhesive tape.
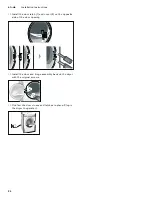
5.
Screw the height-adjustable feet of the dryer into the
housing to prevent them from being damaged during
transportation.
Summary of Contents for WT262700
Page 1: ...DJJHQDX en us Use and Care Manual Installation Instructions Dryer WT262700...
Page 2: ...2...
Page 53: ......
Page 54: ......
Page 55: ......


