3. Select the correct filter basket
and insert it in the filter holder (9).
Use the small filter basket for cup
and the large filter basket for 2 cups
of espresso. Then insert the filter
holder (9) into the brew head (11) to
warm-up.
4. After the warm-up period, remove
the warm filter-holder (9) from the
brew-head (11) and fill with correctly
ground espresso coffee using the
measuring spoon provided. Place
one level measure of coffee in
basket for each cup of espresso. 00
not overfill. Gently tamp down coffee
with the tamper (13) provided. 00
not compress too firmly.
Clean any excess coffee from the
rim of filter holder (9). Insert filter
holder into brew head (11) by
holding handle approximately 45
degrees to the left as you face
machine. When properly aligned,
move handle firmly to the right to
lock into position. The handle should
point to the front of the machine or
slightly to the right.
Place one or two espresso cups on
the drip plate (10) to line up with the
spouts of the filter holder. Depress hot
water/brew switch (3) to “I” position.
Espresso will start to flow into cups.
When cups are
full, release brew
switch to
The more water you
allow to flow, the weaker the coffee.
When properly made, the espresso
will have a light brown foam “crema”
floating on the top. If not, refer to
Troubleshooting Hints.
Remove
cups and serve.
8. To make more espresso, carefully
and slowly remove the filter holder
by moving handle to the left. Use
care as hot water will be on top of
the coffee grinds in the holder. Some
water will continue to drip from brew
head as filter holder is removed.
That is normal and due to the pump
pressure in the system.
Knock out used coffee grinds from
filter basket and rinse. For more
espresso repeat steps 4 to above.
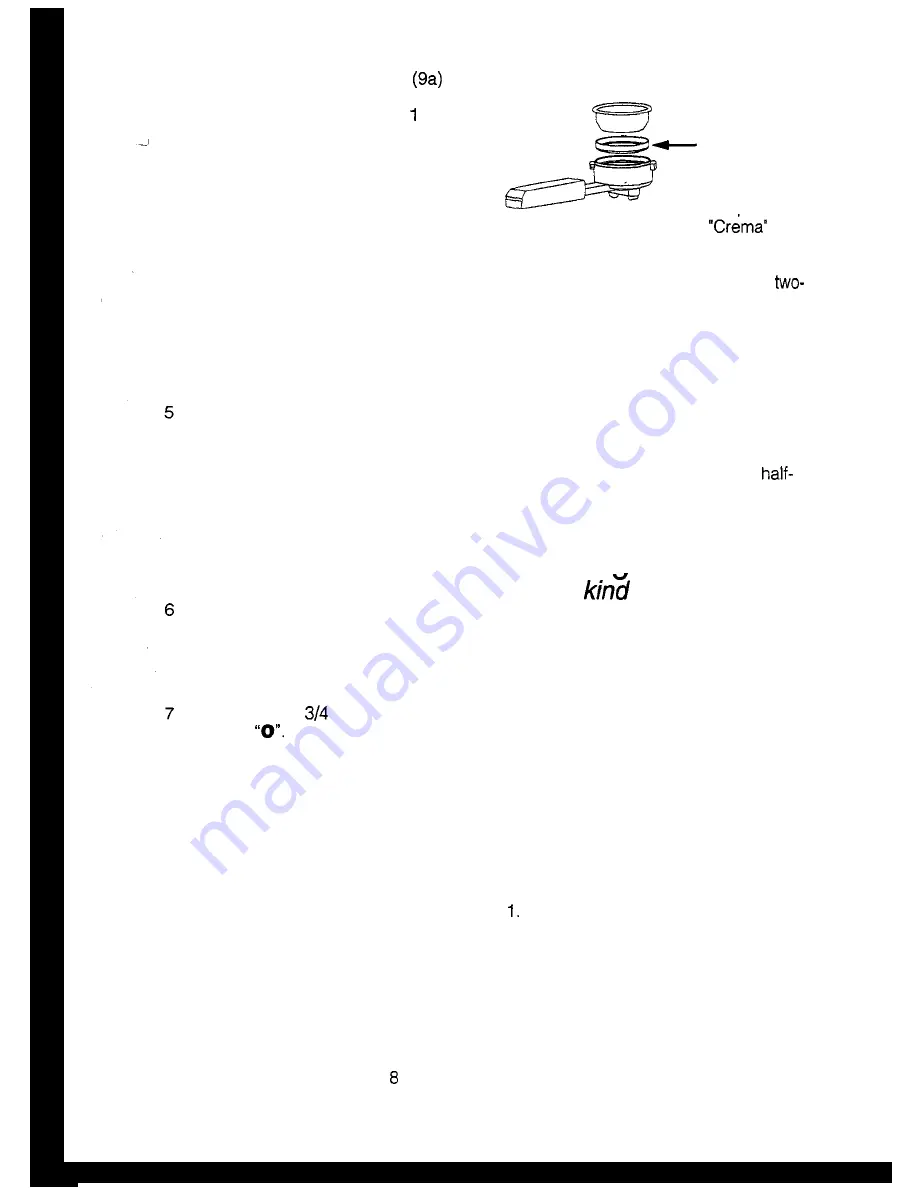
“Perfect crema” device
A unique
disc fitted
into the
filterholder
will produce
coffee giving
the perfect
essential for the authentic espresso,
whatever type of grind you use.
Furthermore, you need only use the
cup filter basket even when brewing for
one person (one level measure of coffee
only).
Preparing
cappuccino:
When preparing to make cappuccino,
have all of the ingredients at hand as
well as a frothing pitcher (or mug)
filled with skimmed or low-fat milk and
cups that are larger (6 oz.) than those
used for espresso.
Frothina Milk:
Which
of milk?
The less fat content in the milk the
denser the froth will be. Skimmed or
low-fat (2%) milk will provide a thick
foam. With regular milk the froth will
quickly collapse. The Turbo-Frother will
give you all the froth required but don’t
let milk come to a boil. Let frothed milk
stand for about 30 seconds before
spooning in onto the espresso.
It may require two or three tries to
“become an expert” but you will be
successful at frothing milk if you give it a
chance. Swivel the Turbo-Frother steam
nozzle slightly outward so that you can
get the frothing pitcher under the nozzle
without hitting the base of the machine.
Make espresso (in a large cups) as
described above.
2. Depress steam switch (4) to “I”.
3. After 10 to 15 seconds or, when
temperature ready-light (3a) goes
on, place the frothing pitcher
halffilled with low-fat milk under
Turbo Frother steam nozzle so that
tip is just under the surface of the
milk. See Fig. A.


