31/86
Gala Gar, S.L. c/ Jaime Ferrán, 19 (Políg. Cogullada) | Tel.: (+34) 976 47 34 10 - 50014 ZARAGOZA |
SMART 210 TIG PULSE
5. INSTALATION AND OPERATION.
Note: Please install the machine strictly according to the following steps.
The housing protection grade of this machine is IP21S, so do not use it in rain.
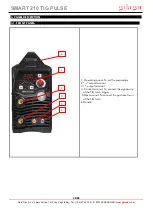
Connect the power input terminal(AC220V INPUT)on the back panel of the machine to provisions of the
Voltage and with a power cord of appropriate specification throng a fuse with a capacity of 40A or more
Locate the welding source near the socket, and keep it well ventilated. To ensure good dissipation, the
space around the welding source should not be less than 250mm.
Please protect the circuit with delay fuse of corresponding specifications to ensure normal work.
Grounding requirements:
In order to ensure normal work and personal safety and reduce the EMI, the welding source should be
grounded reliably.
5.1. TIG
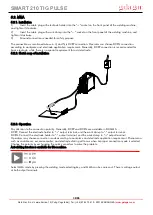
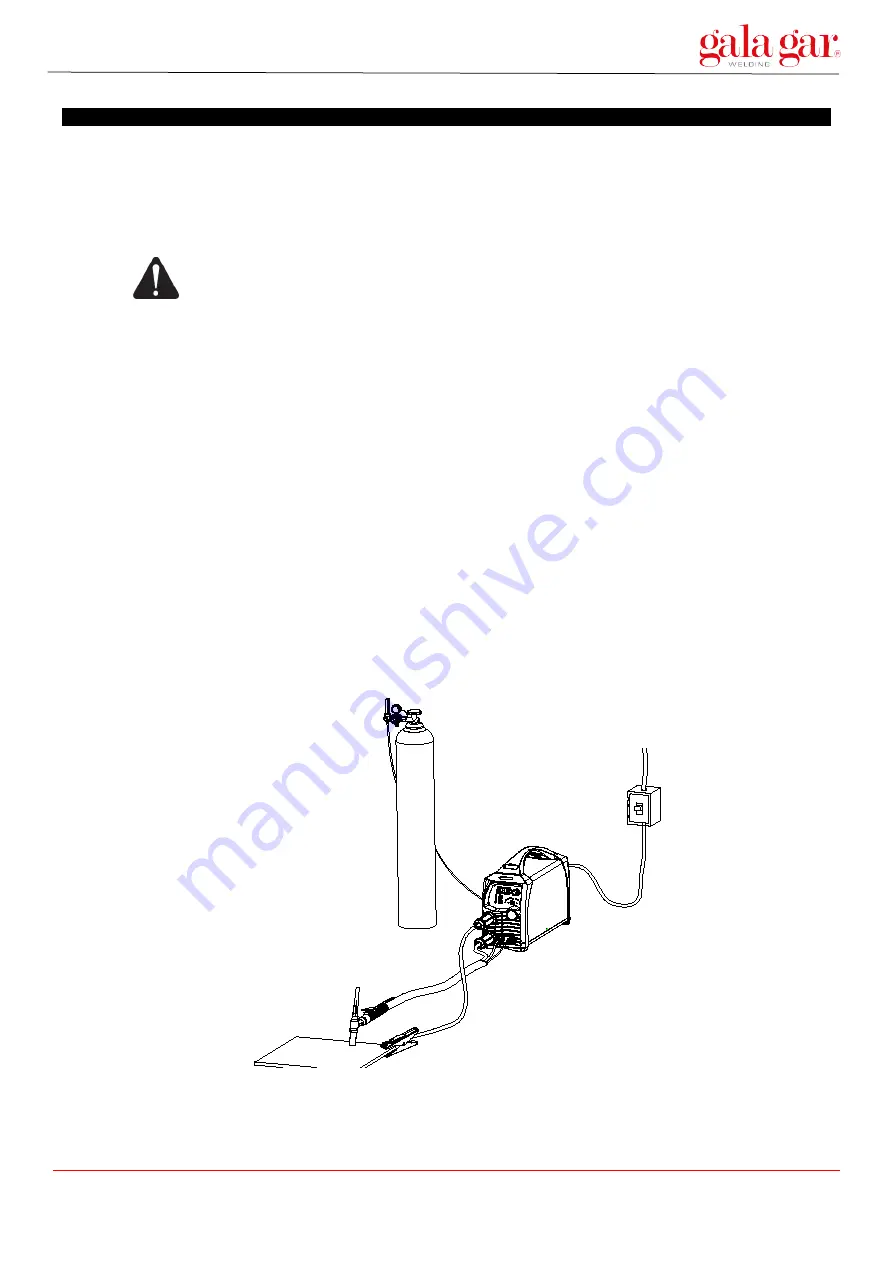
5.1.1. Installation
1)
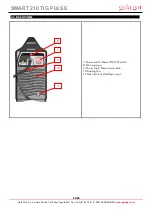
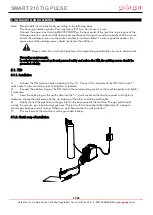
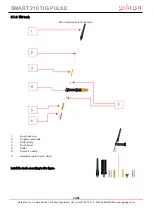
Connect the TIG torch correctly according to Fig. 9-1. Connect the connector of the TIG torch to the “-”
quick socket on the machine panel, and tighten it clockwise.
2)
Connect the aviation plug on the TIG torch to the corresponding socket on the machine panel, and tighten
it clockwise.
3)
Insert the quick plug on the earth cable into the “+” quick socket on the machine panel, and tighten it
clockwise. Clamp the workpiece with the work clamp at the other end of the earth cable.
4)
Tightly connect the gas hose to the gas inlet on the back panel of the machine. The gas path should
include the cylinder, gas regulator and gas hose. The joint with the hose should be tightened with a hoop to
prevent gas leakage and air mixing. Otherwise, weld bead cannot be well protected.
5)
The enclosure of the machine must be grounded reliably.
5.1.2. Sketch map of installation


