9
Setting The Date & Time
Note:
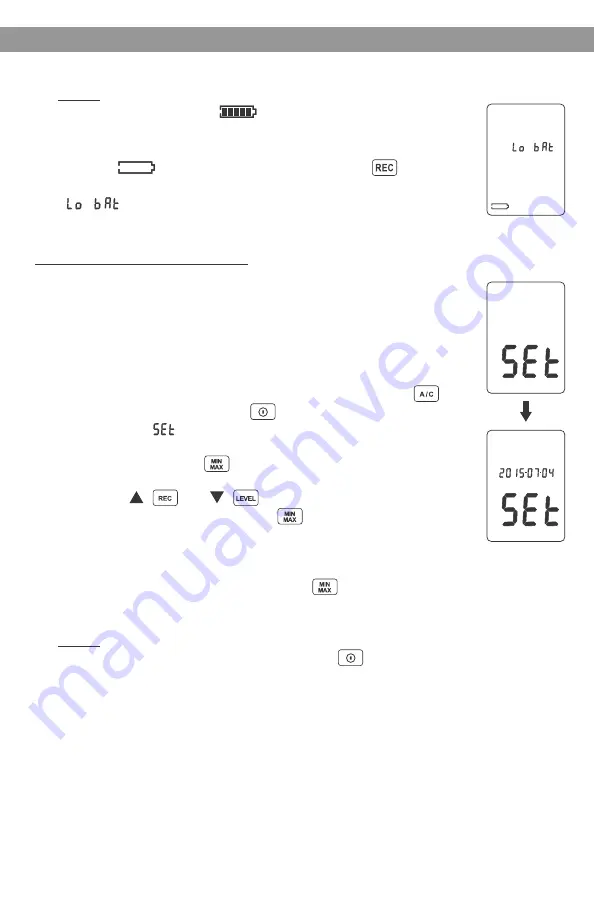
The battery indicator “ ” shows the remaining
battery power. The number of black bars decreases
as the battery runs out. When the power is almost
empty, “ ” will disappear. Pressing the
button will cause the LCD display to show the
“ ” warning indication. If the meter is under
recording mode, it will stop.
Setting The Date & Time:
The unit incorporates a clock so that the data logger
function can also record the date and time, along
with the measurement value in the memory.
Turn the unit off.
1.
Enter SETUP mode by pressing and holding the
button and then press the power button to turn
the unit on. “ ” will then blink on the LCD display.
2.
Press the
CLOCK
( ) button to set the clock.
3.
Press the ( ) or ( ) buttons to adjust the
year, then press the
CLOCK
( ) button to adjust
the next values:
(Month > Date > Hour > Minute > Second)
4.
When finished, press the CLOCK ( ) button to
exit the SETUP mode.
5.
Note:
To abort during the process, press the power button to exit the
SETUP mode.
An internal rechargeable backup battery keeps the clock of the unit
running. When the power is turned off, the backup battery is
recharged by the main batteries. The clock will keep running for 30
minutes on the backup battery alone. If the unit is not to be used for
an extended period of time, the main batteries should be taken out to
prevent possible damage due to battery fluid leakage. After
reinserting the batteries, be sure to set the date and time again.
a.
b.


