System
Galaxy
Quick
Guide
for
Bioscrypt
/
L
‐
1
Setup
and
Enrollment
System
Galaxy
Quick
Guide
Page
39
of
40
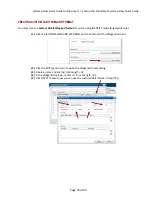
REGISTER READER with USB (private LAN/ not using DHCP)
1.
Do
not
connect
L1
to
the
network
cable
yet
(factory
may
have
DHCP
on)
2.
power
up
L1
reader
(wait
for
all
beeps
to
sound
–
this
takes
a
couple
of
mins)
3.
connect
by
USB
cable
from
L1
device
to
the
PC
4.
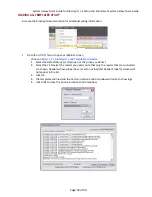
when
device
wizard
opens,
browse
to
the
4gserial
folder
Program
Files\Bioscrypt\SA\SecureAdmin
Server\4gserial
Note
if
you
are
using
Windows7
you
may
need
to
copy
the
4gserial
driver
to
the
Windows\System32
folder
and
then
update
the
driver
path
to
that
location.
5.
complete
the
PC
device
driver
setup
6.
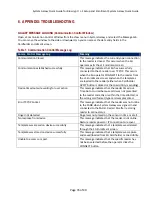
look
in
the
PC
Device
Manager
to
find
out
which
COM
port
the
4gserial
device
is
using
7.
start
up
(log
into)
SecureAdmin
software
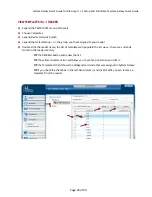
8.
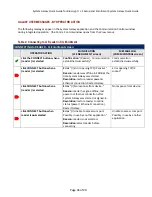
choose
the
NETWORK
menu
and
select
REGISTER
VIA
SERVER
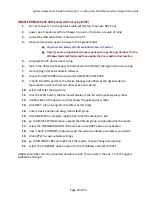
9.
“check”
the
COM
port
that
the
Device
Manager
identified
as
the
4gserial
device
(SecureAdmin
will
not
filter
out
other
active
com
ports)
10.
select
AUTO
for
the
baud
rate
11.
click
the
SCAN
button;
the
device
will
display
in
the
list
with
a
yellow
plus
symbol
12.
double
‐
click
on
the
device
icon
that
shows
the
yellow
plus
symbol
13.
click
NEXT
(do
not
program
IP
Address
at
this
time)
14.
enter
a
device
name
and
assign
the
default
group
15.
click
REGISTER
to
complete
registration;
click
OK
and
close
to
exit.
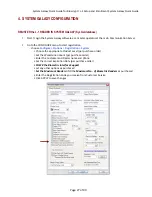
16.
go
to
DEVICE
SETTINGS
menu,
expand
the
default
group
and
double
‐
click
the
reader
17.
select
the
COMMUNICATION
TAB
and
make
sure
DHCP
option
is
unchecked
18.
now
“check”
ETHERNET
option
and
add
the
network
address
parameters
you
desire
19.
click
APPLY
to
save
network
settings
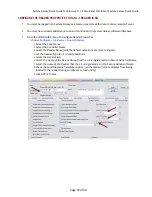
20.
go
to
NETWORK
TREE
and
right
‐
click
the
reader,
choose
Change
Connection
21.
select
the
ETHERNET
option
and
put
in
the
IP
Address
and
click
UPDATE
Reader
should
be
correctly
connected
and
able
to
talk.
This
process
is
the
one
L
‐
1
Tech
Support
walked
me
through

