


Galaxy GHDXS2-1430R-16F4D Installation and Hardware Reference Manual
2-10
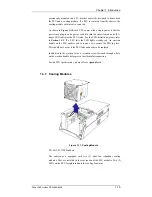
Drive Tray Installation
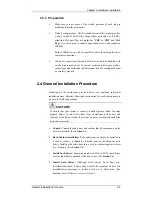
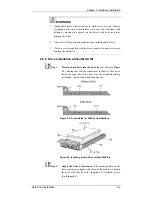
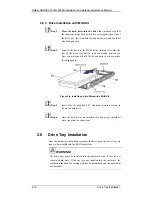
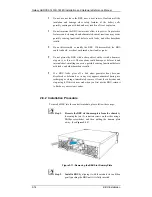
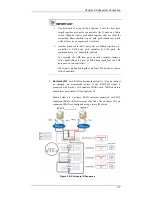
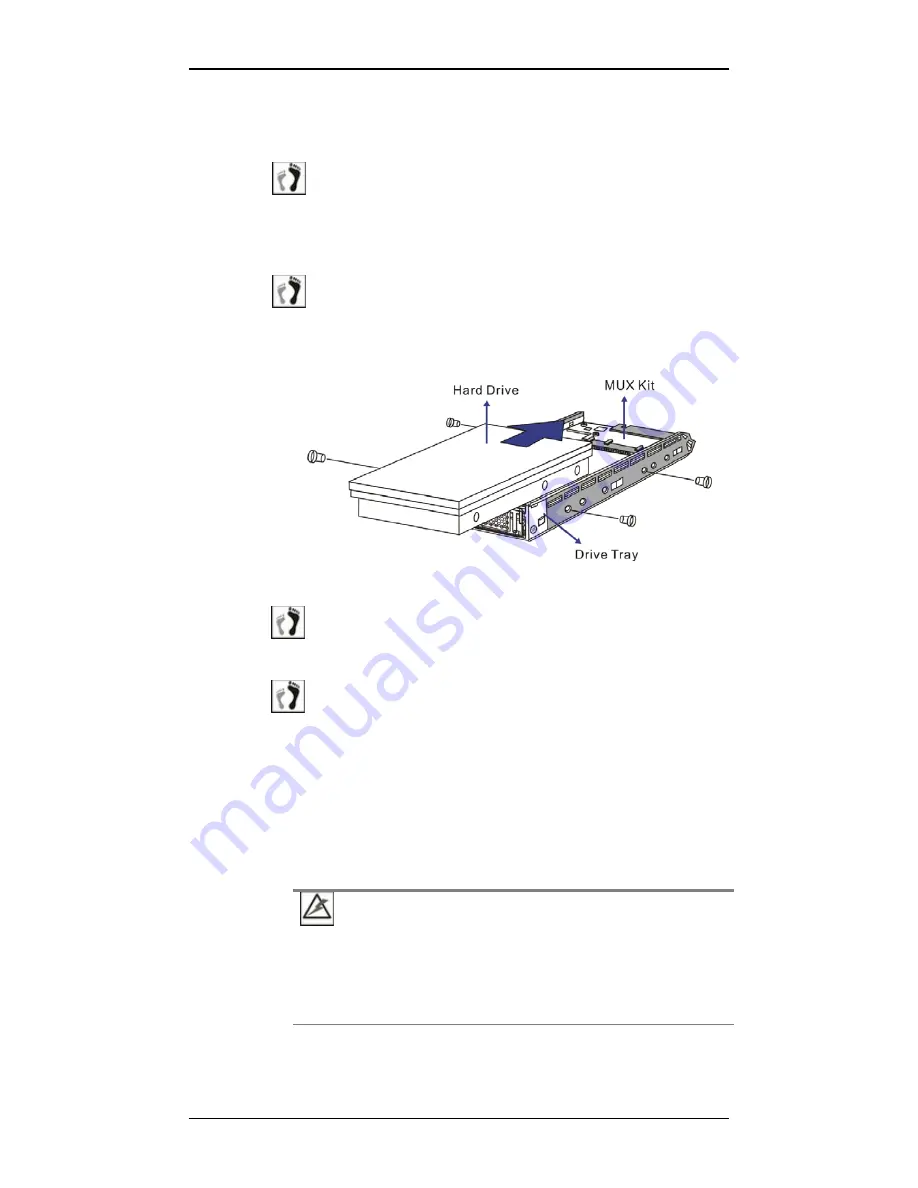
2.6.3 Drive Installation with MUX Kit
Step 1.
Place the hard drive into the drive tray
, making sure that
the connector at the back of the drive is facing the open side of
the drive tray, the circuit side facing downward, and the label
side facing upward.
Step 2.
Connect the drive to the MUX kit by sliding it towards the
rear of the drive tray until a solid connection between the
drive connector and the MUX kit connector has been made.
(See
Figure 2-4
)
Figure 2-4: Installing a Hard Drive with a MUX Kit
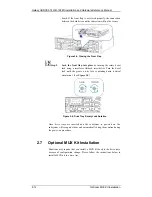
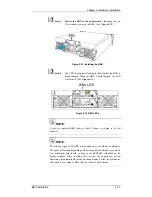
Step 3.
Insert four (4) supplied 6/32 flat-head retention screws to
secure the hard drive.
Step 4.
Once the hard drives are installed into drive trays, install all
drive trays into the subsystem.
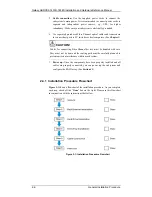
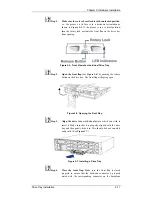
2.6
Drive Tray Installation
Once the hard drives have been secured to the drive trays, the drive trays are
ready to be installed into the RAID subsystem.
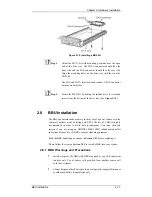
WARNING!
All drive trays must be installed into the enclosure even if they do not
contain a hard drive. If the trays are not installed into the enclosure, the
ventilation required for cooling will not be normalized and the subsystem
will overheat.


