


Chapter 2: Hardware Installation
Drive Tray Installation
2-11
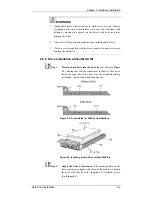
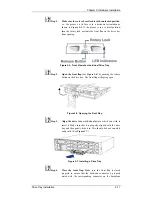
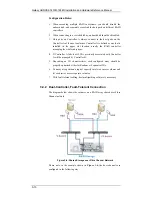
Step 1.
Make sure the rotary bezel lock is in the unlocked position
,
i.e., the groove on its face is in a horizontal orientation as
shown in
Figure 2-5.
If the groove is in a vertical position
,
then the rotary lock prevents the front flap on the drive tray
from opening.
Figure 2-5: Front View of an Individual Drive Tray
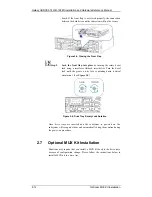
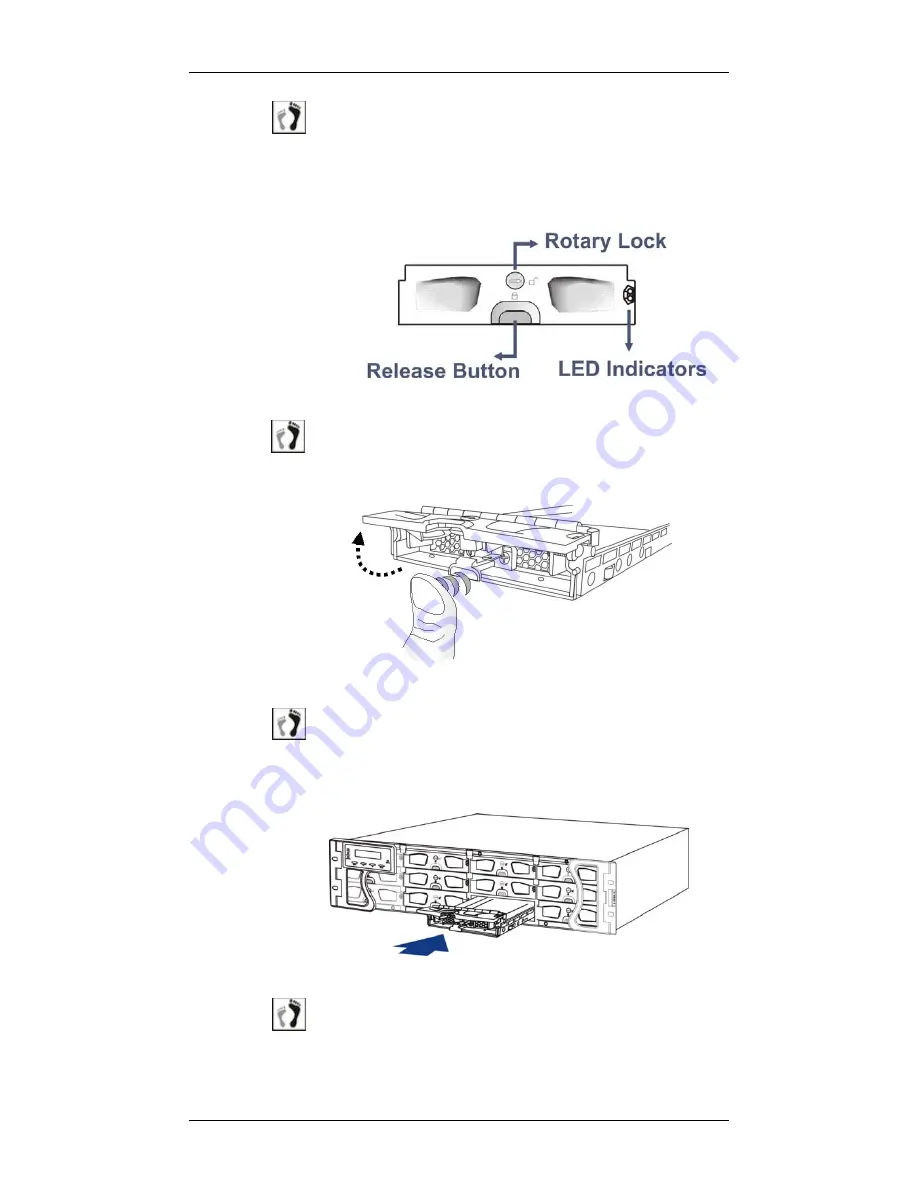
Step 2.
Open the front flap
(see
Figure 2-6
) by pushing the release
button on the drive tray. The front flap will spring open.
Figure 2-6: Opening the Front Flap
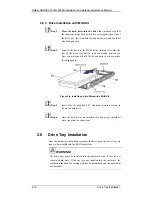
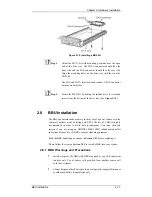
Step 3.
Align the drive tray with the slot
into which you wish to
insert it. Make sure that it is properly aligned with the drive
bay, and then gently slide it in. This should be done smoothly
and gently. (See
Figure 2-7
)
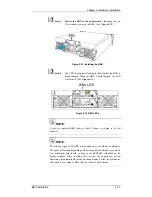
Figure 2-7: Installing a Drive Tray
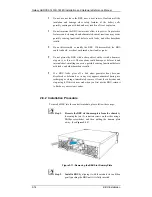
Step 4.
Close the front flap.
Make sure the front flap is closed
properly to ensure that the back-end connector is properly
mated with the corresponding connector on the backplane


