Chapter 5: Subsystem Maintenance and Upgrading
Replacing
Controller Module Components
5-5
WARNING!
Unnecessary tampering with the controller module can cause severe
and permanent damage. Remove the controller only if it is absolutely
necessary.
When removing a controller module from the chassis, all anti-static
preventative measures should be strictly adhered to. Failure to adhere
to specified cautionary measures could result in damage to the
controller board.
5.2.3 Replacing the Controller Module
If the controller module itself has failed, replace it with a replacement from
your vendor.
Step 1.
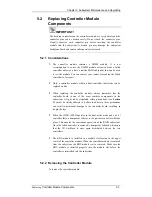
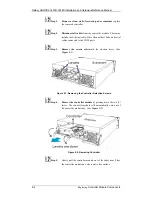
Remove the failed controller module from the subsystem
(see
Section 5.2.2
.) It is recommended to obtain a
replacement with pre-installed memory. If the DIMM
module is obtained otherwise, refer to
Section 5.3
for details
on handling controller and DIMM module.
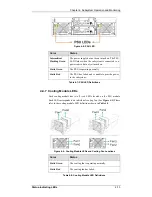
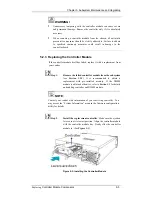
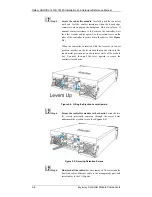
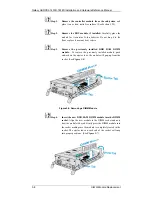
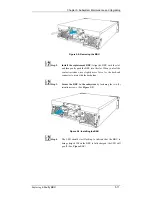
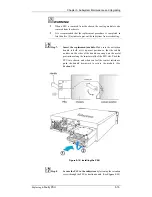
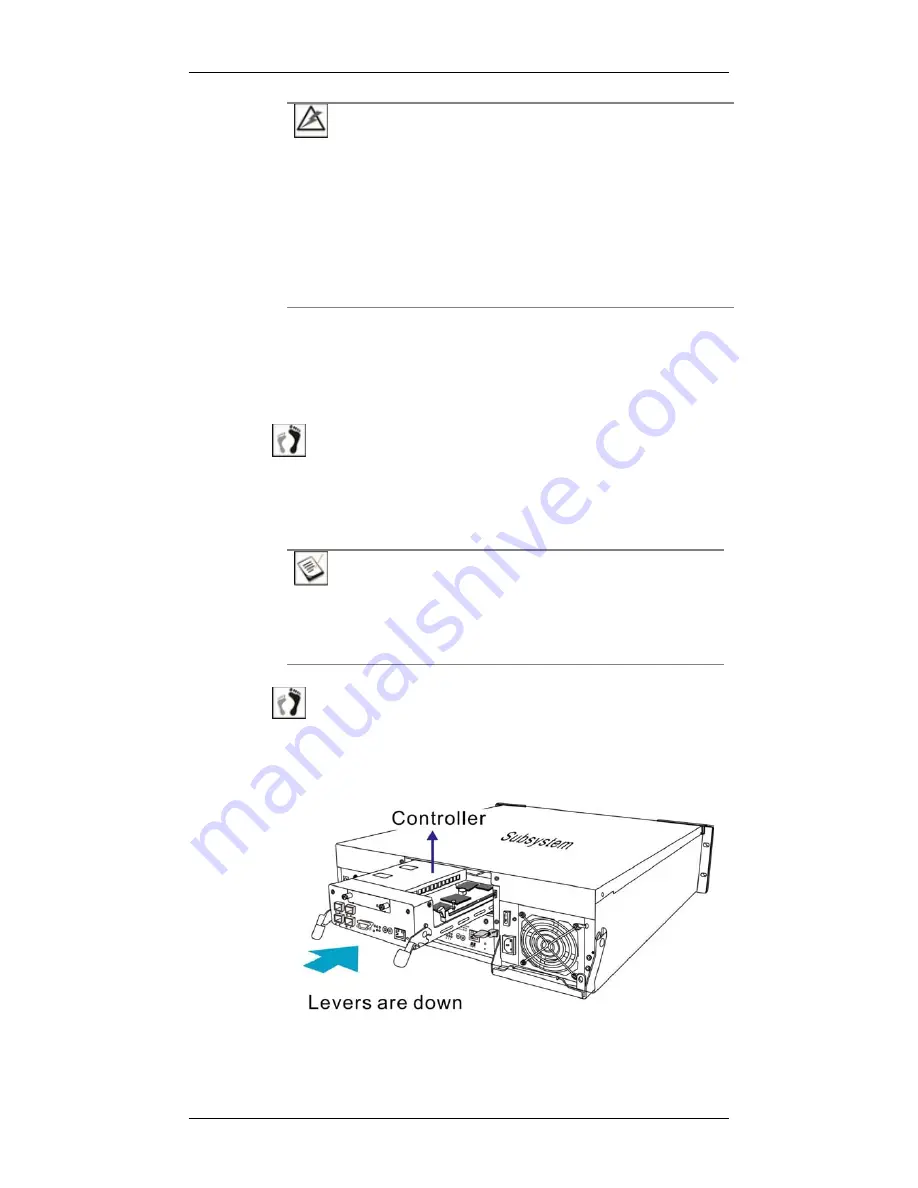
Step 2.
Install the replacement controller.
Make sure the ejection
levers are at its lowest position. Align the controller module
with the controller module bay. Gently slide the controller
module in. (See
Figure 5-3
)
Figure 5-3: Installing the Controller Module
NOTE:
Contact your vendor with information of your surviving controller. You
may access the “System Information” menu in the firmware configuration
utility for details.


