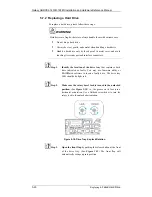
Galaxy GHDXS2-1430R-16F4D Installation and Hardware Reference Manual
5-22
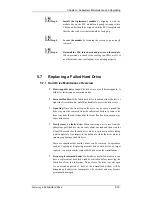
Replacing
a MUX Kit
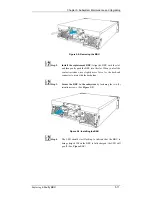
Step 6.
Install the replacement drive. Please refer to the complete hard
drive installation procedures in
Section 2.6.
Step 7.
Re-install the drive tray back to the subsystem.
Refer to
Section 2.7
.
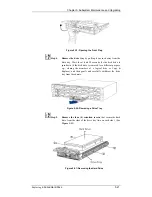
5.8
Replacing a MUX Kit
If a MUX kit is damaged or fails, often identified as drive-side signal
glitches, follow these instructions to replace it:
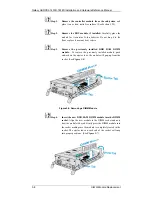
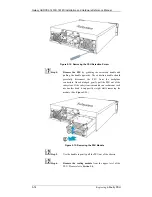
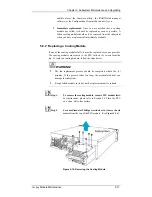
Step
1. Remove the drive tray from the drive bay in the
subsystem
.
Step 2.
Remove the hard drive from the drive tray
, after the drive
tray has been removed from the subsystem.
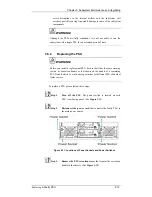
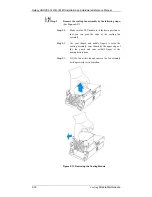
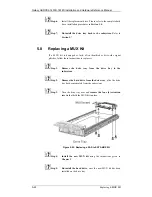
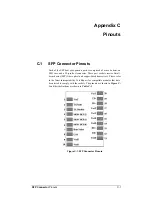
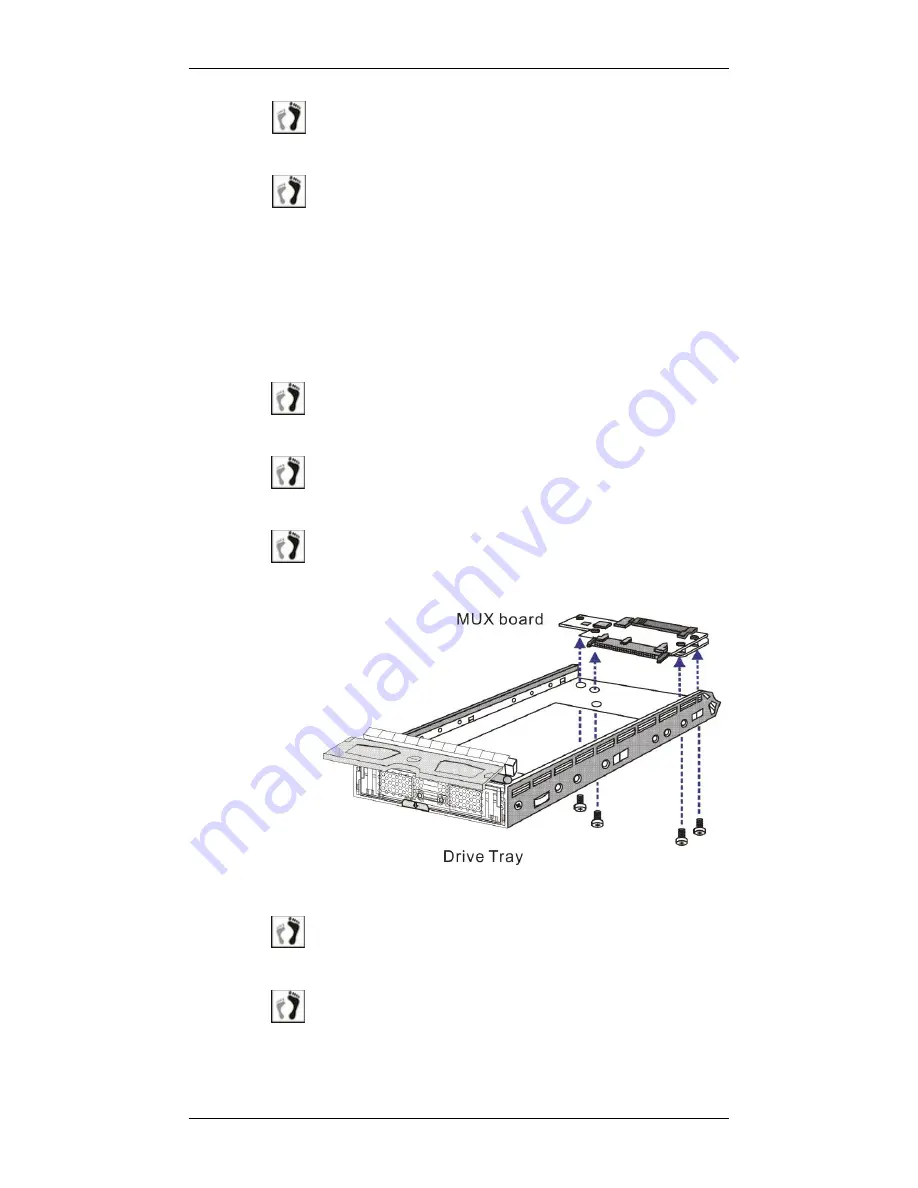
Step 3.
Turn the drive tray over and
remove the four (4) retention
screws
that hold the MUX kit in place.
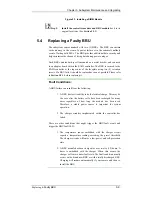
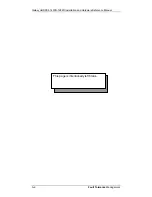
Figure 5-22: Replacing a SAS to SATA MUX Kit
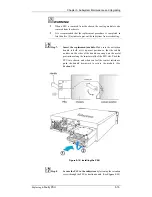
Step 4.
Install the new MUX kit
using the instructions given in
Chapter 2
.
Step 5.
Re-install the hard drive
, once the new MUX kit has been
installed on the drive tray.


