background image

3)


When the front panel is not operated for 10 minutes, the display page will return back to home page; 

4)


Press the “UP” or “DOWN” button to enter the operation menu (see 3-7-2-1); 

5)


When it displays home page in LCD, if UPS is in bypass, you could press the “ON/ENTER” button to turn on 

the UPS to AC / converter / ECO / battery mode according to the setting and input status; in reverse, you 

could press the “OFF/ESC” button to allow UPS to bypass mode or shut down. (Refer to section of “Single 

UPS Operation”). 

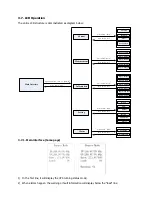
3-7-2. Operation menu 

3-7-2-1. Main menu 


1)


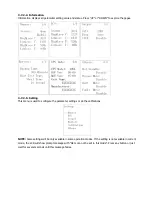
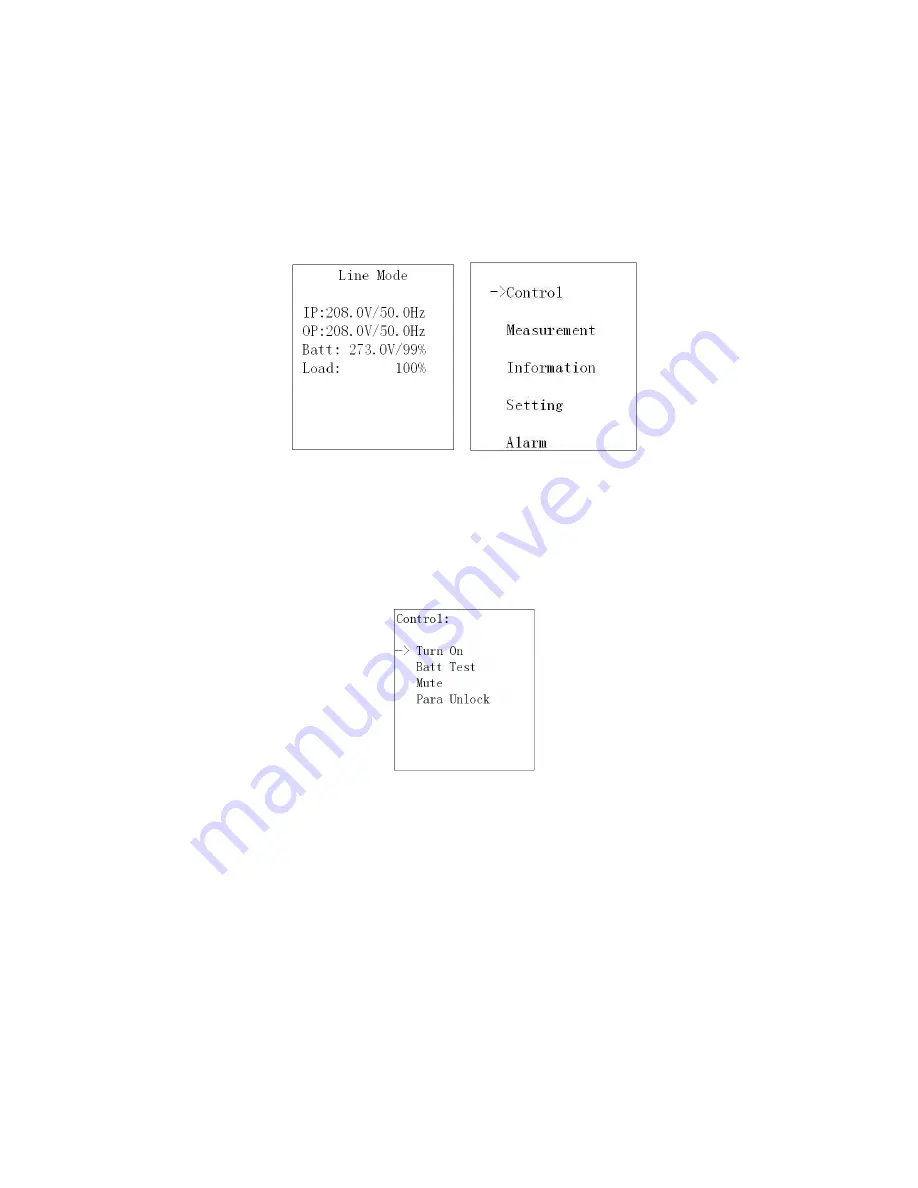
After pressing the “UP” or “DOWN” button at the home page, it will display five items in operation menu: 
Control / Measurement / Information / Setting / Alarm. 

2)


Press “UP” or “DOWN” button to select item;   

3)


Press “ON/ENTER” button to confirm the selection; 

4)


Press “OFF/ESC” button to return back to home page; 

3-7-2-2. Control 


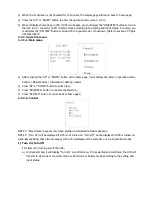
NOTE 1: “Para Unlock” appears only when parallel communication failure happens. 
NOTE 2: “Turn On” will be displayed if UPS is not turned on. “Turn Off” will be displayed if UPS is turned on. 
Generally speaking, these two messages will not be displayed at the same time or in all operation modes. 

1)


Turn On/Turn Off 

This item is for turning on/off the UPS; 
a)


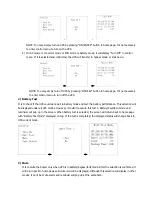
On Bypass mode, it will display “Turn On” in control menu. If it is selected and confirmed, the UPS will 
transfer to AC mode or converter mode or ECO mode or battery mode according to the setting and 
input status. 

Summary of Contents for 6KRT

Page 1: ...6K 10K Rack Tower Online UPS Uninterruptible Power Supply System Version 1 2 User Manual...

Page 2: ...instructions in this manual strictly Save this manual properly and read carefully the following instructions before installing the unit Do not operate this unit before reading through all safety info...

Page 3: ...er Installation 9 2 4 Single UPS Installation 10 2 5 Parallel UPS Installation 11 3 Operations 12 3 1 Operating Mode Status Description 12 3 2 Button Operation 12 3 3 LED Indicators 13 3 4 Audible ala...

Page 4: ...llation Do not connect appliances or devices which would overload the UPS e g big motor type equipment Place cables in such a way that no one can step on or trip over them Do not block air vents in th...

Page 5: ...of the life support equipment or to significantly affect its safety or effectiveness is not recommended Do not use this equipment in the presence of a flammable anesthetic mixture with air oxygen or n...

Page 6: ...PS system The UPS can be operated by any individuals with no previous experience 1 6 Standards Safety IEC EN 62040 1 EMI Conducted Emission IEC EN 62040 2 Category C3 Radiated Emission IEC EN 62040 2...

Page 7: ...cable option One USB cable One parallel cable and one share current cable option One battery cable option Two sets of tower stands including feet and extensions Mounting ears NOTE Before installation...

Page 8: ...4 Share current port for parallel function 5 Parallel port for parallel function 6 Intelligent slot 7 EMBS External Maintain Bypass Switch port 8 Cooling fan 9 External battery connector 10 Input circ...

Page 9: ...3U Assemble two feet and one short extension as one tower stand shown in step 1 Align the two stands approximately 35cm apart in step 2 Then put UPS module in the stands as shown in step 3 Step 1 Step...

Page 10: ...gh for the rated capacity of UPS to avoid the hazards of electric shock or fire NOTE Do not use the wall receptacle as the input power source for the UPS as its rated current is less than the UPS s ma...

Page 11: ...nection with wrong battery voltage may cause permanent damage of the UPS Make sure the voltage of the battery pack is correct Pay highly attention to the polarity marking on external battery connector...

Page 12: ...frequency 50 Hz or 60 Hz through the inverter The UPS will still charge battery at this mode There is no bypass at this mode Battery Mode When the input voltage is out of the acceptable range or powe...

Page 13: ...ON position then the fan will be running and the UPS supplies power to the loads via bypass The UPS is operating in Bypass mode NOTE When UPS is in Bypass mode the output voltage comes directly from...

Page 14: ...inter the in rush current should be calculated carefully to see if capacity of the UPS can cover due to the huge starting power consumption of this kind of load 3 If the UPS is overload the buzzer wil...

Page 15: ...urn off the UPS with utility power supply in Line mode 1 When LCD is on home page press the OFF ESC button LCD will show a prompt page of Turn Off Move the arrow to Yes by up or down button then press...

Page 16: ...and the jumpers on the control board should be re set as below table Note 1 insert with jumper 0 no jumper x these pins are for other functions NOTE This operation should be done by professional tech...

Page 17: ...UPS Info Page 6 Others Fault Info Warning Info Bypass ECO Output Battery Calibration Others Press button Enter Press button Enter Press button Enter Press button Enter Press button Enter Press button...

Page 18: ...splay five items in operation menu Control Measurement Information Setting Alarm 2 Press UP or DOWN button to select item 3 Press ON ENTER button to confirm the selection 4 Press OFF ESC button to ret...

Page 19: ...rk well in battery mode and test the battery performance This selection will be displayed under all UPS modes However it couldn t execute this test in Battery Fault Eco mode and reminder will pop up i...

Page 20: ...e Before restart the parallel system please confirm this selection first NOTE Before executing this action you must check if the system cables and connections are connected correctly and safely Please...

Page 21: ...his menu is used to configure the parameter settings or do the calibrations NOTE Some settings will be only available in some operation modes If the setting is not available in current mode the LCD wi...

Page 22: ...Volt 11V and the default value is 110V 4 HighLoss F Set the acceptable high frequency for bypass 50 Hz Setting range is from 51Hz to 54 Hz 60 Hz Setting range is from 61Hz to 64Hz The default value is...

Page 23: ...requency within 46 54 Hz for 50Hz system or within 56 64 Hz for 60Hz system NOTE CVCF means Constant Voltage and Constant Frequency it represents converter mode 4 Battery setting available on all oper...

Page 24: ...s line ECO converter mode NOTE Before making charger output voltage adjustment be sure to disconnect all batteries first to get the accurate charger voltage Be careful that the adjustment should be su...

Page 25: ...AH 12AH 17AH 26AH 40AH 65AH 100AH and so on The default value is 9AH Factor Calibrate the displayed backup time by adjusting this multiplier factor The formulation is listed below Displayed backup tim...

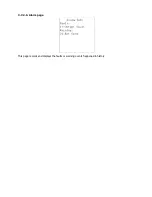
Page 26: ...3 7 2 6 Alarm page This page records and displays the faults or warning events happened in history...

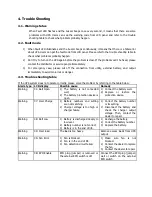
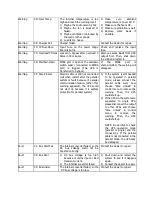
Page 27: ...to the table below Alarm type LCD display Possible cause Remedy Warning 01 Batt Open 1 The battery is not connected well 2 The battery protection device is open 1 Connect the battery well 2 Replace or...

Page 28: ...parallel system is fault because of parallel communication failure When this warning appeared the UPS could not start up because it is system protection for parallel system 1 If the system is still n...

Page 29: ...and short Contact the dealer to repair Fault 24 Inv Rly Short The internal inverter relay is stick to short or the SCR of STS Static Transfer Switch is short Contact the dealer to repair Fault 35 Para...

Page 30: ...equired precautionary measures may replace batteries and supervise operations Unauthorized persons must be kept well away from the batteries Verify that no voltage between the battery terminals and th...

Page 31: ...to 90 capacity 9 hours recover to 90 capacity Charging Current 1 A 10 max Charging Voltage 273 V 1 Long Run Model Type Depending on applications Numbers 18 20 Charging Current 4 A 10 max Charging Volt...

Reviews: