16
SY66000058 - 0
3
MS
MS
MS
MS
MS
È severamente vietata la riproduzione anche parziale di questo manuale / All copying, even partial, of this manual is strictly forbidden
40010 Bentivoglio (BO)
Via Romagnoli, 12/a
Tel. 051/8908111
Fax 051/8908122
www.galletti.it
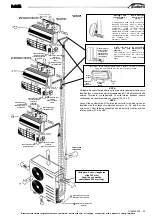
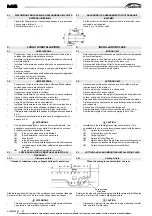
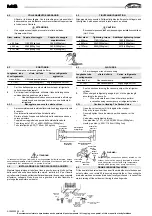
SPIEGAZIONE
Posizione corretta
a)
Posizionarla in luogo sempre umido
b)
Scegliere un terreno solido piuttosto che
morbido/ sabbioso
Posizione non corretta
a)
In presenza di strutture o apparecchiature
sotterranee quali tubi gas, acqua, linee
telefoniche.
b)
una posizione a 2 m o meno da scaricatori di
sovratensioni, elettrodi di terra e relativi cavi.
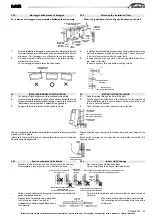
a)
Scavare un foro della dimensione indicata e
portarvi l'elettrodo di terra
b)
Ricoprire con il terreno precedentemente
asportato.
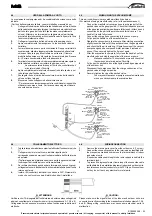
a)
se il cavo di terra fosse troppo corto, collegarlo
ad un conduttore di prolunga.Saldare la giunzione
ed avvolgere con nastro.
b)
Fissare il cavo di terra con graffe.
a)
Terminato il lavoro di messa a terra, misurare la
resistenza di terra con un tester apposito.
b)
se la resistenza è superiore al valore previsto,
sotterrare maggiormente l'elettrodo di terra o
aumentare il numero di elettrodi di terra.
Fissare il cavo di terra al morsetto di terra del
condizionatore.
PRECAUZIONI
-
Evitare terreno sabbioso o sassoso perché
ha alta resistenza alla terra.
-
Il cavo di terra per la linea telefonica non può
essere utilizzato per la messa a terra del
condizionatore.
-
Quando l'elettrodo di terra debba essere
installato sotto una zona di forte traffico, il
cavo relativo dovrà essere collegato
saldamente con la massima attenzione.
-
Il cavo di terra dovrà essere verde, isolato di
φ
1,6
mm o più, o di 2 mm
2
o più.
- La giunzione saldata non dovrà essere sotterrata.
JOB
Determine the grounding
position.
Drive the grounding electrode
into position.
Put the grounding wire in
order.
Check the workmanship, and
provide corrective measures if
necessary
Connect the grounding wire to
the air conditioner.
EXPLANATION
Suitable location
a)
Place that is always dank.
b)
Hard soil rather than loose sandy soil.
Unsuitable location
a)
Where there are under-ground structures or
facilities such as gas pipes, water pipes,
telephone lines.
b)
A place 2m or less from the lightning arrester
grounding electrode and its cable.
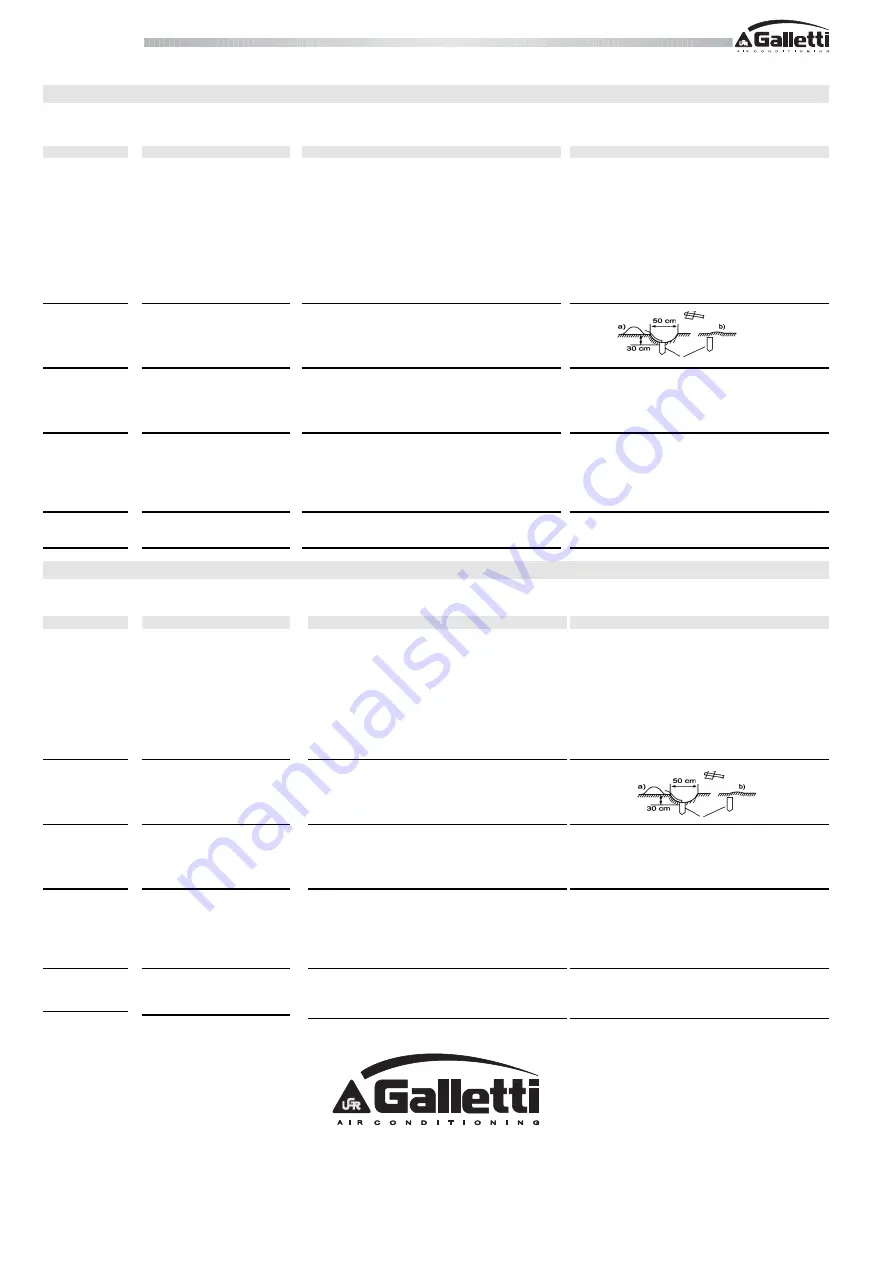
a)
Dig a hole to the size illustrated, and drive in the
grounding electrode.
b)
Cover the top of the grounding electrode with
excavated soil.
a)
If the grounding wire is too short, connect an
extension lead to it.Solder the joint and wrap it
with tape.
b)
Fasten the grounding wire with staples.
a)
After grounding work, measure the grounding
resistance with a grounding resistance tester.
b)
If the resistance is above a specified level, drive
in the grounding electrode deeper or increase
the number of grounding electrodes.
Secure the grounding wire to the grounding
terminal of the air conditioner.
PRECAUTIONS
-
Avoid sandy or gravelly soil as its grounding
resistance is high.
-
The grounding wire for the telephone line cannot be
used for the grounding of the air conditioner.
-
When the grounding electrode is to be installed
under a place with heavy traffic, its wire must be
connected firmy with the utmost care.
-
The grounding wire should be a green insulated
wire of 1.6mm or 2 mm
2
or larger.
-
The soldered joint should not be buried
underground.
5
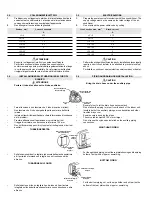
MESSA A TERRA
-
Procedura per la messa a terra
Effettuare la messa a terra secondo le istruzioni sotto riportate.
FASE
1
2
3
4
5
OPERAZIONE
Stabilire la posizione della
messa a terra
Portare l'elettrodo di terra in
posizione.
Posizionare correttamente il
cavo di terra.
Verificare il lavoro e modificare
se necessario.
Collegare il cavo di terra al
condizionatore.
STEP
1
2
3
4
5
5
GROUNDING WORK
-
Grounding procedure
Carry out the grounding work according to the procedure explained below.
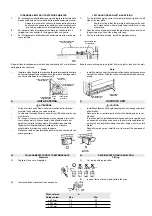
Hammer
Grounding electrode
Martello
Elettrodo di terra
Azienda certificata UNI EN ISO 9001 e OHSAS 18001
Company UNI EN ISO 9001 and OHSAS 18001 certified


