background image


NOTE

: The fan with a special built-in circuit protects the battery from being 

overcharged and discharged. 

a.


Overcharge protection 
The rechargeable fan will automatically stop charging when the battery power 
in high level. 

b.


Discharge protection 
The rechargeable fan will automatically switched off when the battery power 
in low level 


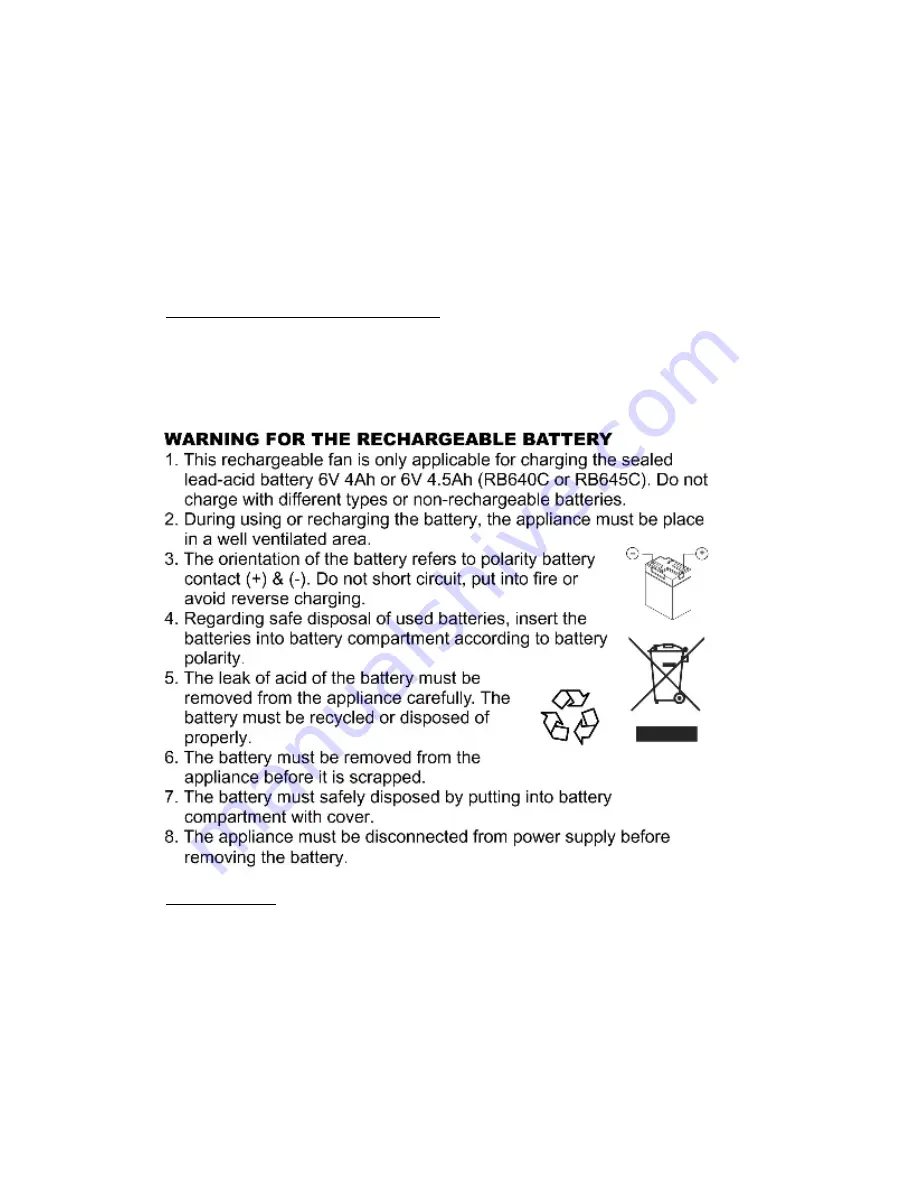
Replacing the Battery (see fig. 1) 


1.


Release the battery cover release lock (Feature No. 9) at the back of 
rechargeable fan.  

2.


Open the battery door (Feature No. 12) then replace with new battery 
and reassemble in reverse procedures.   


Maintenance 


1.


Use a small cotton swab with cleaning alcohol to clean the plastics. 

2.


Release the front cover (Feature No. 3) to clean up the fan blade. 

3.


Never use strong or voltaic chemicals to clean the unit as it may 
damage the plastic parts. 


Summary of Contents for GS-26R

Page 1: ...nformation visit our website at www gamasonic com IMPORTANT THE BATTERY SECURITY TAB MUST BE REMOVED BEFORE OPERATING THE FAN Fig 1 page 3 Please read the instruction manual carefully to obtain the best results from your purchase Part Listing and Features 1 Fan HIGH OFF LOW Selector 9 Battery cover release lock 2 Charging Indicator 10 Fan oscillating control switch 3 Front Cover 11 Fan cover relea...

Page 2: ...rs one battery 24 hours two batteries Battery Spec Lead Acid Battery 6V 4Ah or 6V 4 5Ah RB640C or RB645C AC Adaptor UL approved Input voltage AC 120V 60Hz Output DC9V 2A Duration Time Duration 1 Battery 2 Batteries not included Fan Hi Speed 2 5 3 Hours 5 6 Hours Fan Low Speed 3 5 4 Hours 7 8 Hours Radio 30 Hours 60 Hours ...

Page 3: ...AM FM selector Feature No 6 in AM or FM position for modulation select 2 Adjust the volume control Feature No 5 to give the desired level of sound 3 Select desired radio station by adjusts the tuning Feature No 7 Charging the Battery see fig 2 CAUTION Before recharging please make sure the fan selector Feature No 1 must be in OFF position 1 Use the AC adaptor Feature No 14 connect the DC jack Feat...

Page 4: ...when the battery power in low level Replacing the Battery see fig 1 1 Release the battery cover release lock Feature No 9 at the back of rechargeable fan 2 Open the battery door Feature No 12 then replace with new battery and reassemble in reverse procedures Maintenance 1 Use a small cotton swab with cleaning alcohol to clean the plastics 2 Release the front cover Feature No 3 to clean up the fan ...

Page 5: ...5 ...

Reviews: