G
AMATRONIC
E
LECTRONIC
I
NDUSTRIES
L
TD
.
10
CENTRIC User Guide, rel. 3.4
4.
U
SER INTERFACE
This section describes the buttons and indicators used to operate the
Centric
.
4.1
Control panel
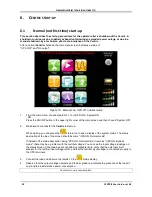
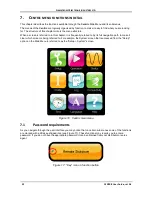
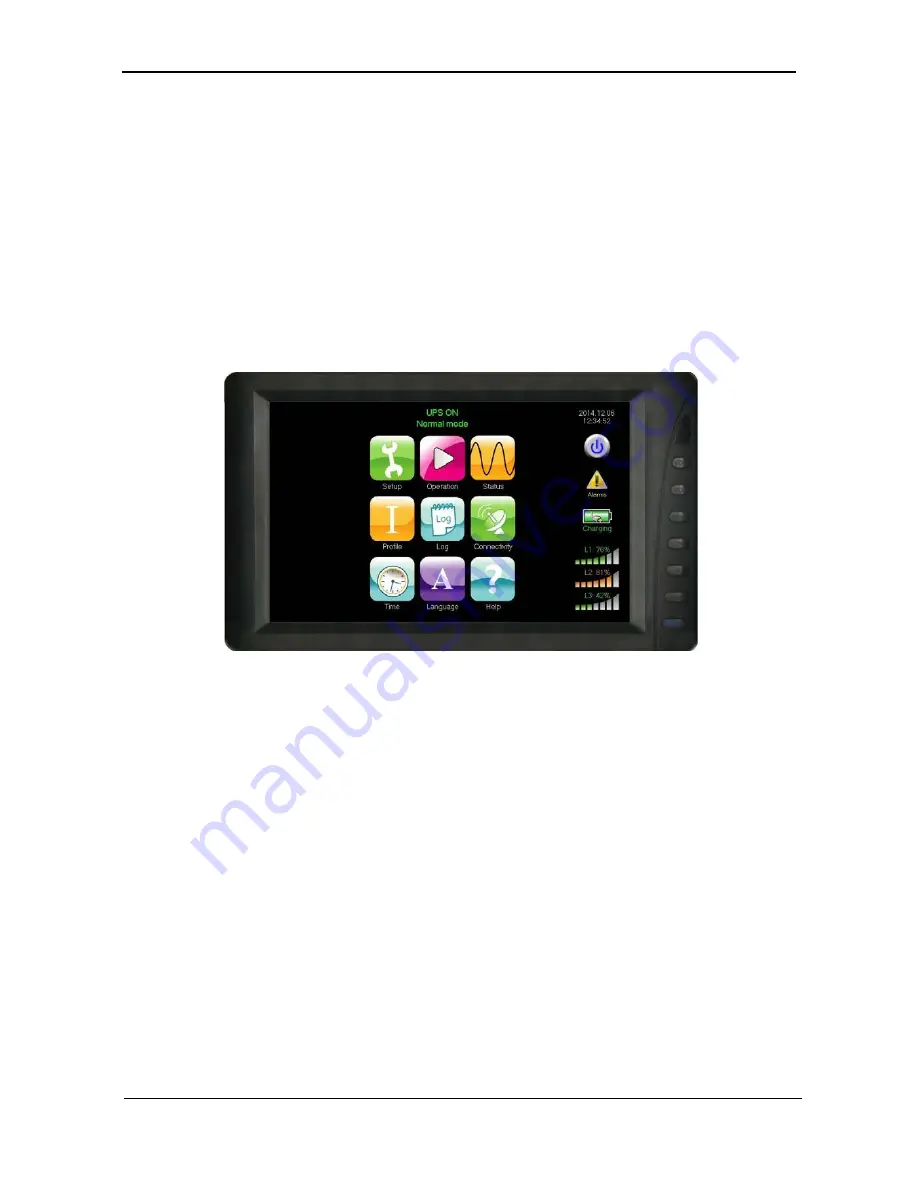
The LCD control panel (Figure 3) is the user's main interface with the
Centric
. The LCD panel is touch-
sensitive – the user navigates through the system screens by pressing lightly on the various icons. On all
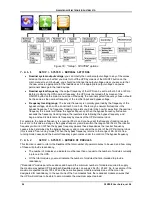
screens other than the main menu screen, the current navigation path is displayed in the upper-left corner
of the screen (Figure 4), enabling you to easily understand where you are within the control system menus.
The navigation path in the upper-left corner of the screen is also used to navigate backwards – to return to
a previous screen or to the main menu.
The extensive capabilities of the user interface are described in detail in chapter
7 "Centric menu functions
in detail".
Figure 5: The control panel, displaying the Main Screen
The LCD control panel is attached to the front of the UPS and is active when the UPS is connected to ac
power and also when the UPS is operating in battery mode.
There is a physical power on/off button on the control panel that controls the power supply to the screen. If
the UPS is connected to ac power or operating in battery mode and the display screen is blank, ensure that
the display unit itself has been powered on.
The display unit is mounted on a holder and can be removed from that holder if necessary. The angle of the
display screen can be adjusted.
4.1.1
Calibrating the touch screen
It may occasionally be necessary to calibrate the touch-screen, so that the pressure sensitive spots on the
screen accurately overlay the icons. It is recommended to calibrate the touch-screen the first time you use
it. The touch-screen can be recalibrated at any time, if needed.
To calibrate the touch screen:
1.
Navigate to the Main Screen (the calibration can be performed only from the Main Screen).
2.
Press and hold your finger on any location on the screen (preferably not on an icon) for 10 seconds
and then release your finger.
3.
The software then prompts you to press on four specific locations on the screen, one after the other.
Upon completing this process, the touch screen has been calibrated.


