10
To tension a string, push the tension switch
or the foot pedal. The string gripper will ro-
tate and slowly apply tension to the string.
When the set tension has been attained, the
gripper will stop rotating and the display will
fl
ash. As the tensioned string stretches, the
gripper may rotate intermittently, maintaining
the set tension.
To release the string after clamping, push the
tension switch or foot pedal. If the string grip-
per does not release the string, depress and
hold the return button to release the string.
STRINGING THE FRAME
Applying Tension
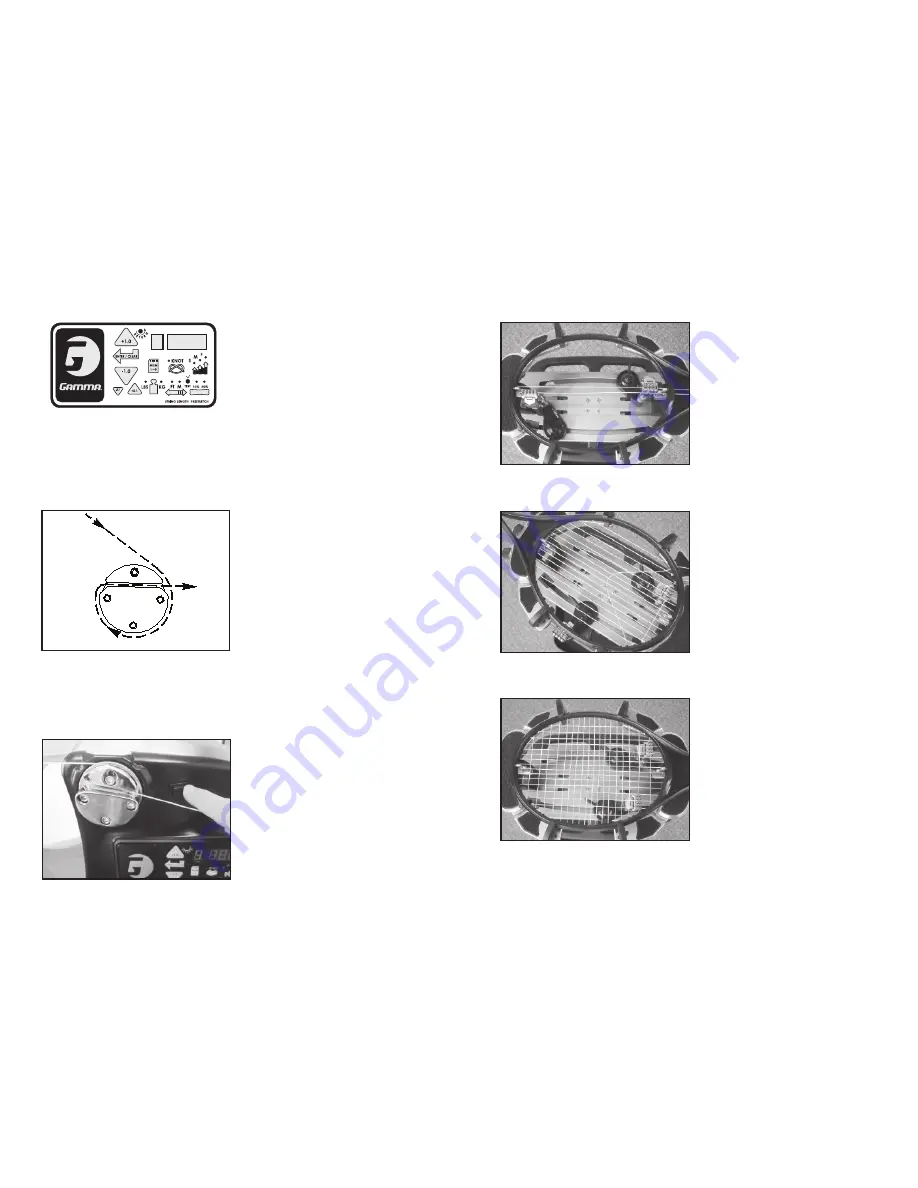
To apply tension, wrap the string clockwise
around the gripper drum and position the
string between the gripper jaws.
The string must pass over the upper gripper
jaw before being placed between the gripper
jaws, as the tension on the string provides
the clamping force to the gripper jaws.
Before applying tension, gently pull the string
until all slack is removed.
Setting the String Tension
String tensions may be entered and stored into
one of nine memory storage settings (See sec-
tion on Control panel Functions and features) by
using the tension index buttons. While tension
setting is entered, the value displayed will be
temporary until the “Enter” button is pressed to
store it in one of the nine permanent memory
settings.
Aramid
fi
ber and metallic strings will generally string up tighter on the machine compared
to synthetic or natural gut strings. Therefore, when stringing with Aramid (Kevlar, Technora)
hybrid strings or metallic strings, we recommend setting tension 4-5 lbs. lower than you would
normally use for synthetic or natural gut strings.
CAUTION:
NEVER TENSION A STRING WITH YOUR FINGERS BETWEEN
THE STRING AND THE UPPER GRIPPER JAW AS SERIOUS INJURY COULD
RESULT IF YOUR FINGER IS CAUGHT BETWEEN THE STRING AND THE
UPPER JAW DURING TENSIONING.
PUSH GRIPPER REVERSING
SWITCH OR ANY BUTTON IN CASE OF EMERGENCY.
11
STRINGING THE FRAME
Weaving the Cross Strings
Weave the cross strings over and under the
main strings being careful to alternate the
weave direction of each consecutive cross
string so as to be opposite of the previously
installed cross string.
Completing the String Job
Once the
fi
nal cross string is tensioned and
clamped, tie off at the appropriate hole speci-
fi
ed by the racquet manufacturer. Remove the
frame from the mounting system by loosening
the shoulder supports and frame supports.
Clamping the First Main String
Secure the tensioned main string using the
remaining
fi
xed clamp. Repeat the procedure
for all of the remaining main strings and
tie off following the racquet manufacturers
recommendations.
Follow the manufacturer’s recommended
stringing pattern for one or two piece stringing.
This will determine the starting point for the
cross strings. If applicable, tie the
fi
rst cross
string using an appropriate starting knot.


