13
MACHINE FUNCTIONS
Pre-stretch Function
The Pre-stretch function is used to pre-
stretch strings on each pull by increasing
the applied tension by a certain percentage
over the tension setting before releasing the
string and re-pulling to the desired tension.
This function helps to reduce the amount of
tension loss in the strings over time.
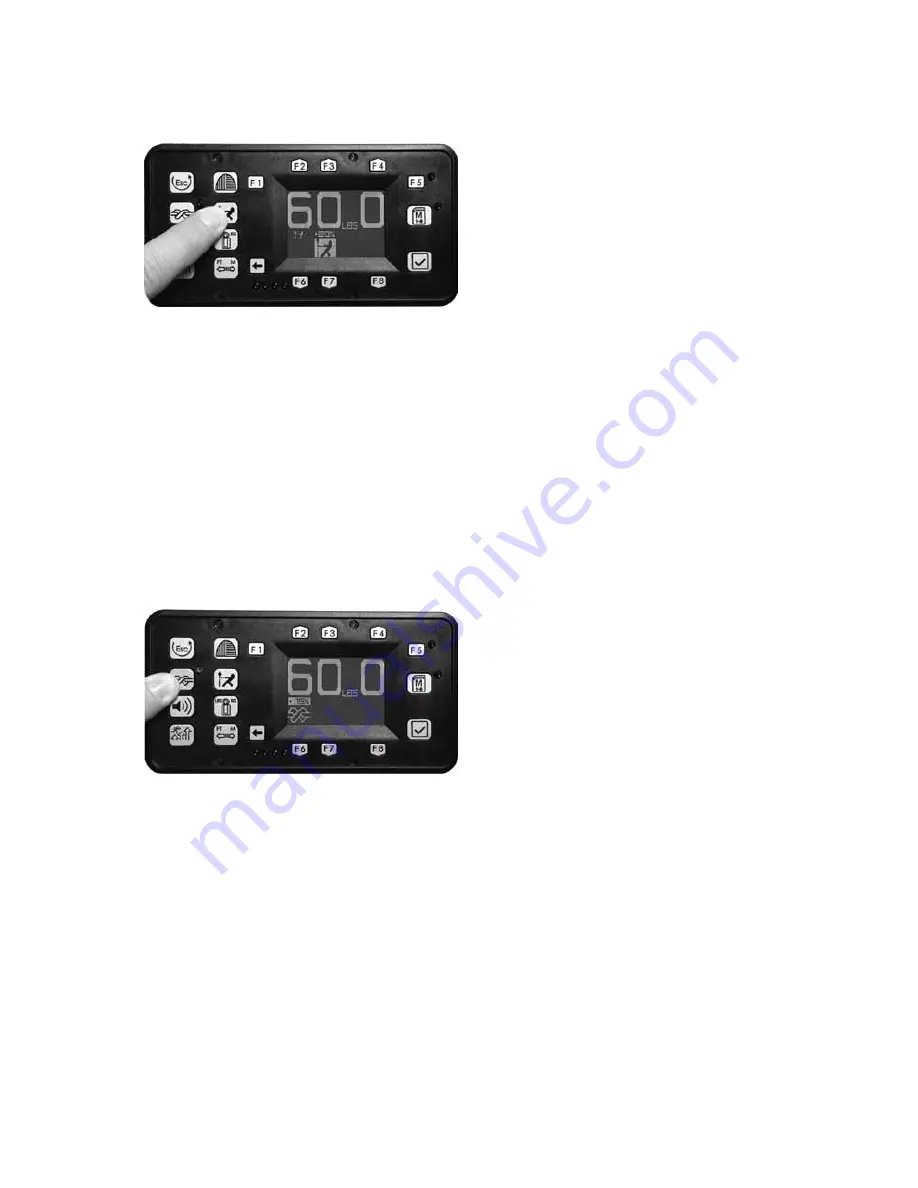
Pressing the PRE-STRETCH button will
toggle the Pre-stretch function on and off and will display the Pre-stretch Icon and Pre-Stretch
Setting. When the Pre-Stretch function is enabled, a small Pre-stretch Icon will appear on the
Stringing Screen. When the Pre-stretch function is disabled, or when the pre-stretch setting is
0%, the Pre-stretch Icon will not be visible on the Stringing Screen. To change the Pre-stretch
Setting, press the PRE-STRETCH button once and while the Pre-Stretch Icon is visible on
the display, press and hold the PRE-STRETCH button again until the Pre-stretch Setting is
highlighted. Press any of the F2, F3 or F4 keys to increase the Pre-stretch Setting and any
of the F6, F7 or F8 keys to decrease the Pre-stretch Setting in 1% increments. When the
desired Pre-stretch Setting is displayed, press ENTER to save the Pre-stretch Setting and
press ESC, or wait 5 seconds, to return to the Stringing Screen.
NOTE: Selectable Pre-stretch Settings range from 0% to 30% in 1% increments.
Knot String Function
The Knot String function is used to increase
the applied tension by a certain percentage
over the tension setting on the last main string
or cross string pulled before tying off. This
function helps to compensate for tension loss
caused by the slack portion of the string from
the string clamp to the tie-off knot.
Pressing the KNOT button will toggle the
Knot function on and off and will display the Knot Icon and Knot Setting. When the Knot
function is enabled, the Knot Icon will appear on the Stringing Screen and the Blue LED will
illuminate next to the KNOT button. The function will be enabled for the next pull and then
automatically disable itself.
To change the Knot Setting, press the KNOT button once and while the Knot Icon is visible
on the display, press and hold the KNOT button again until the Knot Setting is highlighted.
Press any of the F2, F3 or F4 keys to increase the Knot Setting and any of the F6, F7 or F8
keys to decrease Knot Setting in 1% increments. When the desired Knot Setting is displayed,
press ENTER to save the Knot Setting and press ESC, or wait 5 seconds, to return to the
Stringing Screen.
NOTE: Selectable Knot Settings range from 0% to 30% in 1% increments.


