
8
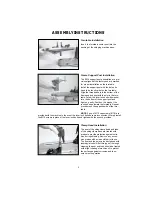
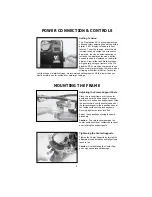
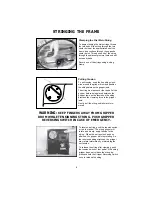
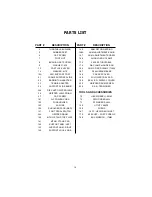
Pulling Tension
To pull tension, wrap the free string clock-
wise around the gripper drum and position
the string between the gripper jaws.
The string must pass over the top half of the
gripper before being placed between the
gripper jaws, as the tension on the string
provides the clamping force to the gripper
jaws.
Gently pull the string until all slack is re-
moved.
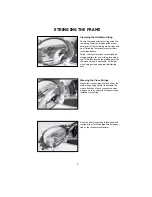
STRINGING THE FRAME
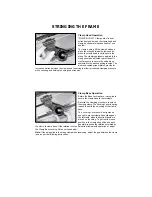
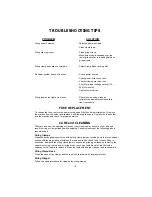
Clamping the First Main String
To begin stringing the main strings, thread
the two ends of the string through the two
center holes at the appropriate end of the
frame and continue through the opposite
center holes. Thread one end of the string
through the adjacent grommet hole and pull
excess by hand.
Secure one of the strings using a string
clamp.
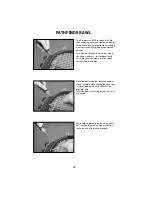
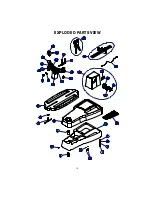
To tension a string, push the tension switch
or the foot pedal. The string gripper will
rotate and slowly apply tension to the
string. When the set tension has been
attained, the gripper will stop rotating. As
the tensioned string stretches, the gripper
may rotate intermittently, maintaining the
set tension.
To release the string after clamping, push
the tension switch or foot pedal. If the string
gripper does not release the string, de-
press and hold the Gripper Reversing Switch
once to release the string.
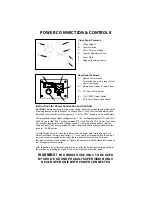
WARNING:
KEEP FINGERS AWAY FROM GRIPPER
DRUM WHILE TENSIONING STRING. PUSH GRIPPER
REVERSING SWITCH IN CASE OF EMERGENCY.
Summary of Contents for Progression ES II+
Page 16: ...15 EXPLODED PARTS VIEW...