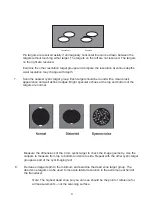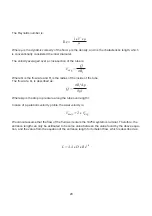
7
Evaluating the B-Mode System
Remember
A 4.5 MHz probe will provide a good overall view of the phantom for this demonstration.
1.
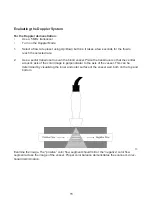
To couple with water, fill the dam with distilled water. For a better image quality, use gel.
2.
Rest the transducer on the scanning surface. Adjust the scanner to display the full depth of
the phantom.
You may notice that the tissue echoes near the bottom of the phantom fade into noise. The
depth at which usable echoes disappear is called the
depth of penetration
. The depth
markers on the phantom label will help you determine the depths of the targets.
3.
Move the transducer across the scanning surface while observing the locations of the
targets.
Notice how the smooth texture of the tissue mimicking gel emphasizes image non-uniformi-
ties and artifacts, making them easier to detect.
Decrease gain controls to highlight pin targets.
4.
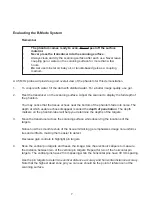
Scan the vertical pin targets and freeze the image. Use the electronic calipers to measure
the distance between two of the vertical pin targets. Repeat for two of the horizontal pin
targets. The vertical pins have 20 mm spacing while the horizontal pins have 30 mm spacing.
Use the pin targets to determine
vertical distance accuracy
and
horizontal distance accuracy
.
Note that the highest dead zone pin you can see should be the point of reference not the
scanning surface.
•
The phantom comes ready to scan. Do not peel off the surface
material.
•
Never press the transducer into the scanning surface.
•
Always clean and dry the scanning surface after each use. Never leave
coupling gel or water on the scanning surface for more than a few
hours.
•
Do no
t use mineral oil, baby oil, or lanolin-based gels as a coupling
medium.
Summary of Contents for 1425A
Page 26: ...26 Notes...
Page 27: ...27 Notes...

