Installation
8
· G&D DVI-Vision-IP-Fiber
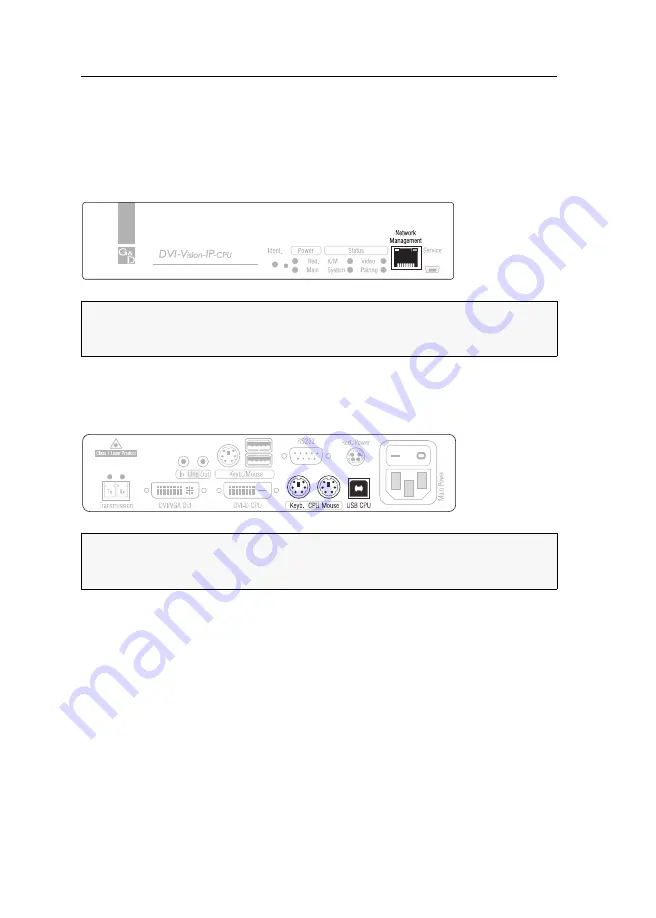
Installing the computer module
The computer, whose signals are transmitted to the remote console, is connected to
the
DVI-Vision-IP-Fiber-CPU
computer module. If desired, connect a local console to
the computer module.
Establishing a connection to a local management network
Network Management:
Insert a category 5 twisted pair cable (or better), which is availa-
ble as accessory. Connect the other end of the cable to the local network.
Connecting the computer’s keyboard and mouse signals
USB CPU:
Use the
USB-AM/BM-2
cable to connect one of the computer’s USB inter-
faces to this interface.
Keyb. CPU:
Use the green plug of the twin PS/2 cable (
Twin-PS/2-M/M-2
) to connect
the computer’s PS/2 keyboard interface to this interface.
Mouse CPU:
Use the green plug of the twin PS/2 cable (
Twin-PS/2-M/M-2
) to con-
nect the computer’s PS/2 mouse interface to this interface.
NOTE:
If desired, connect this network interface to a local network. This enables
you to access the
Config Panel
web application from this network and to send sys-
log messages to this network.
NOTE:
Mouse and keyboard signals of both consoles can either be transmitted to
the computer using the USB interface
USB CPU
or using the PS/2 interfaces
Mouse
CPU
and
Keyb. CPU
PS/2.
Summary of Contents for DVI-Vision-IP-Fiber
Page 118: ...Deutsch...
Page 119: ......
Page 236: ...English...
Page 237: ......
Page 238: ...English...
Page 239: ......


