English
|
63
\
\
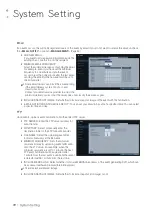
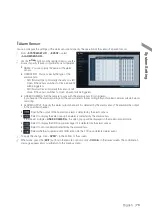
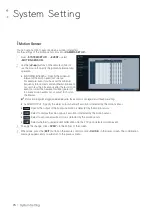
POS/ATM
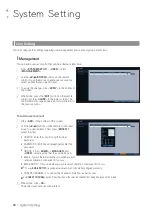
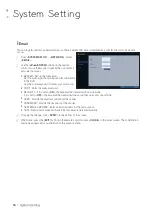
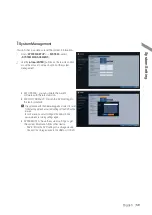
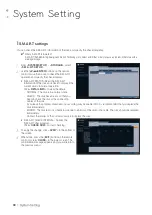
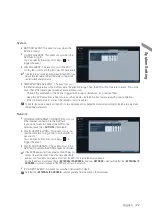
You can check the configuration of the POS/ATM device connected to DVR.
1.
From <
SYSTEM SETUP
> - <
SYSTEM
>, select
<
POS/ATM
>.
2.
Use the [
▲▼
◀▶
/ENTER
] on your remote control or
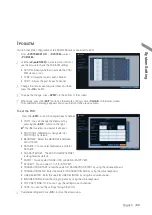
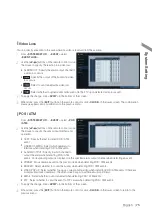
use the mouse to check the POS/ATM settings.
i
ACTION : Specify whether to activate the POS/
ATM device or not.
i
TYPE : Display the type for each channel.
i
PORT : Display the port for each channel.
3.
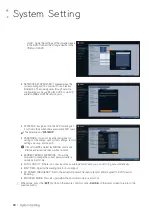
Change the data for each required item, and then
press the <
OK
> button.
4.
To apply the change, click <
APPLY
> in the bottom of the screen.
5.
When done, press the [
EXIT
] button on the remote control or click <
CLOSE
> in the lower screen.
The confirmation message appears and you will return to the previous menu.
To set the POS
1.
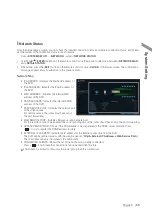
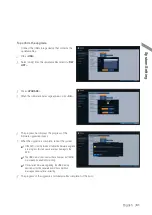
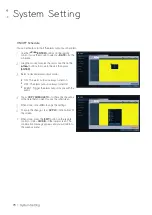
Press the <
EDIT
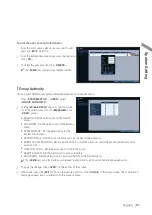
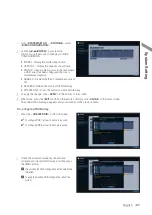
> button to change in each channel.
i
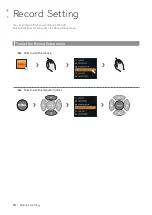
PORT : You can change the linked port by
pressing the <
EDIT
> button on the right.
The USB to serial device is required to add a port.
i
PROTOCOL : GENERAL is designated for
PROTOCOL by default.
i
BAUDRATE : Select the BAUD RATE between
2400~115200.
i
DATA BIT : You can select between 5 and 8 for
DATA BIT.
i
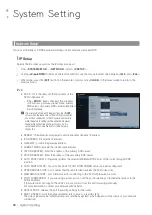
CHARACTER SET : The ASCII CHARACTER SET
is designated by default.
i
PARITY : You can select NONE, ODD or EVEN for PARITY BIT.
i
STOP BIT : You can select 1 or 2 for STOP BIT.
i
TRANSACTION START : Enter the value for TRANSACTION START by using the virtual keyboard.
i
TRANSACTION END : Enter the value for TRANSACTION END by using the virtual keyboard.
i
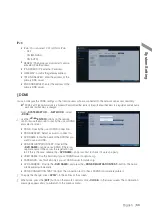
LINE DELIMITER : Enter the value for LINE DELIMITER by using the virtual keyboard.
i
IGNORE STRING : Enter the string to ignore by using the virtual keyboard.
i
COPY SETTINGS TO : You can copy the settings to each channel.
i
TEST : You can test the settings through the POS.
2.
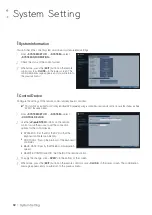
Complete editing and click <
OK
> to close the edit window.
System Setting


