50
RECORD SETUP
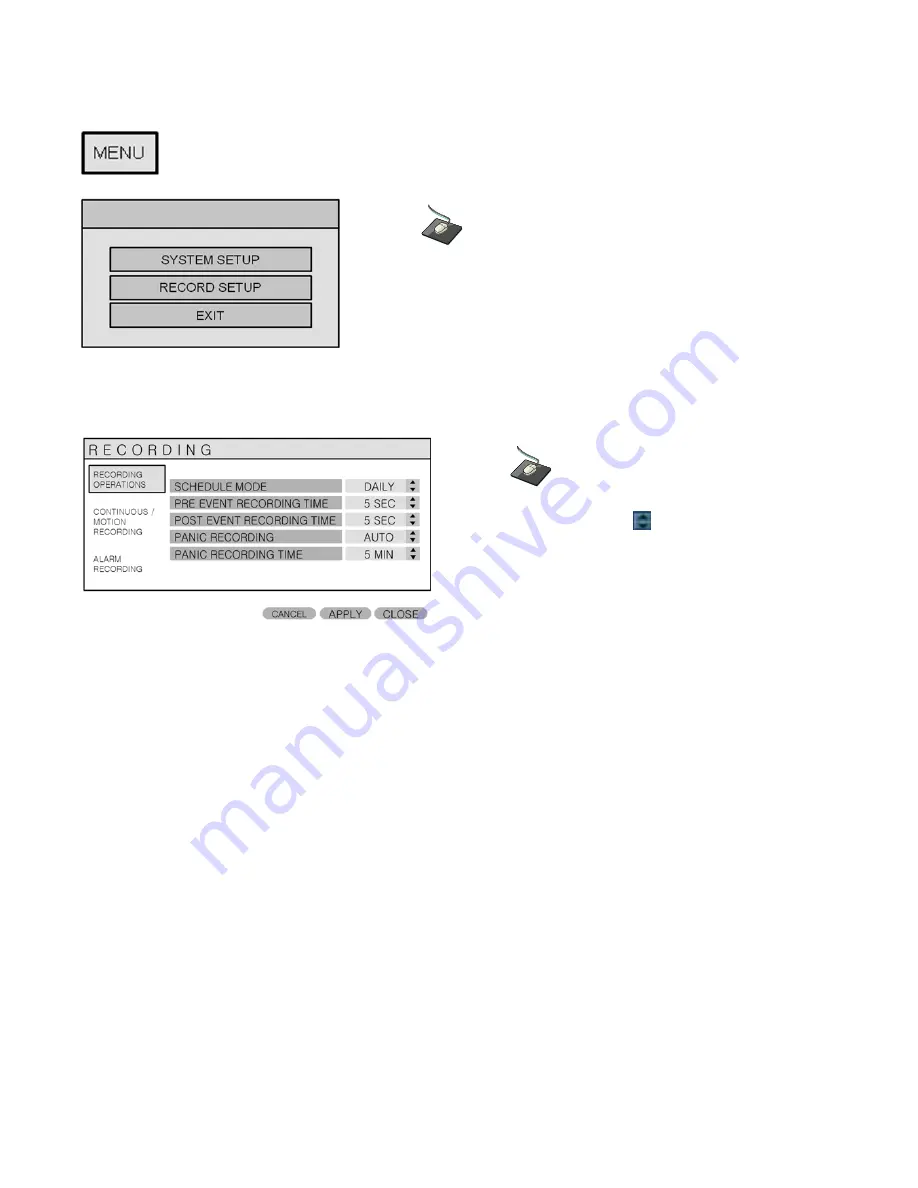
From the Main Menu, click on the
‘
RECORD
’
menu.
To configure the recording behavior of the DVR, highlight ‘
RECORD MENU
’ and press ‘
ENTER
’.
RECORDING OPERATIONS
Click on the
‘
RECORDING OPERATIONS
’ menu.
Click on any field, and use the button to modify the value.
SCHEDULE MODE
: Either DAILY (one schedule will apply to every day of the week) or WEEKLY
(each day of the week has its own schedule).
PRE-EVENT RECORDING TIME
: When the DVR is not in continuous recording mode, this setting
determines the amount of footage that is always recorded before
an event occurs. (motion detection, alarm input, etc.)
POST-EVENT RECORDING TIME
: When the DVR is not in continuous recording mode, this setting
determines the amount of footage that is always recorded after an
event occurs. (motion detection, alarm input, etc.)
PANIC RECORDING:
User can select the panic recording working option.
DISABLE: even though pressing the panic button or detecting the sensor, it don’t work.
AUTO: It is related with RANIC RECORDING TIME SETUP.
MANUAL: It works by pressing the panic button or detecting the sensor.
PANIC RECORDING TIME:
After passing the selected time, it stops the panic recording.
(5, 10, 20, 30, 40, 50,60MIN)


