

Gazebo with Netting
14
AFTER SALES SUPPORT
support@tdcusainc.com
1800 599 8898
MODEL: 7884 PRODUCT CODE: 7884 04/2016
USA
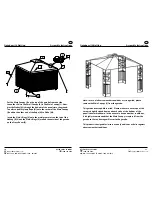
1. When storing, do not repack your gazebo until completely dry.
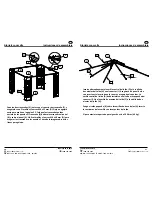
2. This gazebo must be assembled by two adults or more.
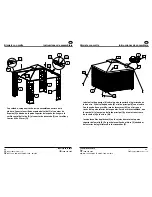
3. This gazebo canopy must not be left attached in windy or extreme
conditions.
4. Loading limit of the hook is 10 lbs.
5. Steel components for garden accessories and furniture are treated with
rust inhibiting paint that protects them from rust. However, due to the na-
ture of steel, surface oxidation (rusting) will occur if this protective coating
is scratched. This is a natural process. To minimize this condition, it is rec-
ommended that care be taken when assembling and handling the product
in order to prevent the paint from being scratched. If scratching or damage
occurs, it is recommended that the area be touched-up immediately with
rust inhibiting paint. Surface rust can be removed easily using a very light
application of common cooking oil. If surface oxidation (rusting) occurs and
no measures are taken to correct it, the oxidation may start dripping on
the deck or patio, which may cause damaging strains that may be difficult
to remove.
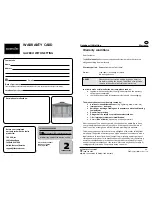
Warranty
WARNING
KEEP ALL FLAME AND HEAT SOURCES AWAy FROM THIS TENT
FABRIC. This tent is made with fabric that meets CPAI-84 specifications
for flame resistance. It is not fire proof. The fabric will burn if left in
continuous contact with any flame source.
.


