13-8-627 Page 27
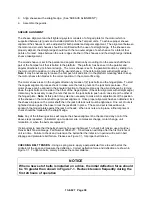
DRAINING AND CLEANING OIL SYSTEM
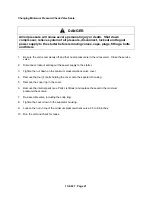
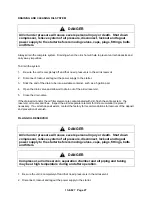
DANGER
Air/oil under pressure will cause severe personal injury or death. Shut down
compressor, relieve system of all pressure, disconnect, lockout and tagout
power supply to the starter before removing valves, caps, plugs, fittings, bolts
and filters.
Always drain the complete system. Draining when the oil is hot will help to prevent varnish deposits and
carry away impurities.
To drain the system:
1.
Be sure the unit is completely off and that no air pressure is in the air/oil reservoir.
2.
Disconnect, lockout and tagout the power supply to the starter.
3.
Stick the end of the drain tube into a suitable container, such as a 5 gallon pail.
4.
Open the drain valve and allow oil to drain out of the air/oil reservoir.
5.
Close the drain valve.
If the drained oil and/or the oil filter element are contaminated with dirt, flush the entire system: the
reservoir, oil cooler and lines. Inspect the air/oil separator element for dirt accumulation; replace if
necessary. If a varnish deposit exists, contact the factory for recommendations for removal of the deposit
and prevention of varnish.
FILLING OIL RESERVOIR
DANGER
Air/oil under pressure will cause severe personal injury or death. Shut down
compressor, relieve system of all pressure, disconnect, lockout and tagout
power supply to the starter before removing valves, caps, plugs, fittings, bolts
and filters.
DANGER
Compressor, air/oil reservoir, separation chamber and all piping and tubing
may be at high temperature during and after operation.
1. Be sure the unit is completely off and that no air pressure is in the oil reservoir.
2. Disconnect, lockout and tagout the power supply to the starter.
Summary of Contents for Champion ROTORCHAMP EFD99A
Page 9: ...13 8 627 Page 2 Figure 1 2 COMPRESSOR ILLUSTRATION 300EFD797 A Ref Drawing...
Page 12: ...13 8 627 Page 5 DECALS 206EAQ077 212EAQ077 218EAQ077 211EAQ077 207EAQ077...
Page 13: ...13 8 627 Page 6 DECALS 216EAQ077 217EAQ077 222EAQ077 221EAQ077 208EAQ077...
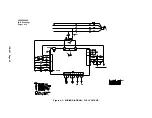
Page 29: ...13 8 627 Page 22 Figure 4 3 WIRING DIAGRAM FULL VOLTAGE 300EFD546 C Ref Drawing Page 1 of 2...
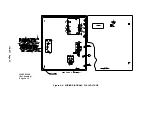
Page 30: ...13 8 627 Page 23 Figure 4 4 WIRING DIAGRAM FULL VOLTAGE 300EFD546 C Ref Drawing Page 2 of 2...

