13-8-621 Page 20
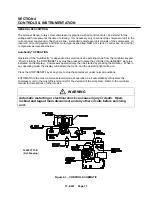
Reservoir Thermistor
(Figure 4-1, page 17)
-
This sensor is located in the reservoir/separator housing
and is used to monitor temperature and shut down the compressor if temperature problems occur at the
separator.
Emergency Stop Pushbutton -
This is a maintained pushbutton, and removes power from the controller
outputs regardless of controller status. It is located on the upper section of the control box door, next to
the keypad. This should be used for emergency purposes only - use the keypad [STOP/RESET] for
normal controlled stopping.
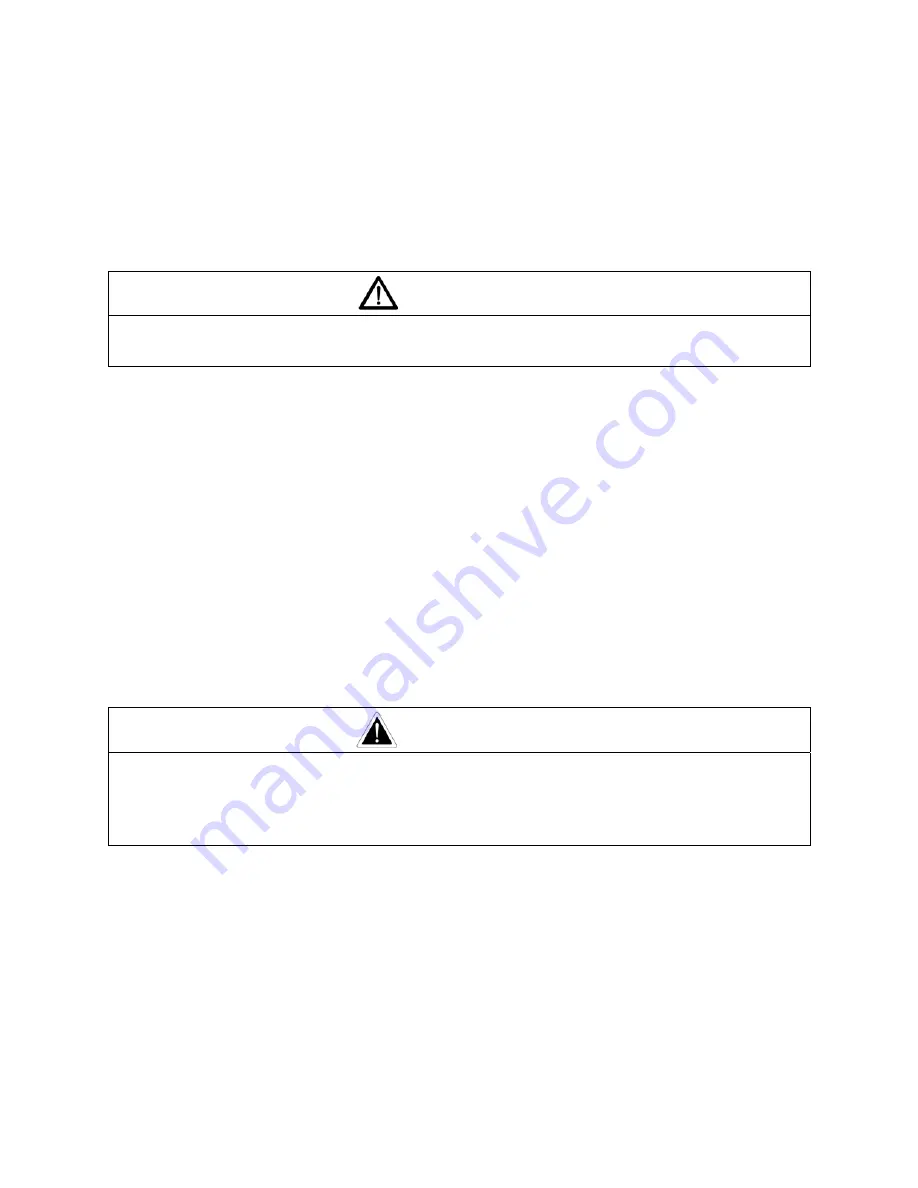
WARNING
Automatic restarting or electrical shock can cause injury or death. Open and
lock main disconnect and any other circuits before servicing unit.
Control Transformer -
This changes the incoming power voltage to 110-120 volts for use by all unit
control devices. Two primary and one secondary fuse are provided. Refer to adjacent labeling for
replacement information.
Terminal Strip -
This provides connections for all 110-120 volt devices not contained within the
enclosure.
Main Starter -
This starter is used to provide control and overload protection for the main drive motor.
Standard full voltage starters employ a single contactor and overload protection for each motor. Overload
heaters should be selected and adjusted based on the motor nameplate amps and the instructions
located inside the control box door.
Changing Minimum Pressure/Check Valve Seals
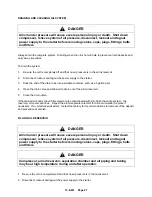
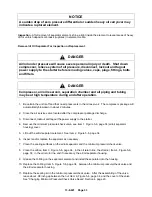
DANGER
Air/oil pressure will cause severe personal injury or death. Shut down
compressor, relieve system of all pressure, disconnect, lockout and tagout
power supply to the starter before removing valves, caps, plugs, fittings, bolts
and filters.
1. Be sure the unit is completely off and that no air pressure is in the oil reservoir.
2. Disconnect, lockout and tagout the power supply to the starter.
3. Tighten the nut down on the minimum pressure/check valve cover.
4. Remove the six (6) bolts holding the cover onto the separator housing.
5. Remove the snap ring in the cover.
6. Remove the internal parts (see Parts List Book) and replace the seals in the minimum
pressure/check valve.
Summary of Contents for INTEGRA EFC99A
Page 9: ...13 8 621 Page 2 Figure 1 2 COMPRESSOR ILLUSTRATION 302EFC797 A Ref Drawing...
Page 12: ...13 8 621 Page 5 DECALS 206EAQ077 212EAQ077 218EAQ077 211EAQ077 207EAQ077...
Page 13: ...13 8 621 Page 6 DECALS 216EAQ077 217EAQ077 222EAQ077 221EAQ077 208EAQ077...
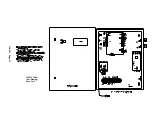
Page 29: ...13 8 621 Page 22 4 3 WIRING DIAGRAM 300EFC546 B Ref Drawing Page 1 of 2...
Page 30: ...13 8 621 Page 23 300EFC546 B Ref Drawing Page 2 of 2...

