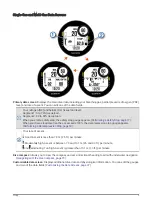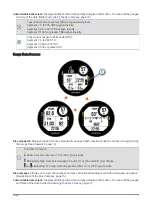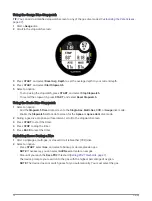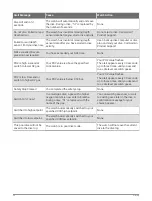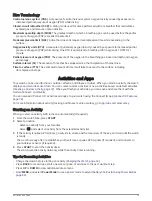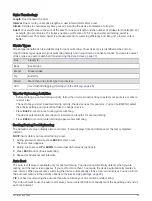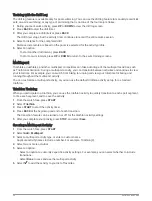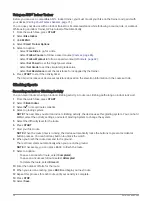
Surface interval screen: Displays the current surface interval time, as well as the elapsed time, maximum depth,
and temperature for your last apnea dive. You can edit the data fields.
The number of completed dives.
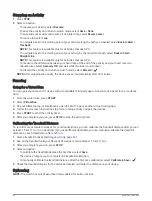
Time of day screen: Displays the time of day, speed over ground (SOG), and battery level. You can edit the data
fields.
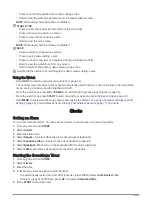
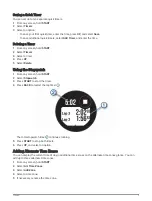
Going Diving
1 From the watch face, press START.
2 Select a dive mode (
).
3 If necessary, press UP to edit the dive settings, such as the gases, water type, and alerts (
).
4 Wait with your wrist out of the water until the watch acquires GPS signals and the status bar is filled
(optional).
The watch requires GPS signals to save your dive entry location.
5 Press START until the primary dive data screen appears.
6 Descend to start your dive.
The activity timer starts automatically when you reach a depth of 1.2 m (4 ft.).
NOTE: If you start a dive without selecting a dive mode, the watch uses the most recently used dive mode
and settings, and your dive entry location is not saved.
7 Select an option:
• Press DOWN to scroll through the data screens and dive compass.
TIP: You can also double tap the watch to scroll through the screens.
• Press START to view the in-dive menu.
8 When you are ready to end the dive, ascend to the surface.
9 Keep your wrist out of the water so the watch can acquire GPS signals and save your dive exit location
(optional).
10 Select an option:
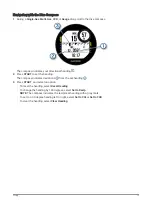
• For a Single-Gas, Multi-Gas, CCR, or Gauge dive, wait for the End Dive Delay timer to count down.
NOTE: When you ascend to 1 m (3.3 ft.), the End Dive Delay timer begins counting down (
). You can press START, and select Stop Dive to save the dive before the timer elapses.
• For an Apnea or Apnea Hunt dive, press BACK, and select
.
The watch saves the dive activity.
TIP: You can view your diving history in the dive log glance (
Viewing the Dive Log Glance, page 19
).
14
Diving


