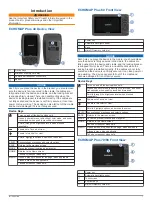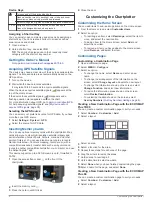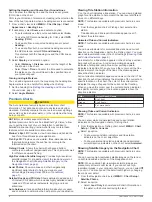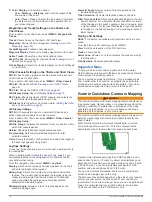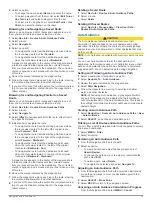
Device Keys
Turns on and off the device when held.
Opens a shortcut menu to backlight, color mode, and sonar
transmission when quickly pressed and released.
Scrolls through the brightness levels when pressed repeatedly.
1 2 3 4 Assigns a shortcut key to the active screen when held.
Opens the assigned screen when pressed.
Assigning a Shortcut Key
You can quickly open commonly used screens by assigning a
shortcut key. You can create a shortcut to screens such as
sonar screens and charts.
1
Open a screen.
2
Hold a shortcut key, and select
OK
.
TIP:
The shortcut is also saved to the Frequently Used
category with the shortcut key number.
Getting the Owner's Manual
Go to
garmin.com/manuals/echomapplus60-70-90
.
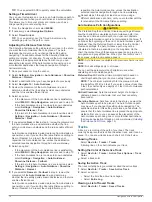
Acquiring GPS Satellite Signals
The device may need a clear view of the sky to acquire satellite
signals. The time and date are set automatically based on the
GPS position.
1
Turn on the device.
2
Wait while the device locates satellites.
It may take 30 to 60 seconds to acquire satellite signals.
When the device acquires satellite signals,
appears at the
top of the Home screen.
If the device loses satellite signals,
disappears and a
flashing question mark appears over on the chart.
For more information about GPS, go to
For help acquiring satellite signals, see (
).
Selecting the GPS Source
You can select your preferred source for GPS data, if you have
more than one GPS source.
1
Select
Settings
>
System
>
GPS
.
2
Select the source for GPS data.
Inserting Memory Cards
You can use optional memory cards with the chartplotter. Map
cards allow you to view high-resolution satellite imagery and
aerial reference photos of ports, harbors, marinas, and other
points of interest. You can use blank memory cards to record
Garmin Quickdraw
™
Contours mapping, record sonar (with a
compatible transducer), transfer data such as waypoints and
routes to another compatible chartplotter or a computer, and use
the ActiveCaptain
™
app.
This device supports up to a 32 GB memory card, formatted to
FAT32.
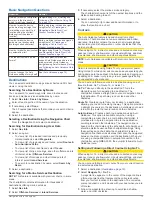
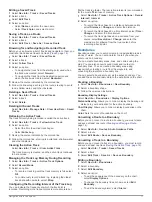
1
Open the access flap or door
À
on the front of the
chartplotter.
2
Insert the memory card
Á
.
3
Press the card in until it clicks.
4
Close the door.
Customizing the Chartplotter
Customizing the Home Screen
You can add items to and rearrange items on the Home screen.
1
From the Home screen, select
Customize Home
.
2
Select an option:
• To rearrange an item, select
Rearrange
, select the item to
move, and select the new location.
• To add an item to the Home screen, select
Add
, and
select the new item.
• To remove an item you have added to the Home screen,
select
Remove
, and select the item.
Customizing Pages
Customizing a Combination Page
1
Open a combination page.
2
Select
MENU
>
Configure
.
3
Select an option:
• To change the name, select
Name
, and enter a new
name.
• To change the arrangement of the information on the
screen, select
Change Layout
, and select a new layout.
• To change the information shown on the screen, select
Change Function
, and select new information.
• To resize the information areas shown on the screen,
select
Resize Combination
.
• To customize the data shown on the screen, select
Overlay Numbers
(
).
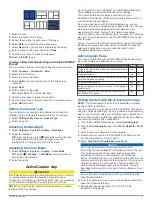
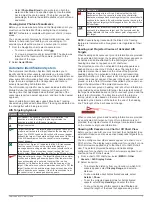
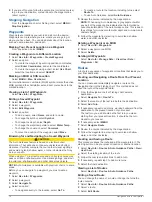
Creating a New Combination Page with the ECHOMAP
Plus 70/90
You can create a custom combination page to suit your needs.
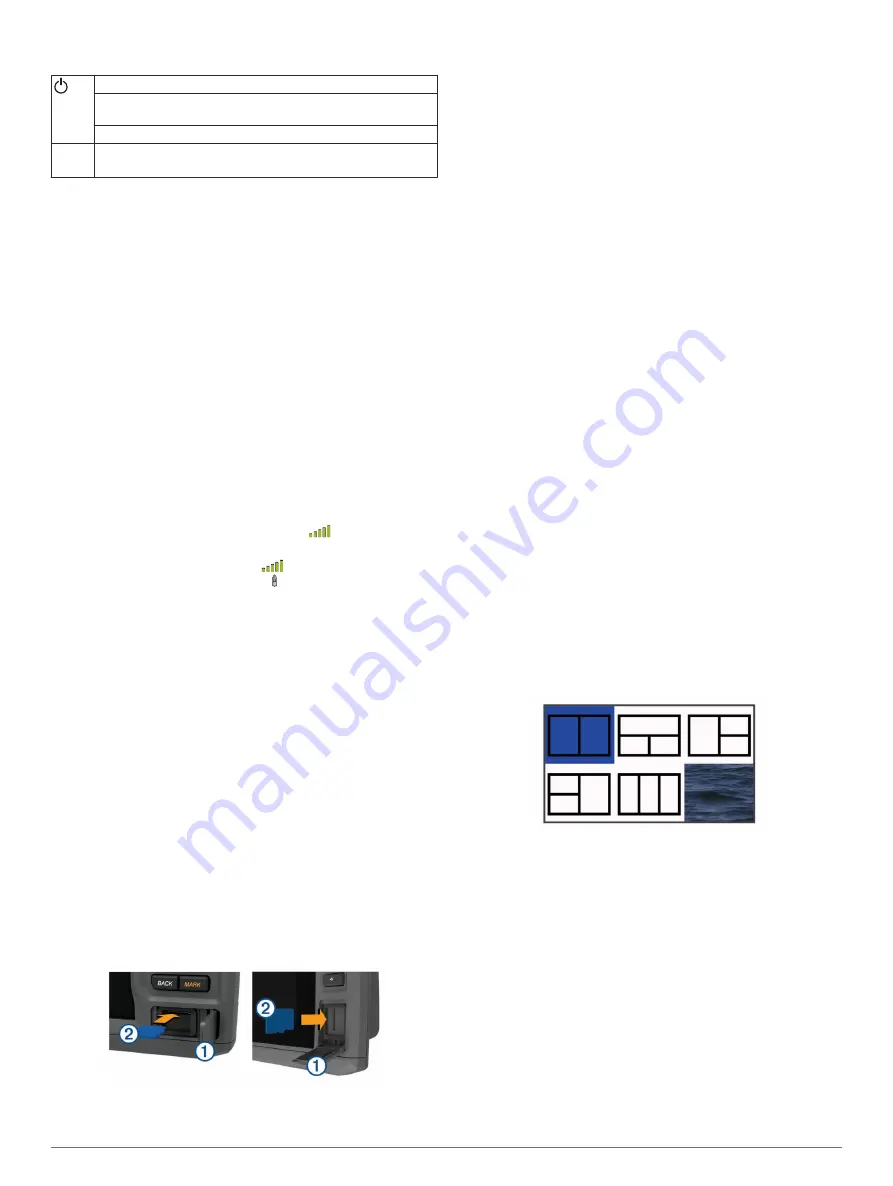
1
Select
Combos
>
Customize
>
Add
.
2
Select a layout.
3
Select an area.
4
Select a function for the area.
5
Repeat these steps for each area of the page.
6
Drag the arrows to resize the areas.
7
Hold an area to rearrange it.
8
Hold a data field to select new data.
9
Select
Done
when you have finished customizing the page.
10
Enter a name for the page, and select
Done
.
Creating a New Combination Page with the ECHOMAP
Plus 60
You can create a custom combination page to suit your needs.
1
Select
Combos
>
Customize
>
Add
.
2
Select a layout.
2
Customizing the Chartplotter
Summary of Contents for ECHOMAP 60 Series
Page 1: ...ECHOMAP 40 60 70 90SERIES Owner sManual...
Page 49: ......
Page 50: ...support garmin com October 2017 190 02242 00_0A...

