Acquiring Satellite Signals
The device may need a clear view of the sky to acquire satellite signals. The time and date are set automatically
based on the GPS position.
TIP: For more information about GPS, go to
.
1 Go outdoors to an open area.
The front of the device should be oriented toward the sky.
2 Wait while the device locates satellites.
It may take 30–60 seconds to locate satellite signals.
Training
Going for a Ride
If you are using a wireless sensor or accessory, it can be paired and activated during initial setup (
). If your device was packaged with a wireless sensor, they are already paired and
can be activated during initial setup.
1 Hold to turn on the device.
2 Go outside, and wait while the device locates satellites.
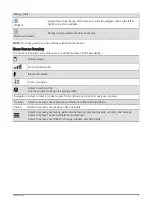
The satellite bars turn green when the device is ready.
3 From the home screen, select or to change the biking profile.
4 Press
to start the activity timer.
NOTE: History is recorded only while the activity timer is running.
5 Swipe left or right to view additional data screens.
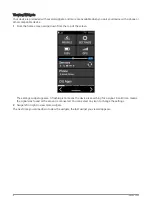
You can swipe down from the top of the data screens to view the widgets.
6 If necessary, tap the screen to view status overlay data (including battery life) or return to the home screen.
7 Press
to stop the activity timer.
TIP: Before you save this ride and share it on your Garmin Connect
™
account, you can change the ride type.
Accurate ride type data is important for creating bike friendly courses.
6
Training


