3
Plug the large end of the USB cable into a computer USB
port.
4
Go to
5
Follow the on-screen instructions.
Garmin Connect
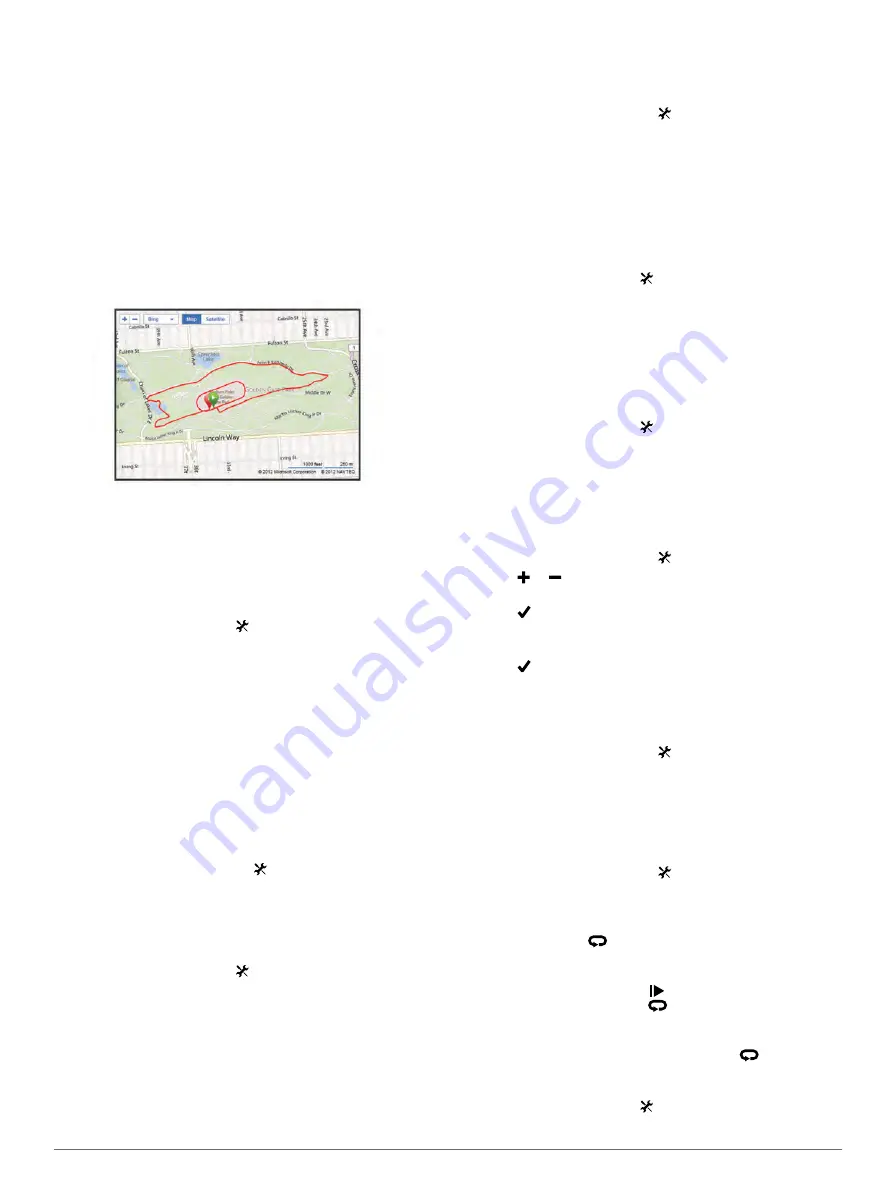
Garmin Connect gives you a simple way to store and track your
activities, analyze your data, and share with others. To sign up
.
Store your activities
: After you complete and save an activity
with your device, you can upload that activity to Garmin
Connect and keep it as long as you want.
Analyze your data
: You can view more detailed information
about your activity, including an overhead map view, pace
and speed charts, and customizable reports.
Share your activities
: You can email your activities to others,
or post links to your activities on your favorite social
networking sites.
Customizing Your Device
Routing Options
From the home screen, select >
Routing Options
.
Routing Mode
: Sets the transportation method to optimize your
route.
Calculation Method
: Sets the method used to calculate your
route.
Lock On Road
: Locks the position icon, which represents your
position on the map, onto the nearest road.
Avoidance Setup
: Sets the road types to avoid while
navigating.
Recalculation
: Automatically recalculates the route when you
deviate from the route.
Customizing the Trip Pages
You can customize the data that appears on each trip page.
1
From the home screen, select >
Trip Pages
.
2
Select a page.
3
If necessary, enable the page.
4
Select an option to change it.
Map Settings
From the home screen, select >
Trip Pages
>
Map
.
Map Data Fields
: Sets the data fields that appear on the map.
Orientation
: Adjusts how the map is shown on the page
Auto Zoom
: Automatically selects the appropriate zoom level
for optimal use on your map. When
Off
is selected, you must
zoom in or out manually.
Map Detail
: Sets the level of detail on the map. More detail may
cause the map to draw slower.
Map Information
: Enables or disables the maps currently
loaded on the device.
Changing the Map Orientation
1
From the home screen, select >
Trip Pages
>
Map
>
Orientation
.
2
Select an option:
• Select
North Up
to show north at the top of the page.
• Select
Track Up
to show your current direction of travel at
the top of the page.
• Select
3D Mode
to show an automotive perspective with
the direction of travel at the top.
Compass Settings
From the home screen, select >
Trip Pages
>
Compass
.
Compass
: Enables or disables the compass page.
Data Fields
: Sets the data fields that appear on the compass
page.
Elevation Settings
NOTE:
The Edge Touring shows elevation information only
when the device is navigating a route. The Edge Touring Plus
displays elevation information at any time.
From the home screen, select >
Trip Pages
>
Elevation
.
Elevation
: Enables or disables the elevation page.
Data Fields
: Sets the data fields that appear on the elevation
page.
Customizing the Timer Page
You can customize the data fields that appear on the timer
page.
1
From the home screen, select >
Trip Pages
>
Timer
.
2
Select or to change the number of data fields on the
page.
3
Select .
4
Select a data field to change the data type that appears in
the field.
5
Select .
Marking Laps by Distance
You can use Auto Lap® to automatically mark the lap at a
specific distance.
1
From the home screen, select >
Auto Lap
>
Auto Lap
Trigger
>
By Distance
>
Lap At
.
2
Enter a value.
Marking Laps by Position
You can use Auto Lap to automatically mark the lap at a specific
position.
1
From the home screen, select >
Auto Lap
>
Auto Lap
Trigger
>
By Position
>
Lap At
.
2
Select an option:
• Select
Lap Press Only
to trigger the lap counter each
time you select
and each time you pass any of those
locations again.
• Select
Start and Lap
to trigger the lap counter at the GPS
location where you select and at any location during
the ride where you select
.
• Select
Mark and Lap
to trigger the lap counter at a
specific GPS location marked before the ride and at any
location during the ride where you select
.
Display Settings
From the home screen, select >
System
>
Display
.
Customizing Your Device
5


