18
Reference
Map Page Options
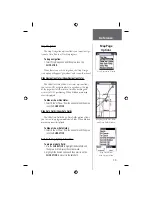
Using the Panning Arrow - Overview
The Map Page pan function allows you to display an
arrow used to point and identify items on the map, and to
move the map in order to view areas beyond the current
viewing area on the display.
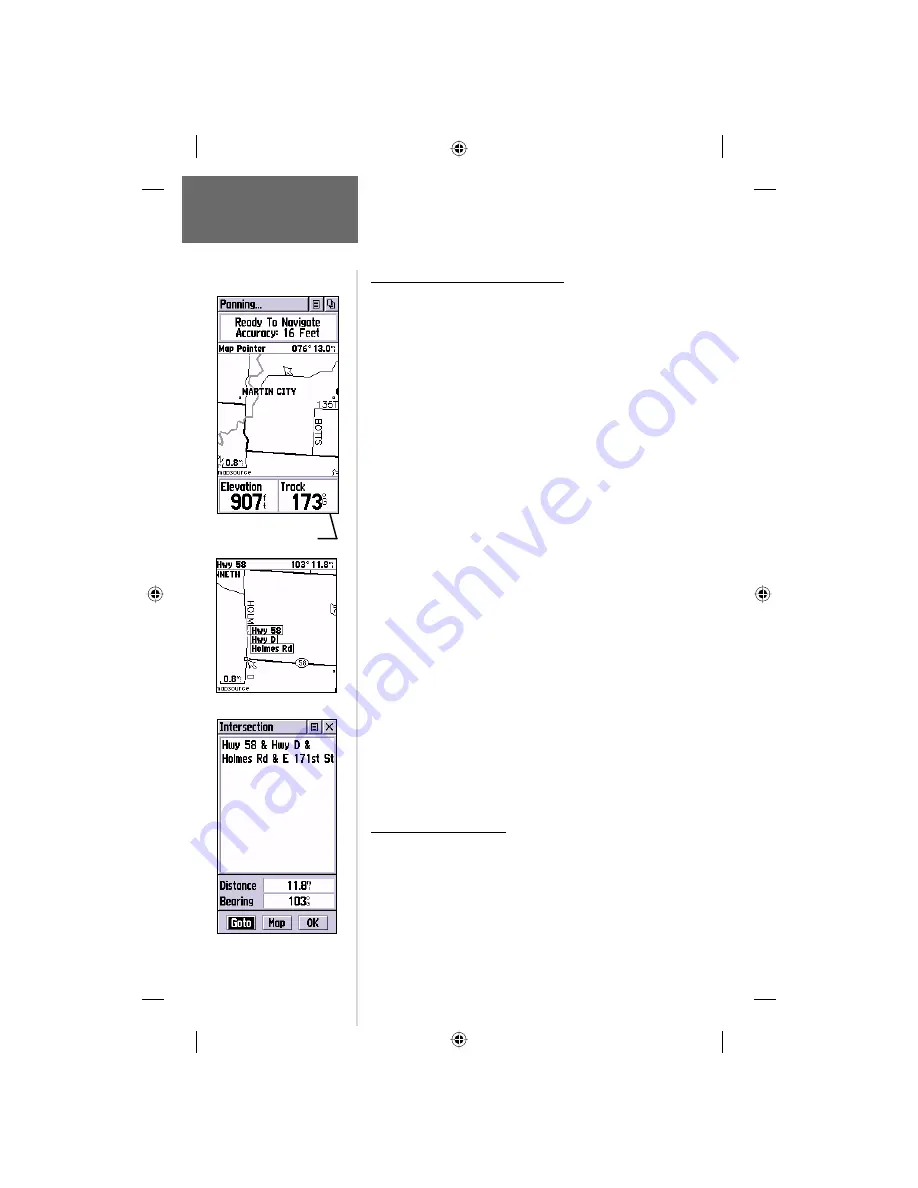
The map panning function is activated from the
options menu on the Map Page. The
CLICK STICK
moves the panning arrow (also referred to as the map
pointer) in the desired direction on the map page. If the
arrow moves to the edge of the map display, the map will
also move to reveal more map area. When this occurs,
the map will require some time to redraw the new area
of the map.
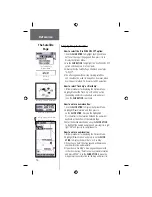
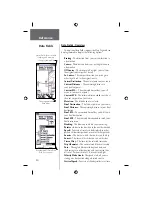
Whenever the panning arrow is placed on a map
item, the name of that item will be highlighted. This
features applies to waypoints, roads, lakes, rivers ... nearly
everything that is displayed.
Pressing and releasing the
CLICK STICK
, marks
the arrow location or the map item information page. An
option menu allows you to: add it to the Favorites list,
add it to a route, project a waypoint from it, save it as
a waypoint, or view the sun and moon phase from it.
On-screen buttons at the bottom of the page allow you to
Goto the map item, display it on the map or to select ‘OK’
and return to the Map Page.
When using the panning arrow, pressing the
FIND
button will display items with the panning arrow (map
pointer) location used as a reference point for nearest
items instead of your current location. Press the
PAGE
button to return to the Main Map Page.
Step-by-Step Instructions
To fi nd details about or Goto a map item:
1. Use the
CLICK STICK
to move the panning arrow to
the map item that you want to learn more about.
2. When the item’s name is highlighted, press in and
release the
CLICK STICK
to display the Information
Page for that item.
3. Use the
CLICK STICK
to highlight and press the
‘Goto’ button on the page to navigate to the item.
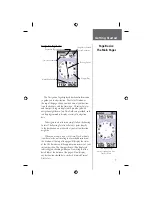
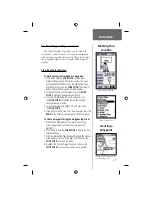
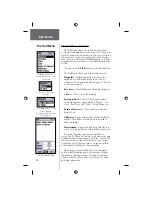
Map Page with
Panning Arrow
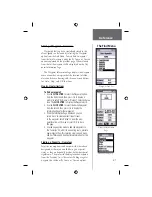
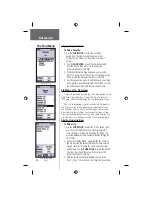
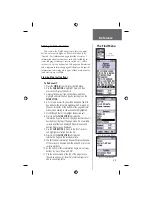
Map Item Information
Highlighted Map Item


