
28
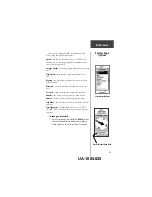
Remember that pressing and
holding the
ENTER
button
gives you the ‘MARK
WAYPOINT’ Page where you
can mark a waypoint.
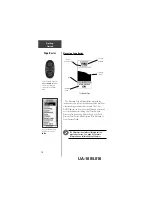
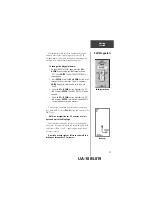
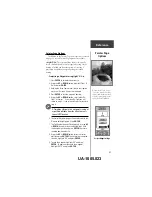
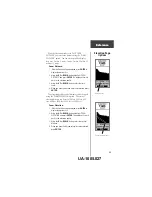
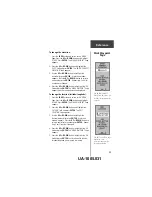
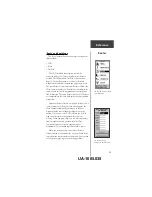
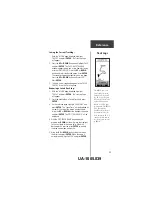
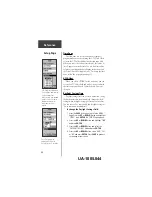
Mark Waypoint
Page
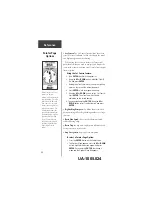
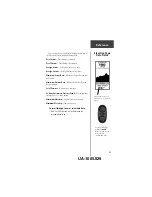
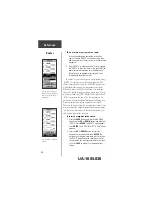
Menu Page Selections
The Menu Page turns the eTrex Summit into a
powerful navigation tool. With the Menu Page you can
customize the display, transfer information from a
computer to eTrex Summit and back again, and manage
and organize all of your waypoints. Now let’s take a look
at each of the Menu Page selections.
Mark Waypoint Page
The ‘MARK WAYPOINT’ page allows you to create a
waypoint at the eTrex Summit’s current location or at a
location you enter in the position field. You can also
change the symbol, name and elevation.
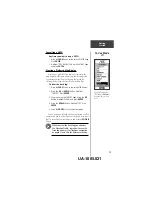
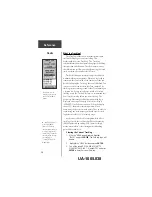
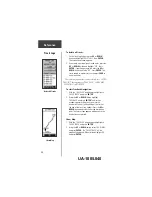
To change the symbol:
1. Press the
PAGE
Button and switch to the ‘MENU’
Page. Press the
UP
or
DOWN
button and highlight
‘MARK’. Press
ENTER
.
2. Press the
UP
or
DOWN
button and highlight the
small flag and press
ENTER
.
3. Using the
UP
or
DOWN
button, scroll through the
symbols. Press
ENTER
to save the selection.
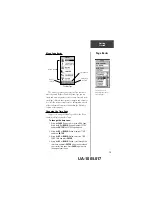
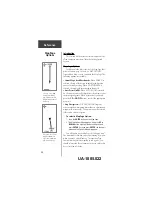
To change the name:
1. Press the
PAGE
Button and switch to the ‘MENU’
Page. Press the
UP
or
DOWN
button and highlight
‘MARK’. Press
ENTER
. The ‘MARK WAYPOINT’
Page appears.
2. Press the
UP
or
DOWN
button and highlight the
numeric name and press
ENTER
. The ‘EDIT
WAYPOINT NAME’ page will appear.
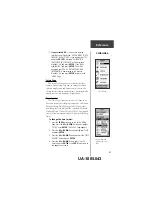
3. Use the
UP
or
DOWN
button to highlight the
desired letter, press
ENTER
. A letter selection
window appears. Press the
UP
or
DOWN
button
to select a new letter. press
ENTER
. Repeat step 3
until all letters are changed.
4. Press the
UP
or
DOWN
button to highlight the
‘OK’ field and press
ENTER
. The waypoint name is
changed.
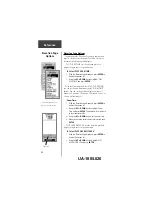
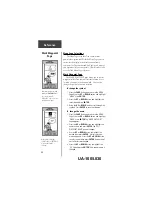
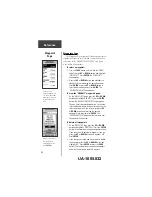
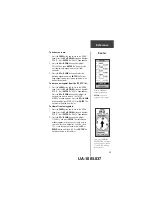
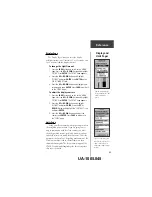
Reference
Highlight the small flag
symbol and press ENTER to
activate the symbol
selections.
UA-1005.030