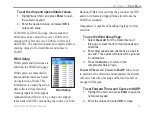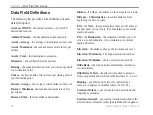
3. Highlight the
Barometer Mode
field, and press
Enter
to select
Variable Elevation
(used
when moving) or
Fixed Elevation
(used when
stationary, allowing the altimeter to function
as a standard barometer). Trip data is not
recorded when in Fixed Elevation mode.
4. Select a method of saving data from the
Pressure Trend Recording field, and press
Enter
. When you select
Save Always
, the
pressure is recorded every 15 minutes, even
when the unit is turned off. For this reason
be certain to return this setting back to
Save
When Power On
when removing batteries or
storing the unit with batteries for prolonged
periods. Install fresh batteries when the
“Battery Low” message appears.
Welcome Page Setup
Use the Welcome Page Setup to insert a message,
such as ownership information, that appears when you
turn on your Vista Cx.
To access the Welcome Setup Page:
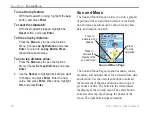
On the Setup Menu Page, highlight the
Welcome Message
icon, and press
Enter
.
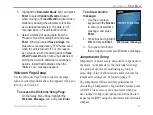
To add a welcome
message:
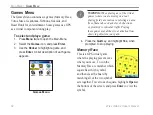
1. Use the on-screen
keypad and the
Rocker
to enter your welcome
message, and press
Enter
.
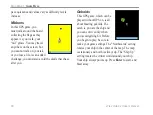
2. When finished, highlight
OK
, and press
Enter
.
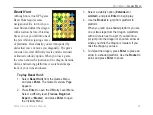
3. Turn your unit off and
then on again to view your Welcome message.
Jumpmaster Setup
Jumpmaster is an accessory designed for experienced
skydivers. A jumpmaster is the individual in charge
of a group of skydivers coordinating a group or
cargo drop. A list of abbreviations and acronyms for
jumpmaster settings can be found on page 79.
The Jumpmaster follows military guidelines for
calculating a Jumpmaster’s high altitude release point
(HARP). This accessory can auto-detect when you
have jumped to begin navigating toward the desired
impact point (DIP) using the barometer and electronic
compass.
Welcome message
eTrex Vista Cx Owner’s Manual
75
M
AIN
M
ENU
>
S
ETUP
M
ENU
Summary of Contents for eTrex Vista Cx
Page 1: ...eTrex Vista Cx hiking companion owner s manual ...
Page 111: ......


